Charming DIY Bird Bookends — Easy Step-by-Step Craft to Brighten Your Bookshelf
Give your bookshelf a playful, personalized touch with these charming DIY bird bookends. This simple craft uses basic supplies and straightforward decoupage techniques to turn plain wood bookends into a cheerful display. Follow the steps below to customize colors and bird images for a look that suits your room.
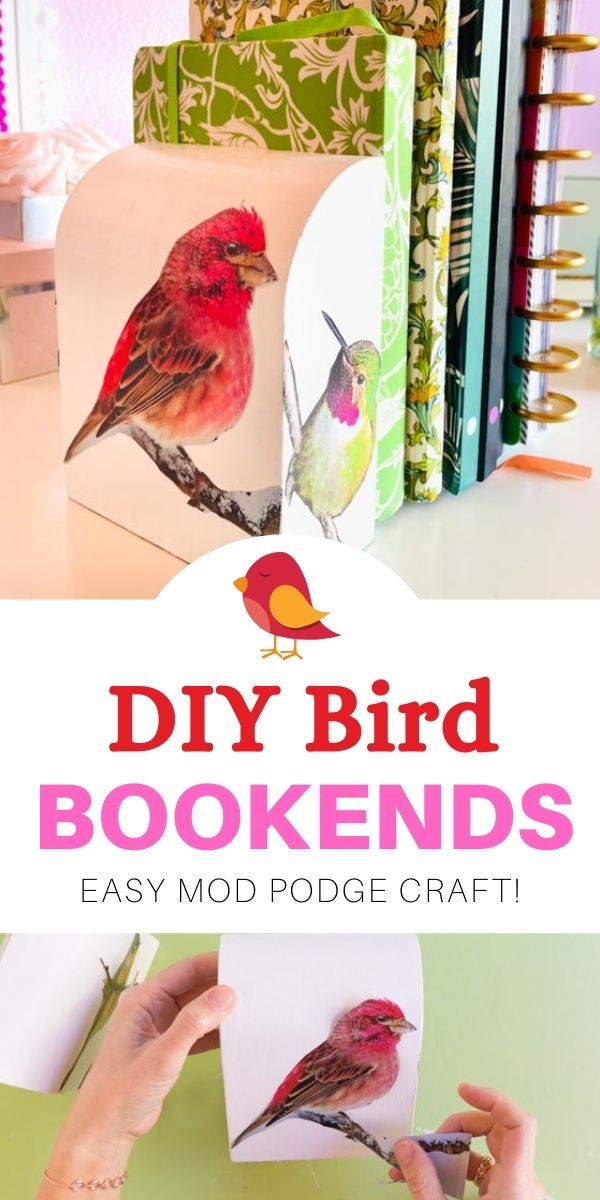
Finished bird bookends adding a whimsical touch to a bookshelf.
Supplies for DIY Bird Bookends
- Plain wood bookends
- Bird images (magazine cutouts, printed photos, or drawings)
- White acrylic paint (or color of your choice)
- Mod Podge (or other decoupage medium)
- Brush or foam brush
How to Make Bird Bookends
Step 1: Paint the bookends
If you want a clean backdrop so your bird images will stand out, paint the bookends with acrylic craft paint. White is a great neutral choice, but feel free to pick any color that complements your images. Apply an even coat and let it dry completely before moving to the next step.
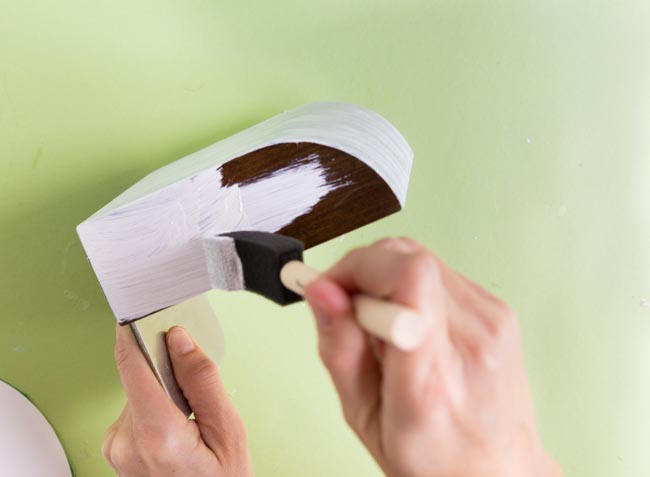
Painted wooden bookends ready for decoupage.
Step 2: Cut out bird images
Select your favorite bird pictures—magazine cutouts, printed photos, or hand-drawn illustrations all work. Carefully cut the images close to the bird outlines to create a realistic look. Arrange the cutouts on the bookend to decide the best placement before gluing.
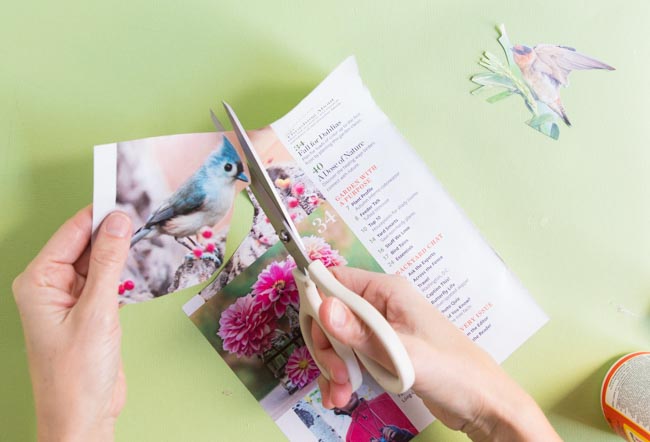
Cut bird images laid out and ready to apply to the bookends.
Step 3: Apply images with Mod Podge
Using a foam brush or regular brush, apply a thin coat of Mod Podge to the back of a bird cutout and smooth it onto the bookend. Press gently to remove any air bubbles and make sure the edges adhere well. Repeat for each image, working one at a time.
Step 4: Seal the surface
After all images are in place, paint an even coat of Mod Podge over the entire front surface of the bookend to seal and protect the images. For a consistent finish, extend the sealer slightly beyond the image edges and cover the whole face of the bookend. Let dry fully before using. Repeat the process for the sides if you want images on multiple faces.
Finishing tips
- Experiment with different bird species, sizes, or backgrounds for variety.
- For a smoother result, smooth images from the center outward to push out bubbles when adhering.
- Place heavy books against the bookends only after the sealant is fully dry.
Enjoy your new bird-themed bookends—practical, decorative, and a great way to showcase your creativity.