Make a Chic Clay Ring Dish with Gold Leaf — Easy Step-by-Step DIY
This Clay Ring Dish with Gold Leaf Accents is a simple, elegant DIY that makes a lovely bedside or vanity accent. The combination of soft air-dry clay and scattered gold leaf flakes creates a handmade piece that’s both practical and decorative. The instructions below walk you through forming the dish, adding gold leaf, and finishing it for daily use.
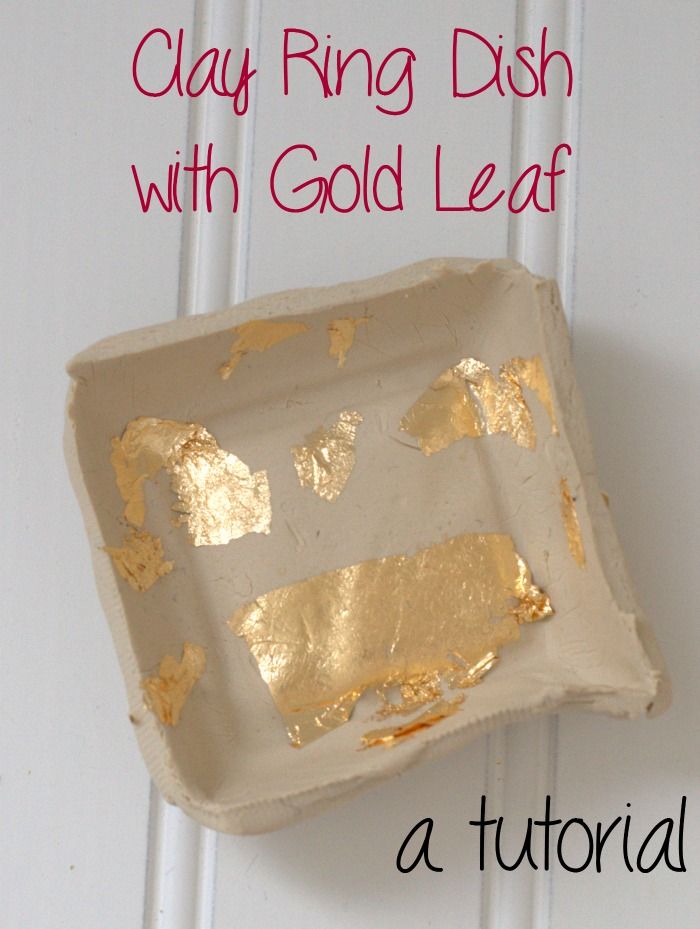
Finished clay ring dish showing gold leaf highlights.
Materials:
- Air dry clay. I’m using Crayola air dry clay.
- Gold Leaf. I’m using gold leaf flakes rather than sheets. I find it helps with the random look.
- Small dish. You’ll use this to mold your clay, so it needs to be a shape you like.
- Plastic bag.
- A small bowl of water.
- Plastic knife or a clay knife
Directions:
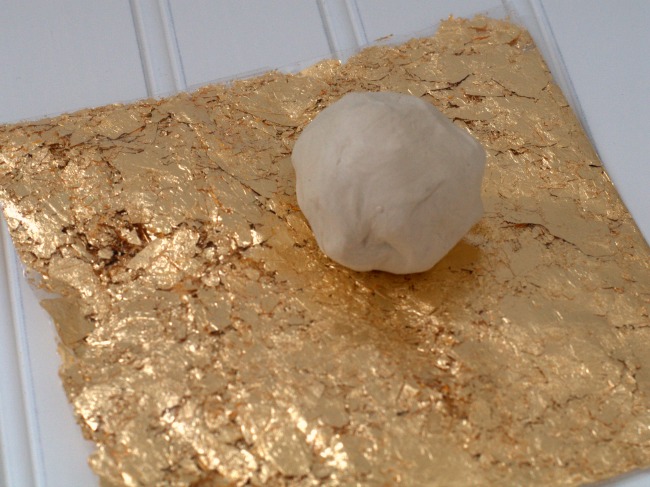
Knead the clay until it’s soft and pliable before shaping.
Take a hunk of clay and start kneading it. I started with a chunk that was about ½–3/4 fist size. You just want to get the clay soft and warm.
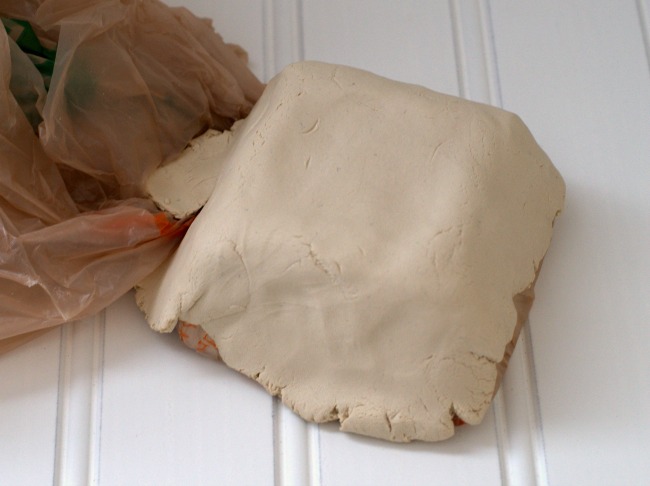
Work the clay into a flat slab ready for molding.
Work the clay into a slab. You can use a clay roller, but I just sort of mush it between my hands, like playing pattycake. I also use the table to help me work the clay into a slab. You want to be sure to put something down on the table – like a plastic bag or tablecloth – to protect the surface.
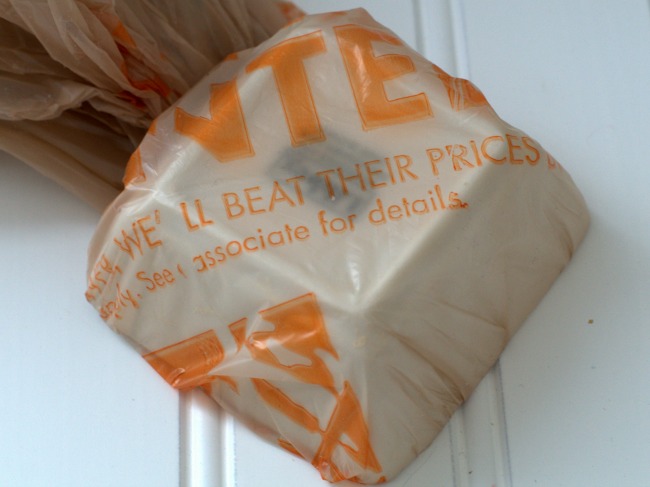
Wrap your small dish in a plastic bag before pressing the clay into it.
Wrap your small dish in a plastic bag, like a grocery bag. This step is crucial. Without it, you probably won’t be able to continue with your clay ring dish with gold leaf. Ask me how I know.
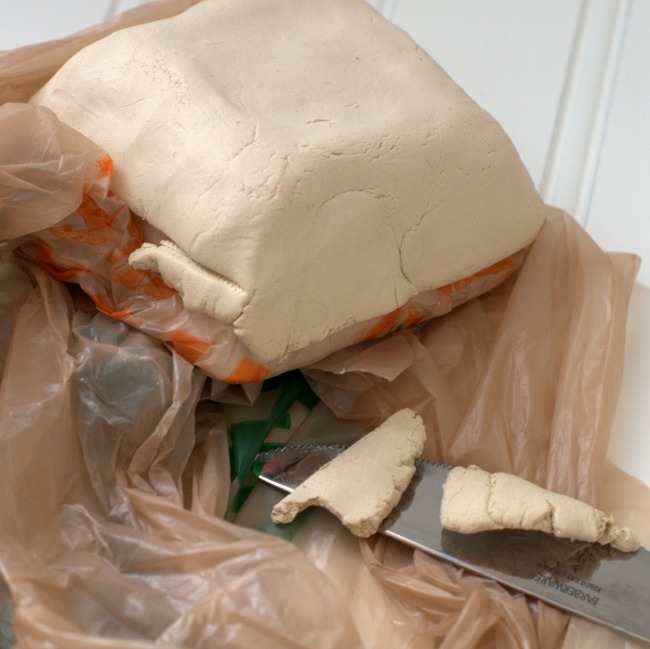
Form the clay slab over the back of the dish, sealing the edges as you go.
Form your slab of clay over the back side of the small dish. Make sure to connect edges and seal them really well. If need be, get your finger wet to glue the clay together.
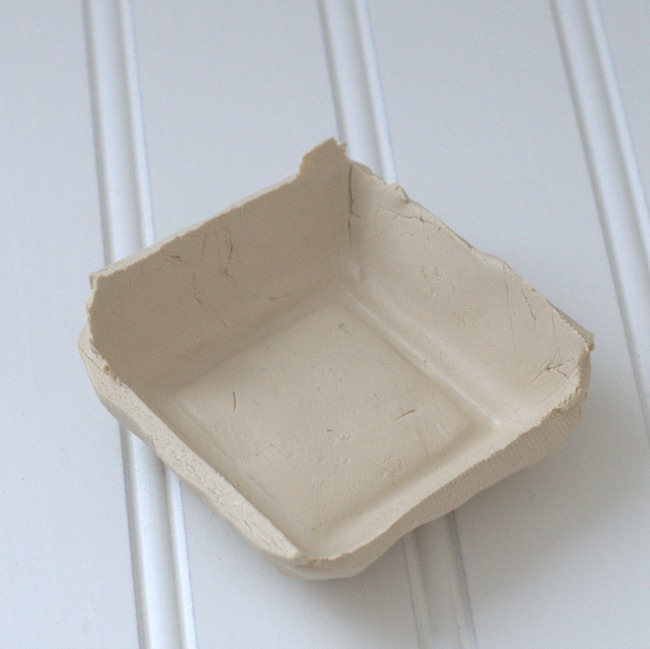
Trim the rim with a plastic or table knife for a neater edge.
Trim the edges so that they’re somewhat even. I used a table knife (shhh…don’t tell anyone!) but a clay knife or a plastic knife works really well for this.
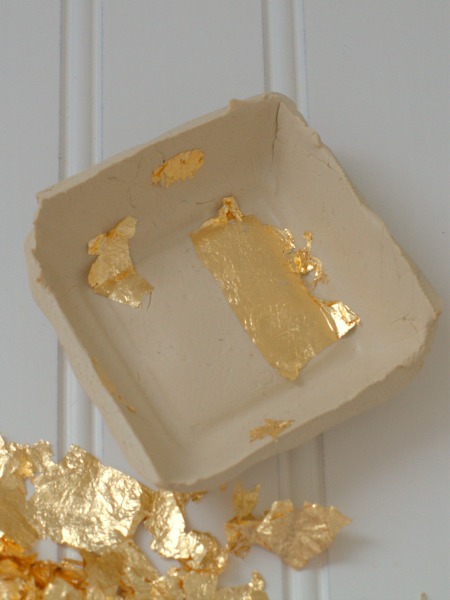
Carefully remove the clay dish from the mold once shaped.
Remove the clay dish from the small dish. Take care not to destroy what you just made. Carefully pull the bag away from the clay. You should now have a small dish shape. Like magic!
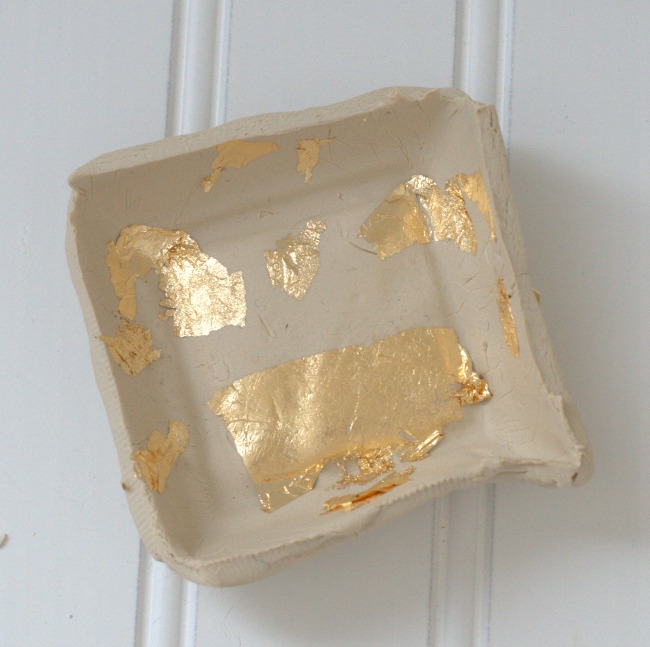
Randomly apply gold leaf flakes to the surface before the clay sets.
Take a few flakes of gold leaf and randomly apply them to your dish. Do this before the clay has a chance to set and dry. This is what makes it a clay ring dish with gold leaf flakes. The more random the gold leaf is, the better. If you’re asking yourself “Is this enough?” it’s the perfect time to stop.
Set your clay ring dish with gold leaf in a well ventilated, warm area, and let it air dry. This will probably take a couple days. You can speed it up with a blow dryer or a very low oven.
Before the clay dries, you may want to smooth out the edges with wet fingers. This will help you get a smooth rim and look a little more finished.
Once your clay ring dish with gold leaf is completely dry, enjoy it! It’s solid and sturdy, and so pretty.