Turn Buttons into Cute Easter Carrot Wall Art — Easy Step-by-Step DIY
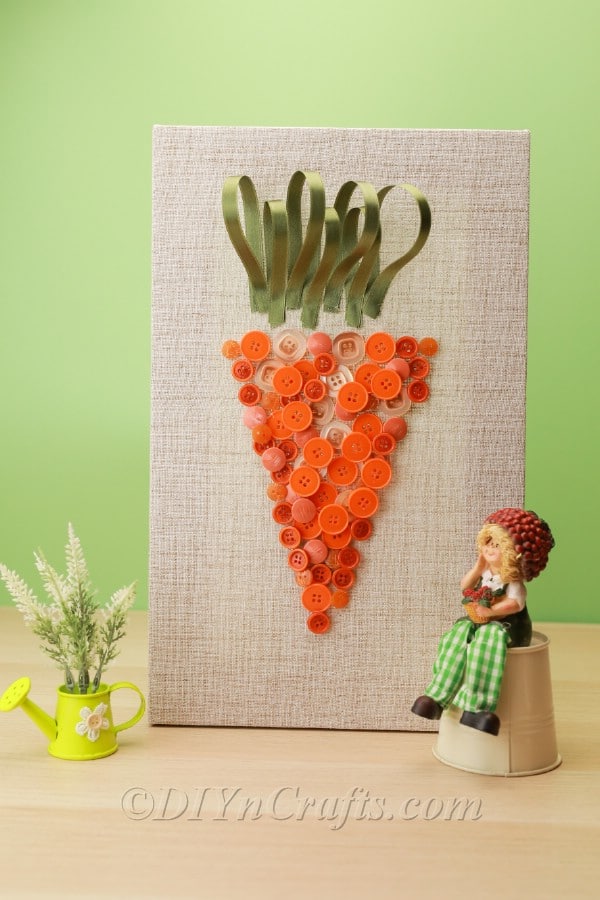
Brighten your home for spring with a charming DIY Easter carrot made from buttons. This simple, low-cost craft assembles orange buttons into a carrot shape on canvas and finishes the look with green ribbon loops for leafy tops. It’s a fun, customizable project that makes a cheery seasonal decoration or gift.
Below you’ll find a clear materials/tools list, step-by-step instructions, and helpful tips to make your own button carrot wall art. Follow the photos for visual guidance as you work.
Materials
- Canvas
- Orange buttons (various sizes and shades for interest)
- Green satin ribbon (for the carrot top)
Tools
- Scissors
- Pen or pencil
- Hot glue and glue gun
Instructions
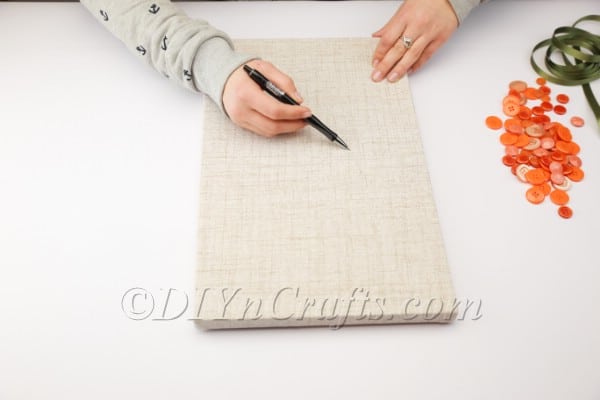
- Start by sketching the carrot outline on your canvas using a pen or pencil. The lines are only a guide and will be covered by buttons, so don’t worry about perfection. You can choose a stylized triangular shape or a more natural carrot silhouette depending on the look you want to achieve.

- Begin gluing orange buttons inside the sketched carrot outline, filling the shape. Arrange buttons of different sizes and shades to create texture and visual interest. Try to distribute colors and sizes evenly, or intentionally cluster them to create an ombré or patterned effect.
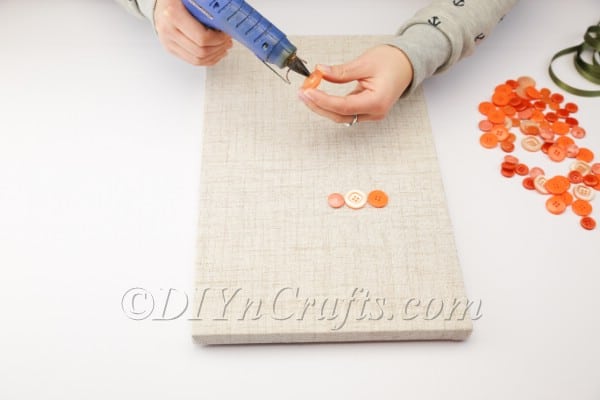
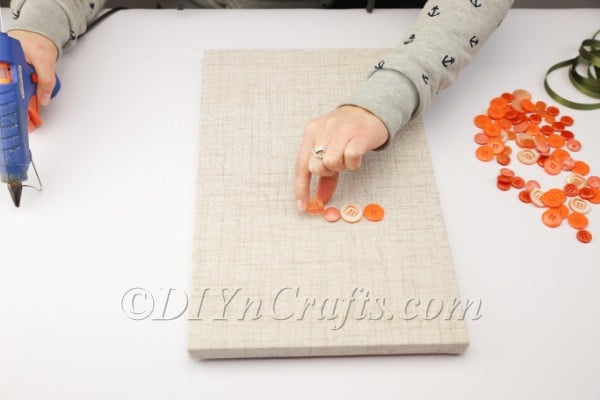
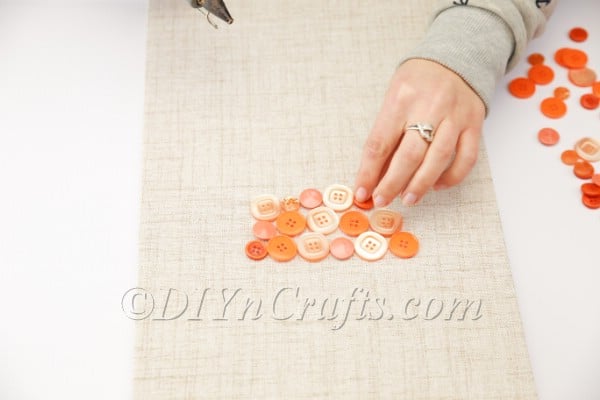
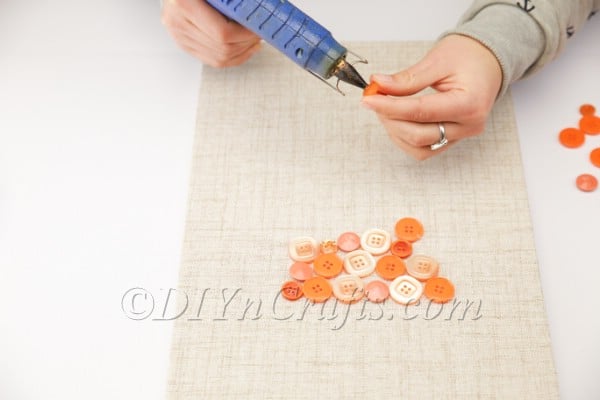

Once the initial layer of buttons is in place, check for gaps where the canvas shows through. Add extra buttons to thin areas, overlapping pieces slightly where needed to create depth and a fuller appearance.
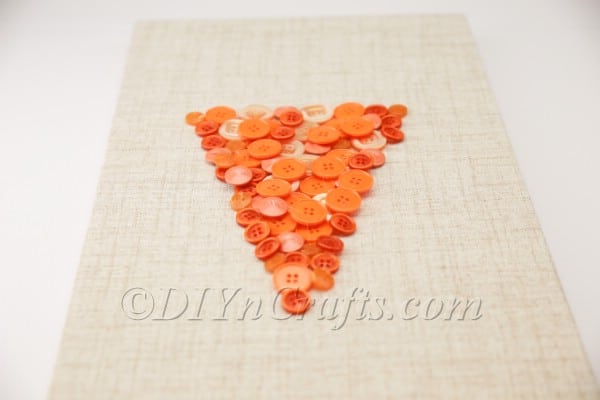
- Cut the green satin ribbon into several short lengths of equal (or similar) length, depending on the fullness you want for the carrot top.
- Form each ribbon piece into a loop and attach them to the top of the button carrot using hot glue. You don’t need to knot the ribbon; simply glue the looped ends to the canvas so they fan out like carrot greens.
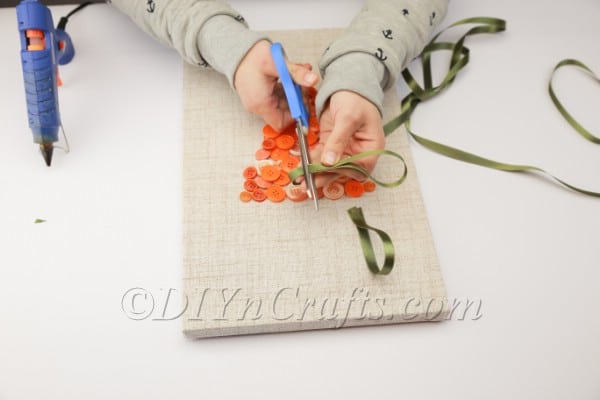
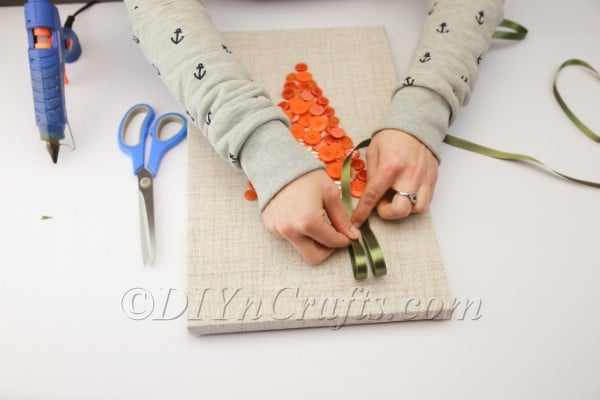
When the glue is dry and all elements are secure, your Easter carrot artwork is ready to display. You can frame the canvas, hang it on a wall, or prop it on a shelf or mantel as part of a seasonal vignette.
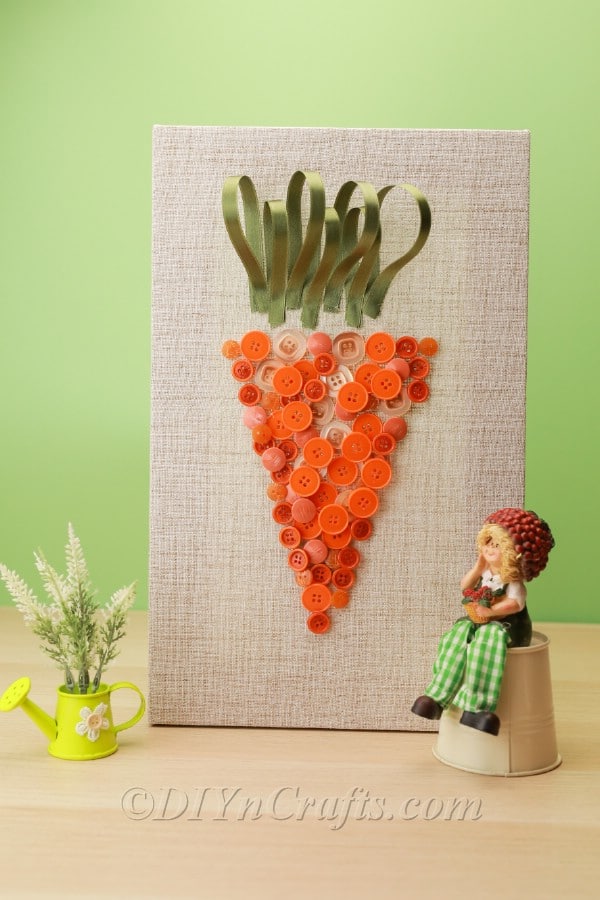
Finishing Tips & Variations
- If you prefer a more polished look, use a frame that complements your buttons and ribbon. A simple white or natural wood frame works well with bright orange tones.
- Try mixing in a few cream or light-yellow buttons to add highlights, or use patterned buttons for extra whimsy.
- Make multiple small canvases to create a gallery wall, or adapt the idea to make other Easter shapes like eggs, chicks, or a bunny silhouette.