DIY Easter Bunny Candy Bottle — Easy Step-by-Step Craft & Gift Idea
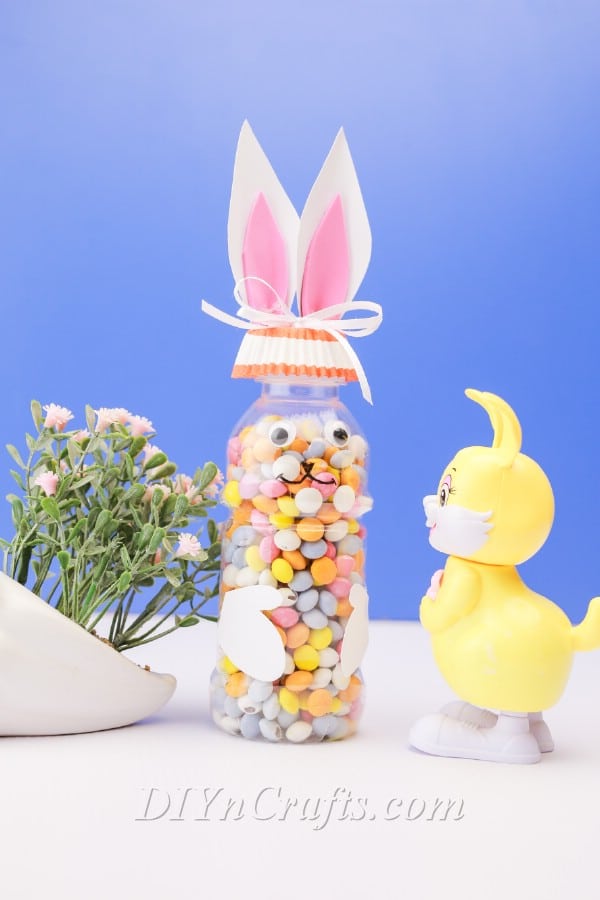
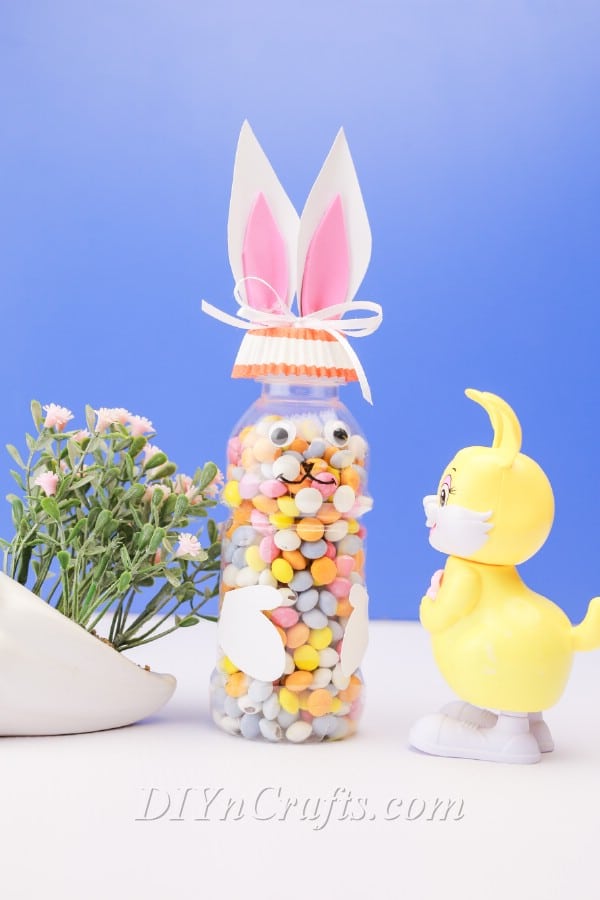
Make a charming Easter Bunny Candy Bottle to brighten your holiday table or to give as a sweet handmade gift. This simple craft turns a plastic bottle into a whimsical bunny filled with candy — great for parties, baskets, or classroom treats. Below are clear materials, tools, and step-by-step instructions illustrated with photos.
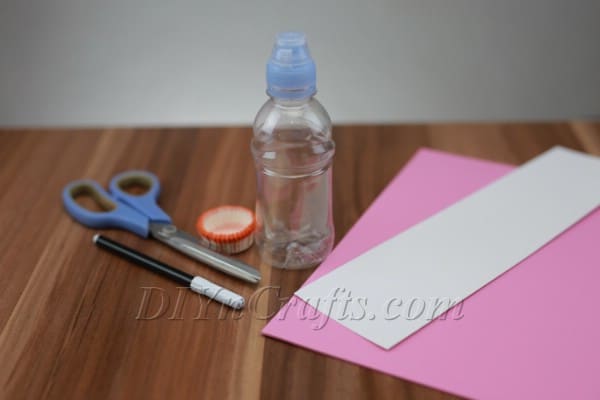
Materials
- Plastic bottle
- Pink foam sheet
- Candy cup (or small container to attach to the cap)
- White cardboard or cardstock (paper can also work)
- Googly eyes
Tools
- Scissors
- Hot glue and glue gun (or Elmer's glue for a kid-safe option)
- Black marker
Instructions
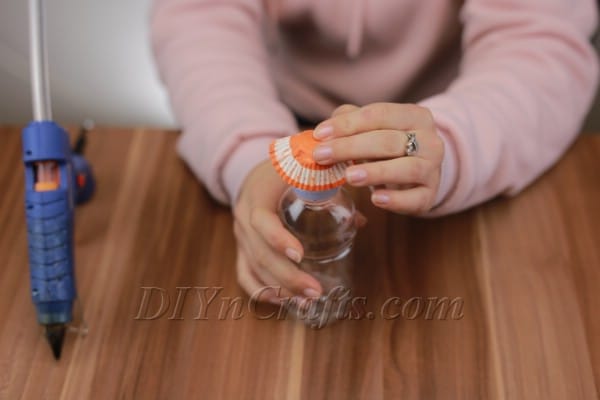
1. Attach the candy cup to the top of the bottle cap. This will create the bunny's head area and hold the candies.
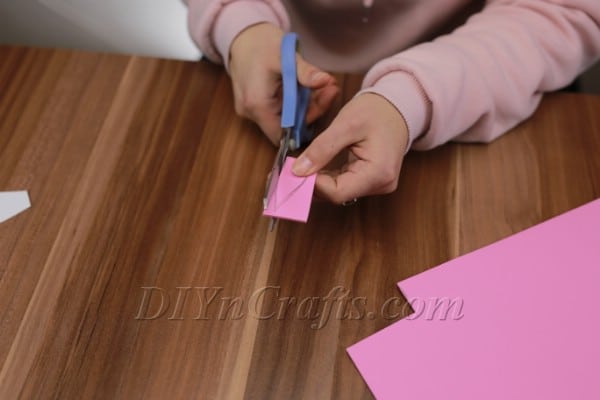
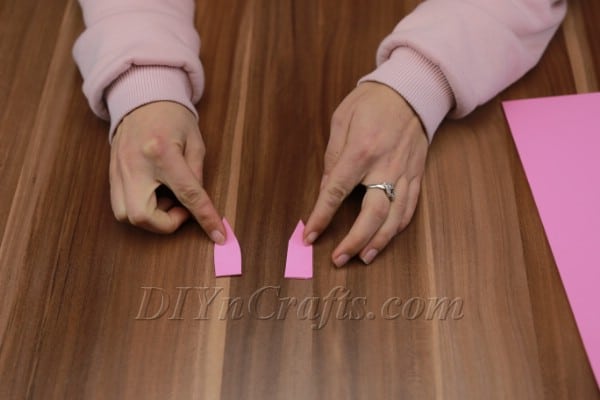
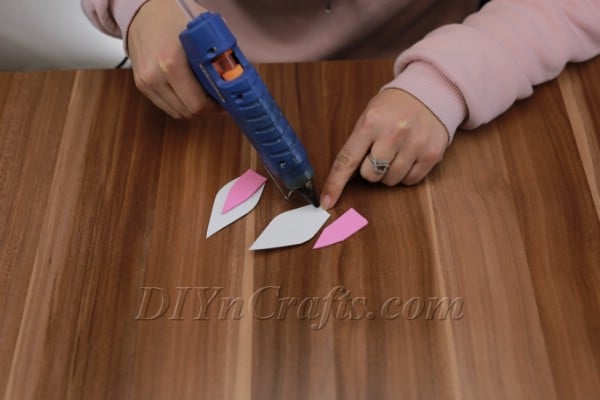
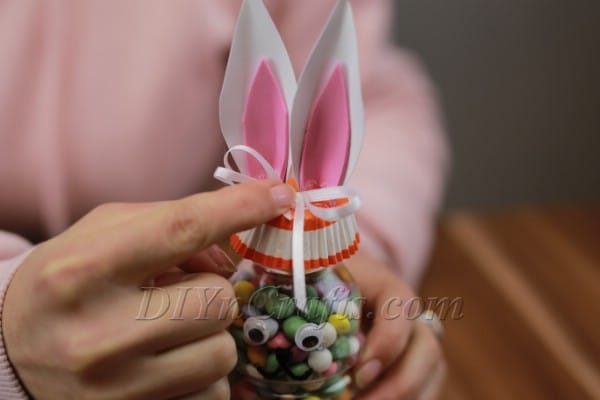
2. Create the bunny ears. Cut ear shapes from the white cardboard or cardstock, then cut smaller inner-ear shapes from the pink foam.
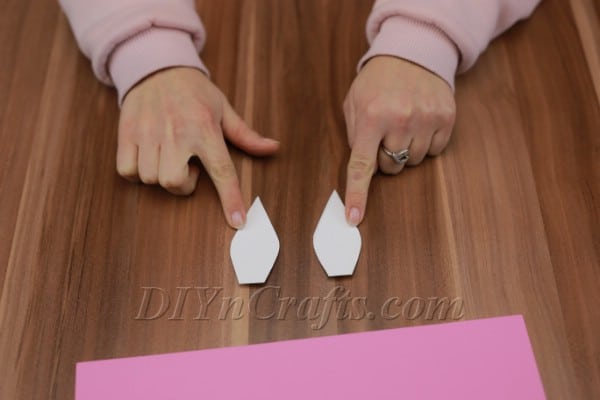
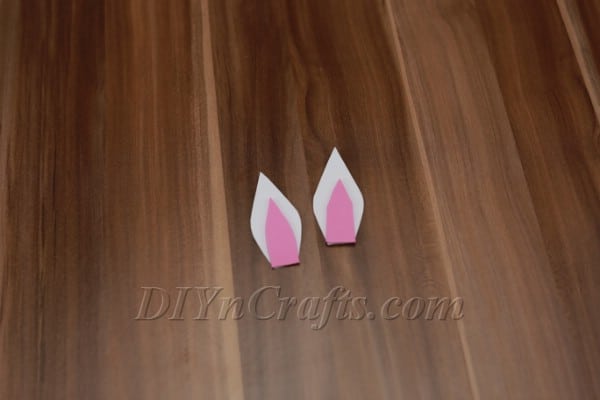
3. Attach the completed ears to the top of the candy cup with hot glue.
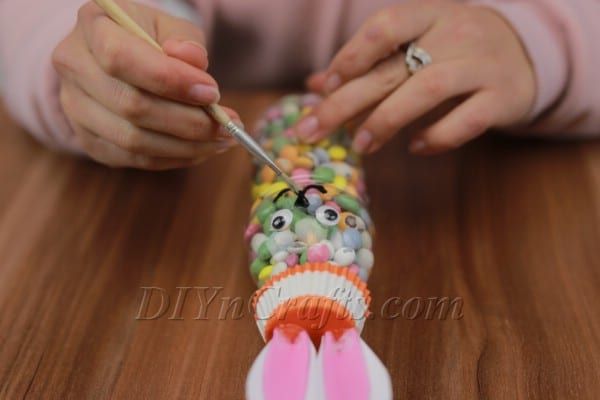
4. Glue the googly eyes to the front of the bottle. Place them where they look best for your design.
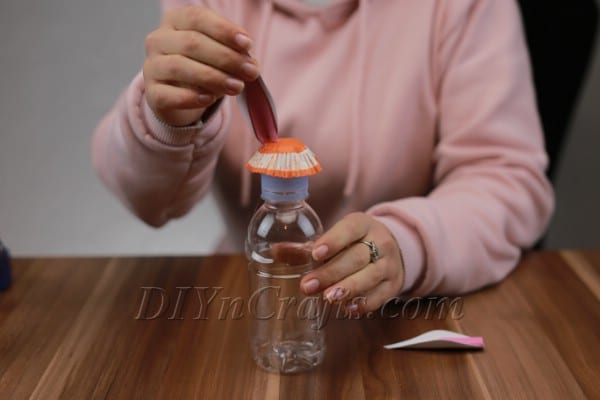
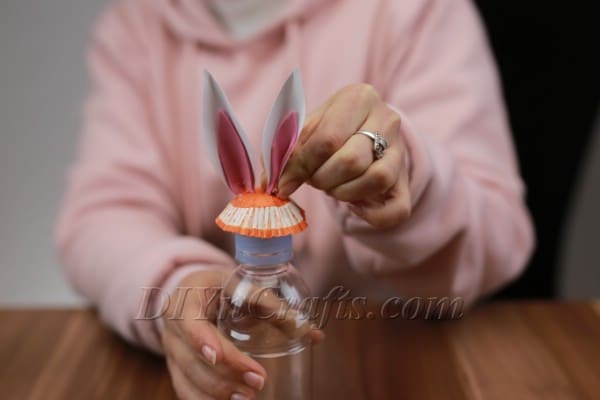
5. Use a black marker to draw a nose and mouth beneath the eyes.
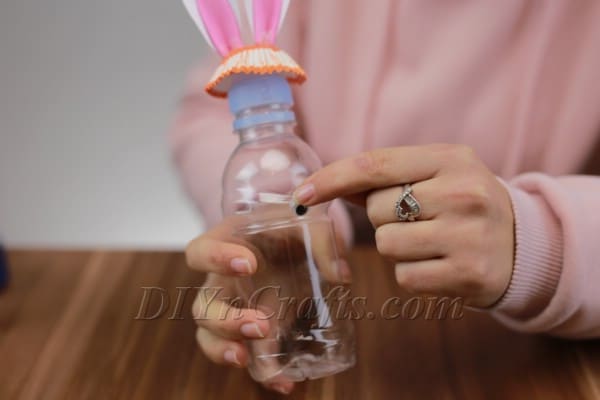
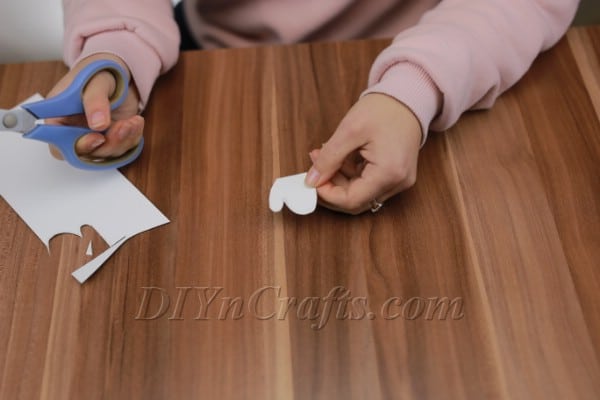
6. Cut out paw shapes from white cardboard and glue them to the sides of the bottle.
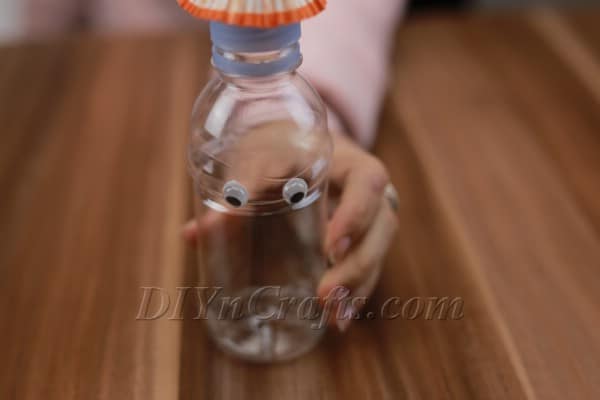
7. (Optional) Add a small ribbon or bow to the top or neck for decoration.
8. Fill the bottle with candy. You can uncap the bottle to pour candies in before or after assembling the decorations — if you attach the candy cup to the cap, you can screw/unscrew the cap to refill or reuse the bunny after the candy is gone.
Notes
- Hot glue gives a quick, secure bond but is not necessary — school glue (Elmer's) can be used for a kid-friendly alternative (it will take longer to dry).
- If you attach the candy cup to the cap rather than permanently gluing the cap to the bottle, you can refill the bottle or reuse it after the candy is gone.