Easy DIY Easter Bunny Vase — Step-by-Step Guide to a Charming Spring Centerpiece
Looking to add a touch of Easter charm to your home decor? Try this easy DIY Easter Bunny Vase — a simple, budget-friendly craft that turns two plain vases, some paint, and a few paper details into an adorable centerpiece. The taller vase nests inside the shorter one to form a removable “top hat,” making it easy to arrange and water real flowers.
This project covers painting the vases, drawing a bunny face, cutting a chipboard brim for the hat, and finishing with ribbon, ears, and paper flowers. Follow the step-by-step tutorial below to make your own festive bunny vase.
Looking to add a touch of Easter charm to your home decor? Why not try making a DIY Easter Bunny Vase! This fun and easy craft project involves transforming a plain vase into an adorable bunny face. Not only is it a great way to get into the Easter spirit, but it also makes for a cute and personalized centerpiece for your table. So why not grab your crafting supplies and hop to it? Your home will be looking festive and fabulous in no time!
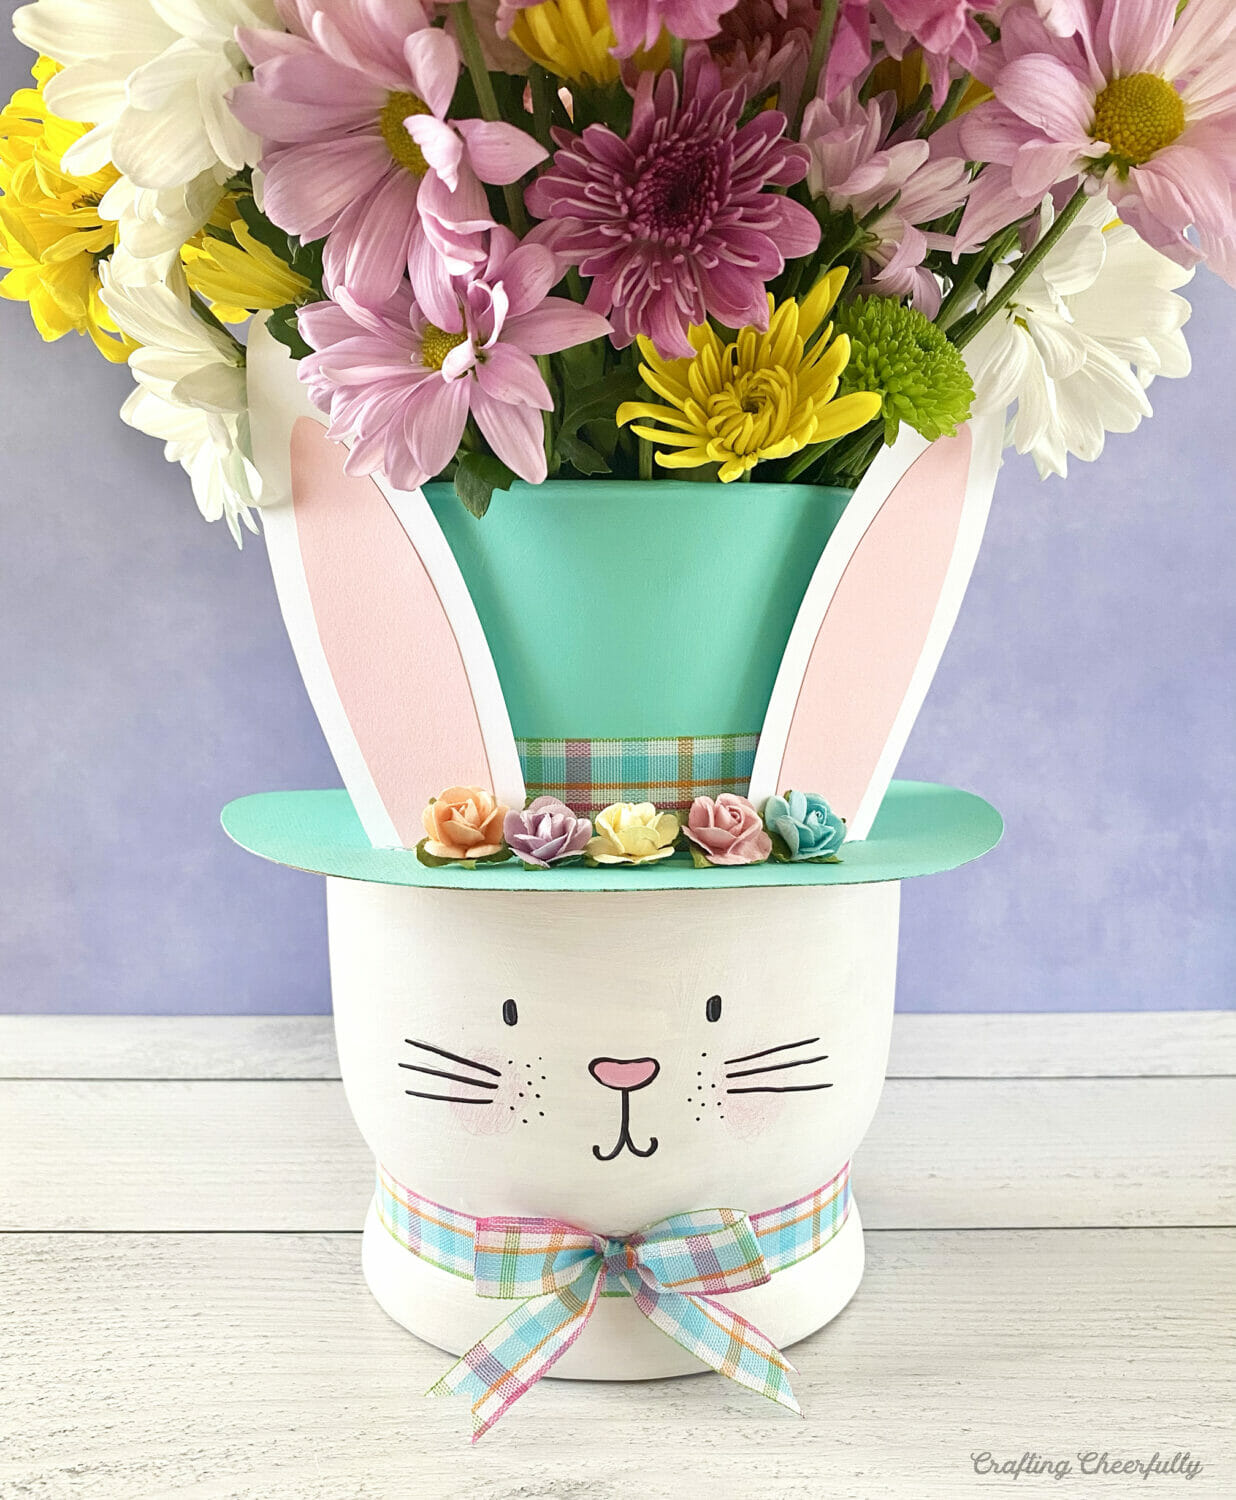
Finished DIY Easter Bunny Vase centerpiece with a bouquet of spring flowers.
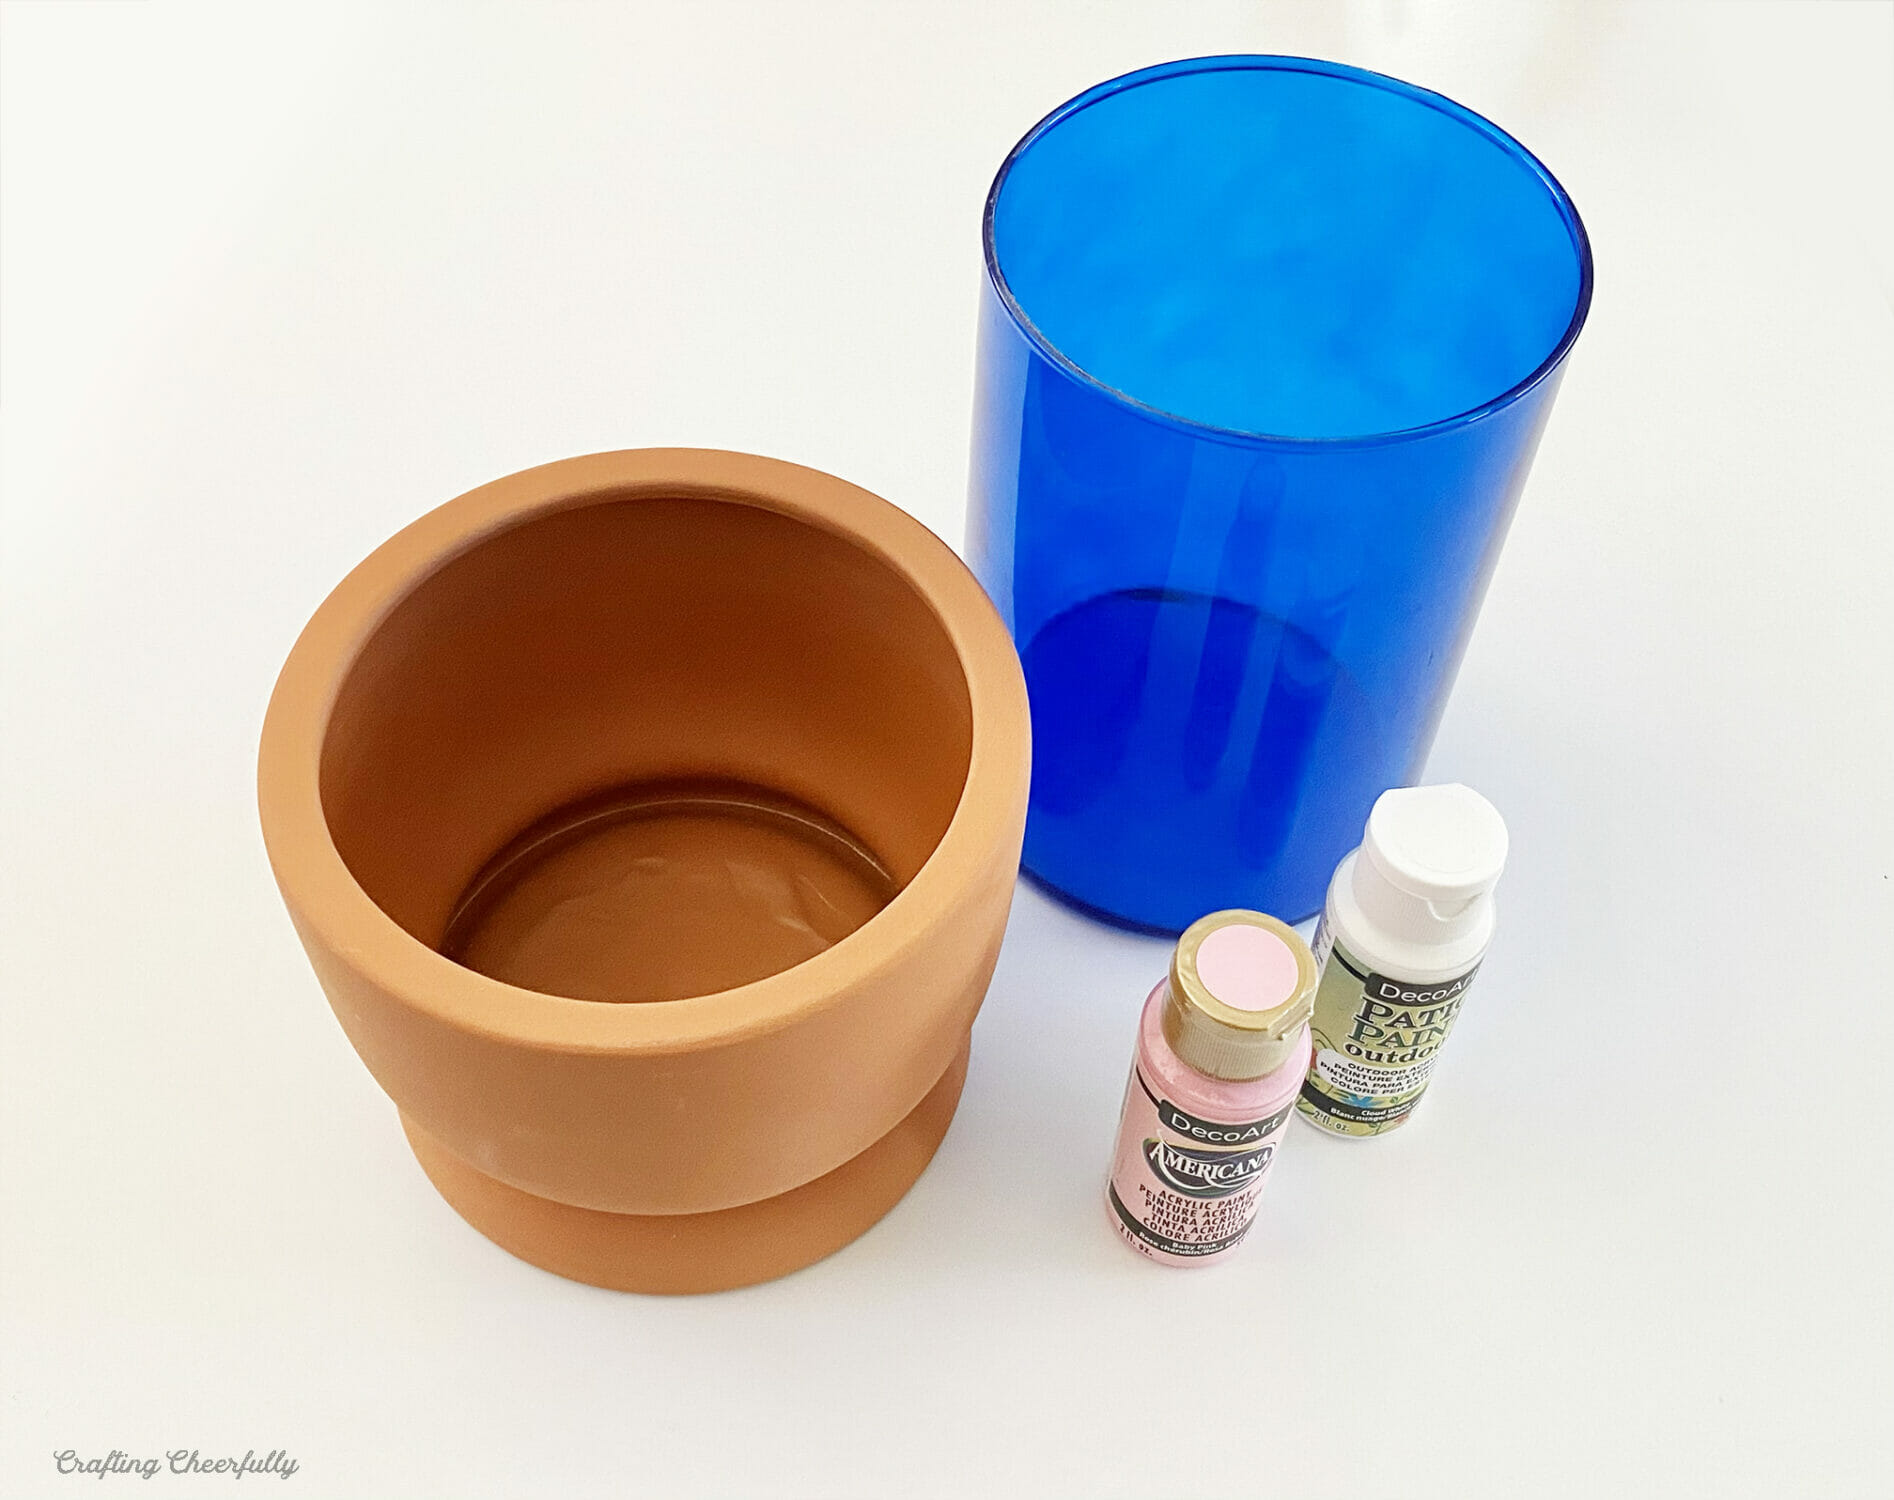
Supplies Needed:
Short terra cotta vase (mine was 6″ wide and 4.75″ tall)
Tall cylinder vase that fits inside the shorter vase (mine was 4.75″ wide by 7″ tall)
Acrylic paint – White, Sea Breeze, and Baby Pink
White and pink cardstock – I used white 110lb cardstock, just be sure to use something sturdy.
Chipboard
Black Sharpie
Pink Colored Pencil
Ribbon – I used a roll of 5/8″ plaid ribbon from Michaels.
Small paper Flowers – I used pastel paper roses from Michaels and cut off the stems.
Hot Glue
Step By Step Tutorial
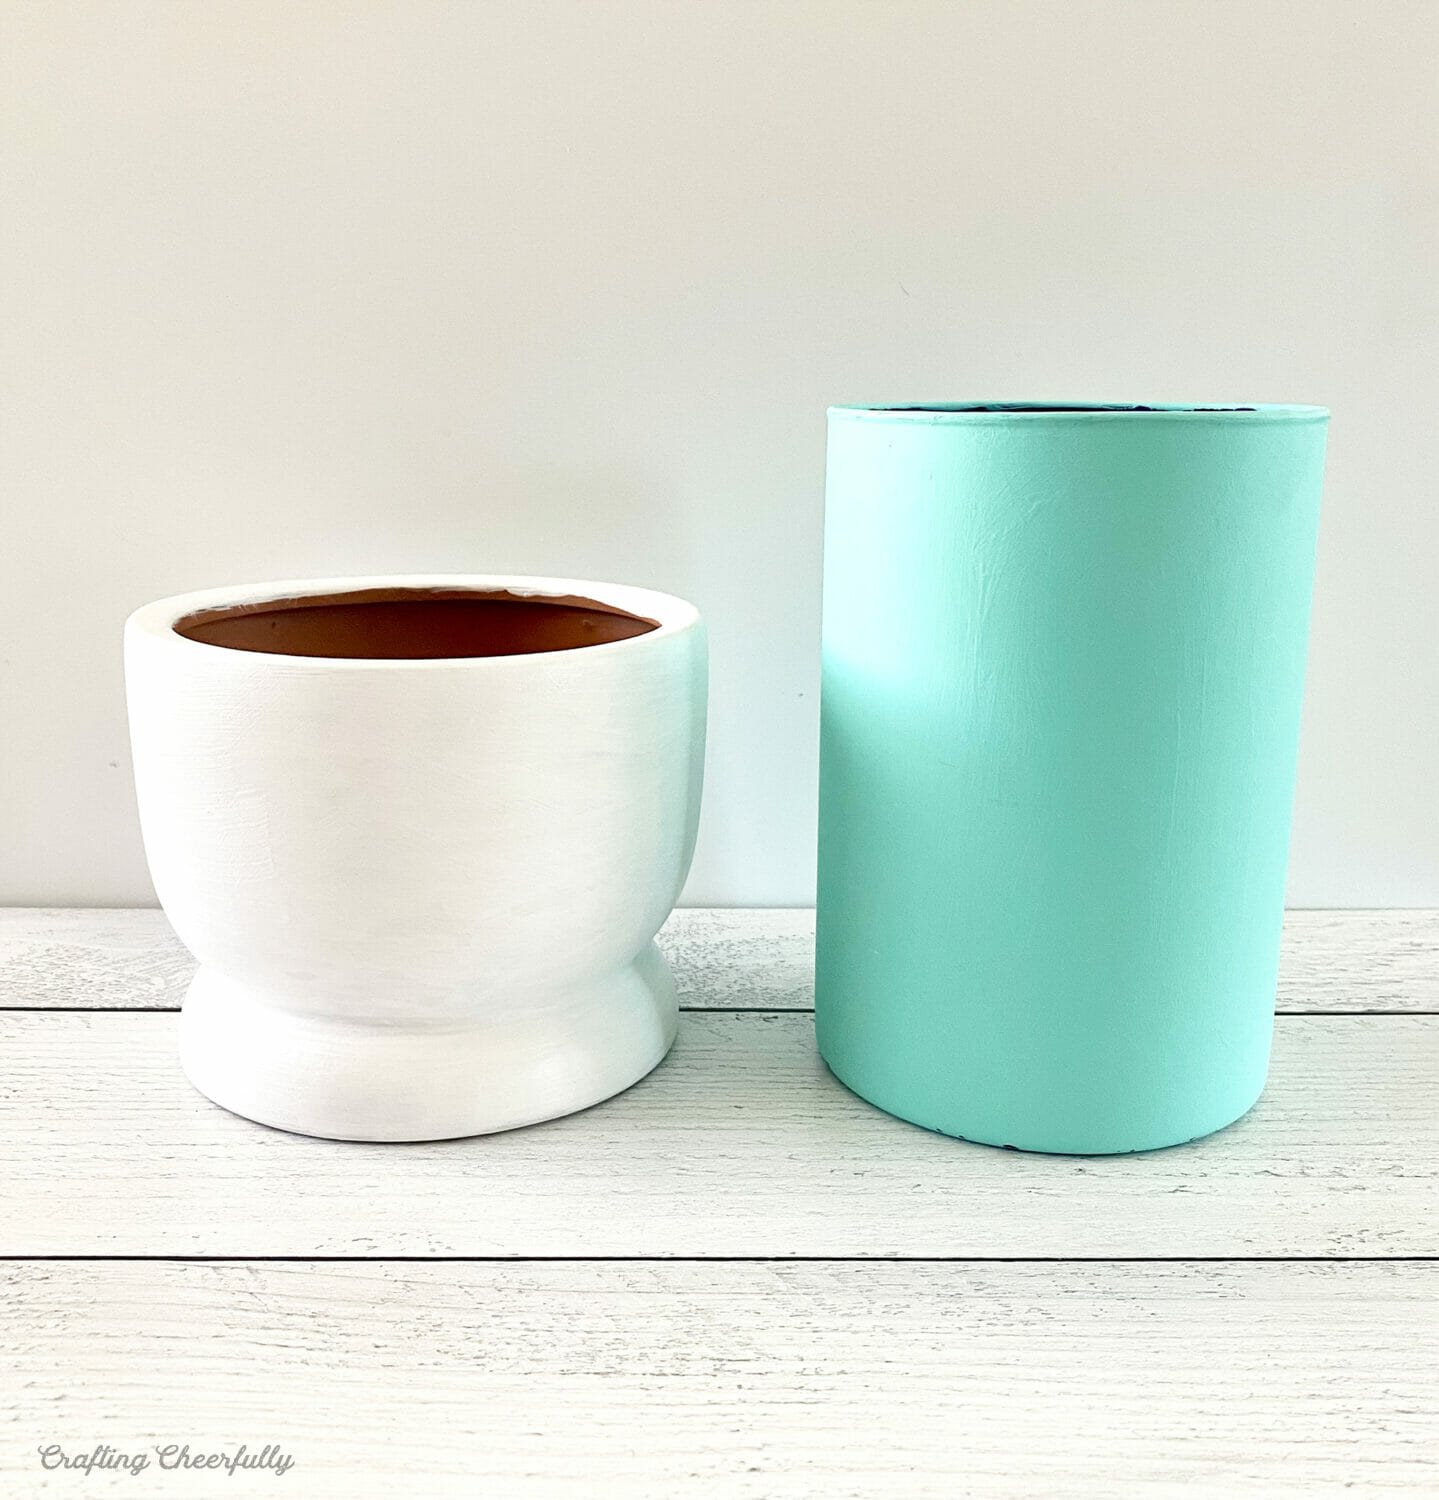
Step One: Paint the vases. Start by painting the two vases. Paint the short vase white to be the bunny’s face, then paint the tall vase teal (or any color you’d like) to be the bunny’s top hat.
Paint the short vase white and the taller vase teal to create the bunny face and hat.
Assembled vases ready for adding facial details and the chipboard brim.
Next, paint a cute bunny face on the white vase. I drew my face on the vase with pencil first, then went over it with black Sharpie. I used a pink colored pencil to add the cute cheeks and filled in the nose with pink acrylic paint.
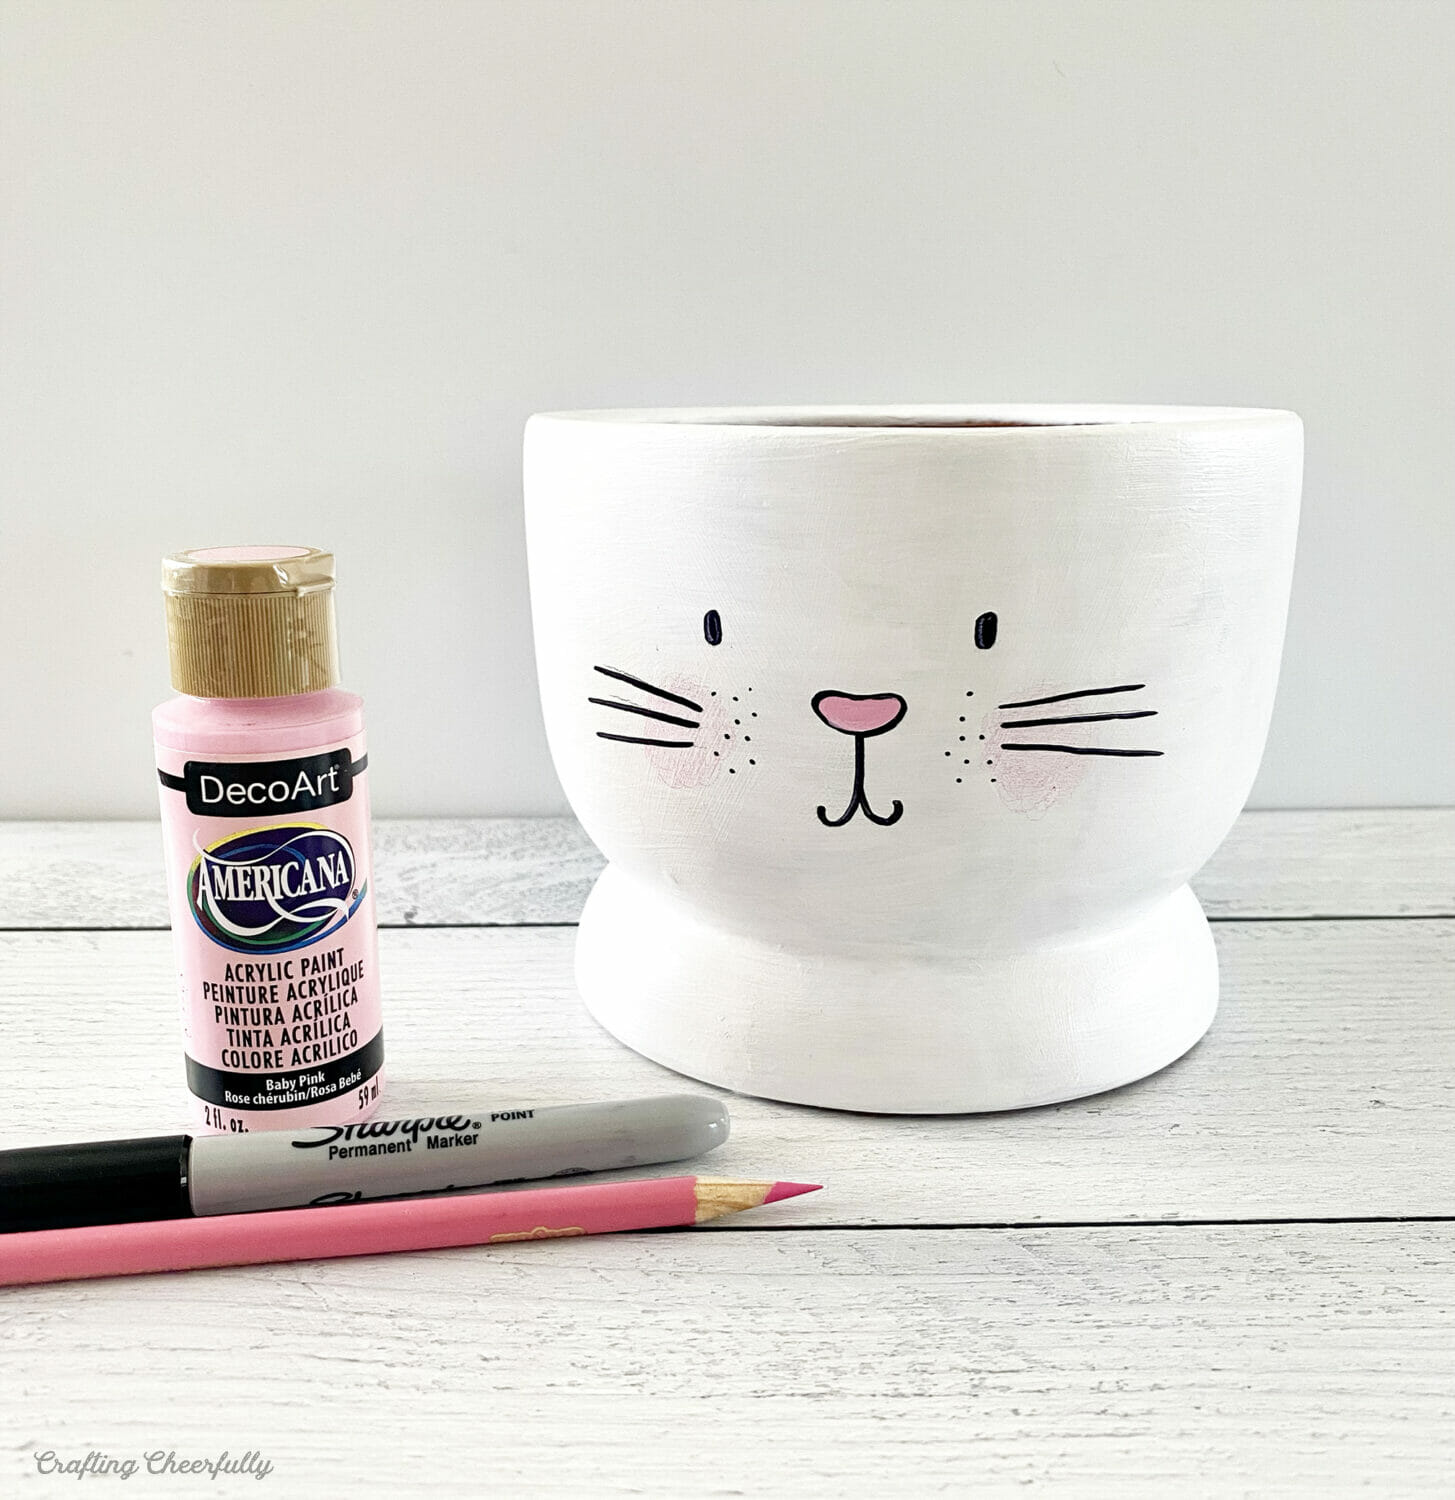
Draw the bunny face with pencil, go over with black Sharpie, and add pink cheeks and nose.
Step Two: Create the top hat. I created the brim of the top hat using chipboard. It rests on top of the smaller and wider vase and has an opening for the tall vase to fit inside it. I kept the brim separate from the tall vase so that the tall vase can be removed and easily filled with flowers. This also makes it easier to water the flowers without getting the brim wet.
Start by tracing the bottom of the tall vase onto a piece of chipboard.
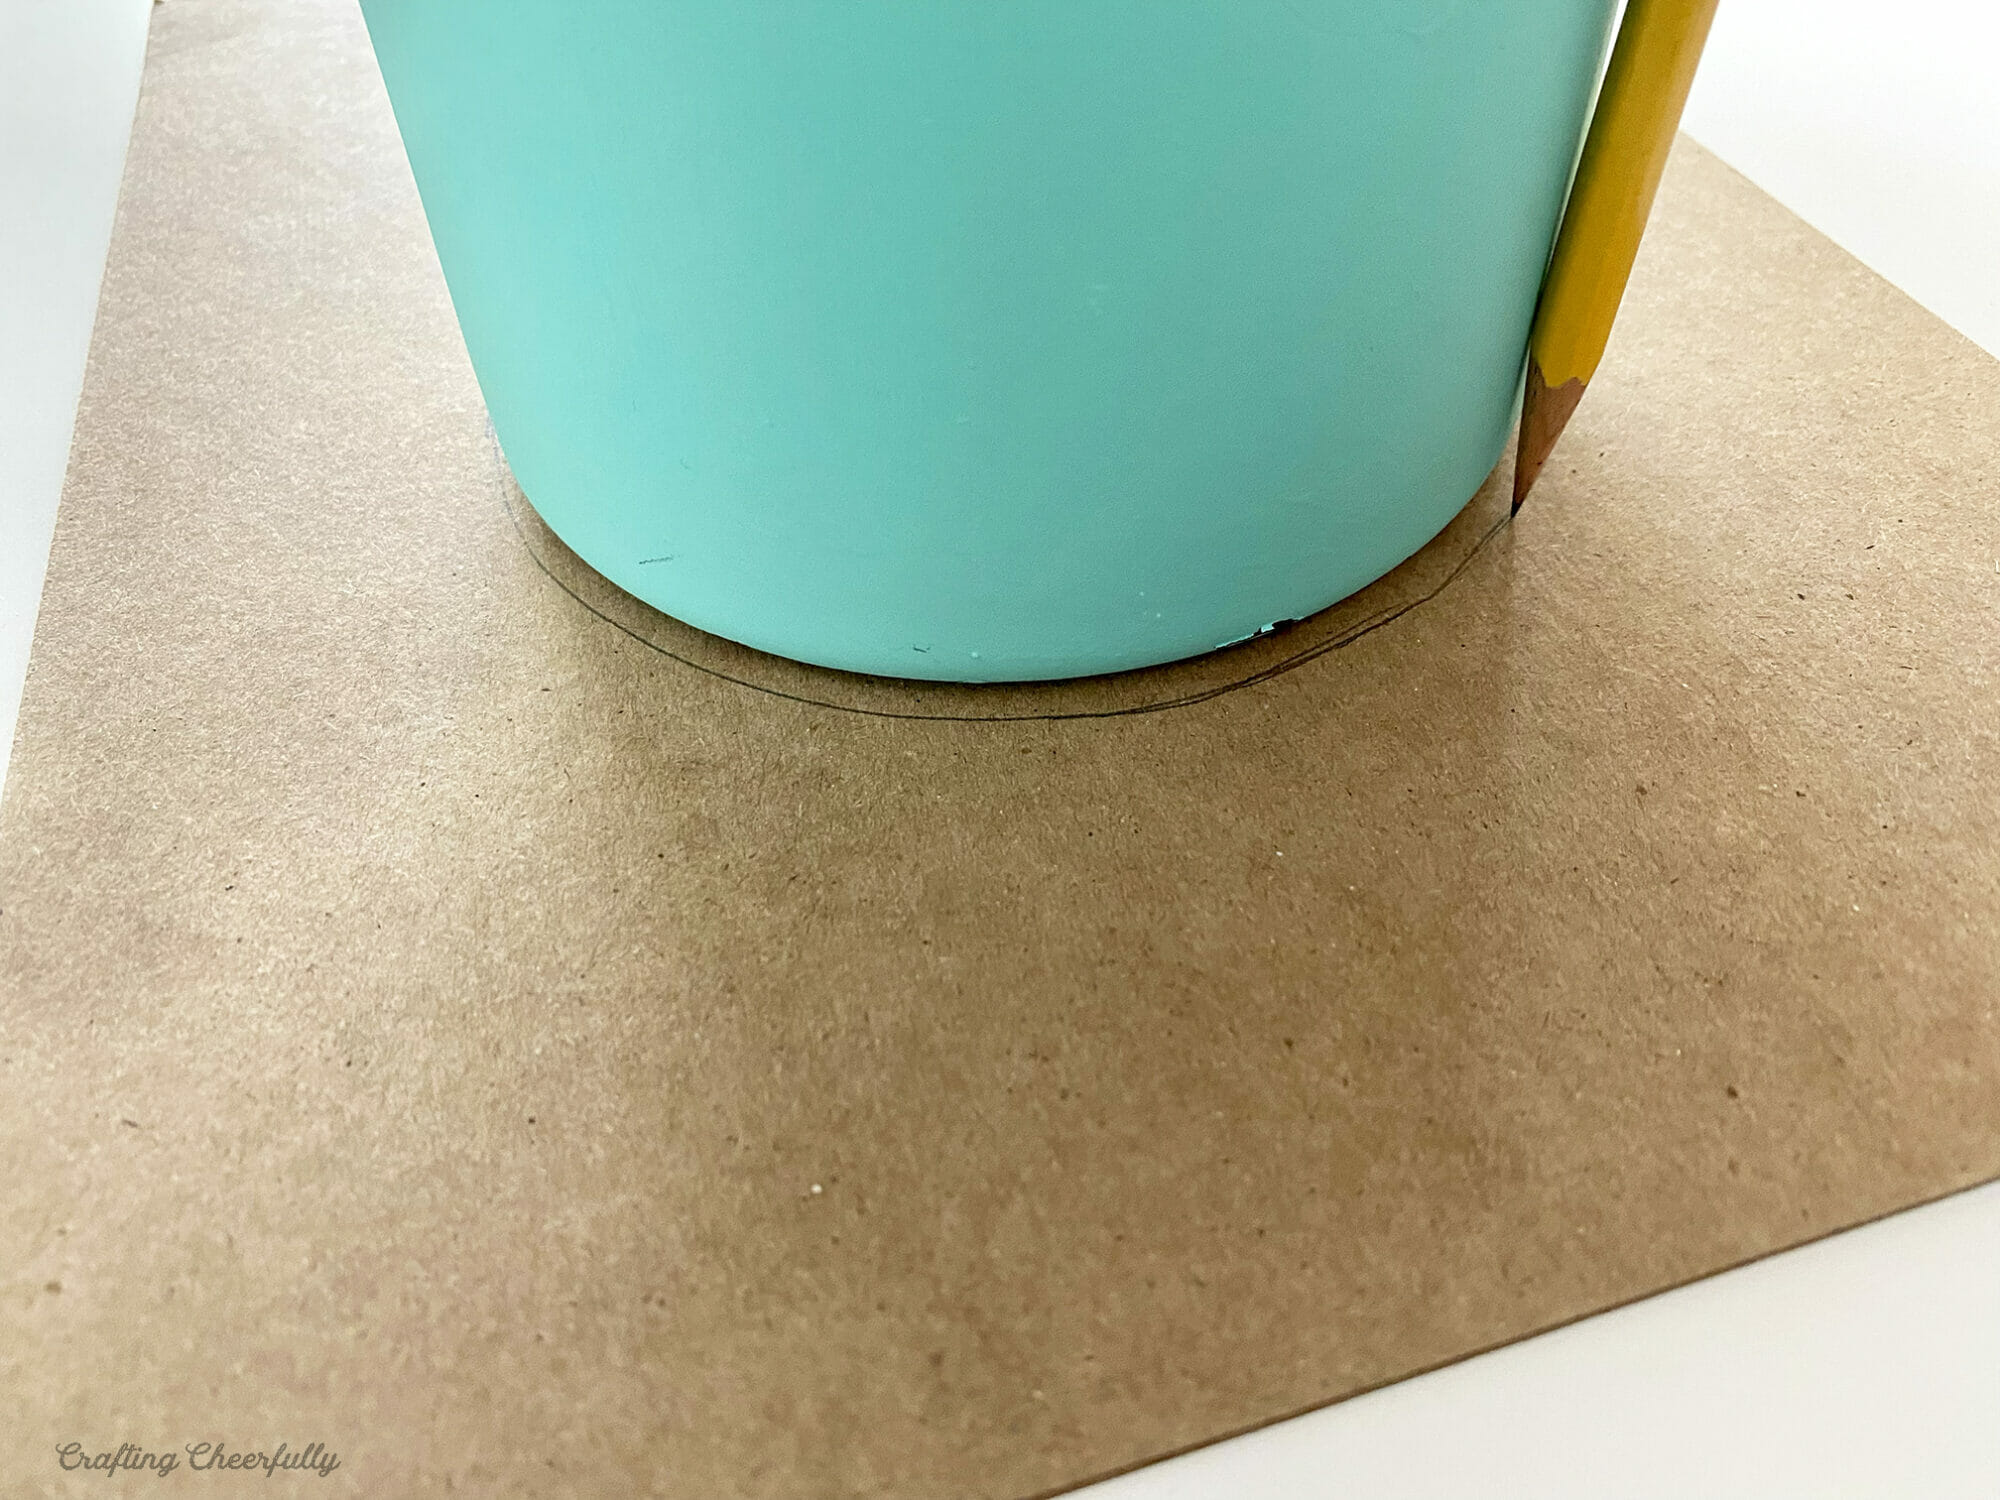
Trace the bottom of the tall vase onto chipboard to create the hat brim opening.
Use a ruler to add a second circle that is 1.5″ away from the first traced circle.
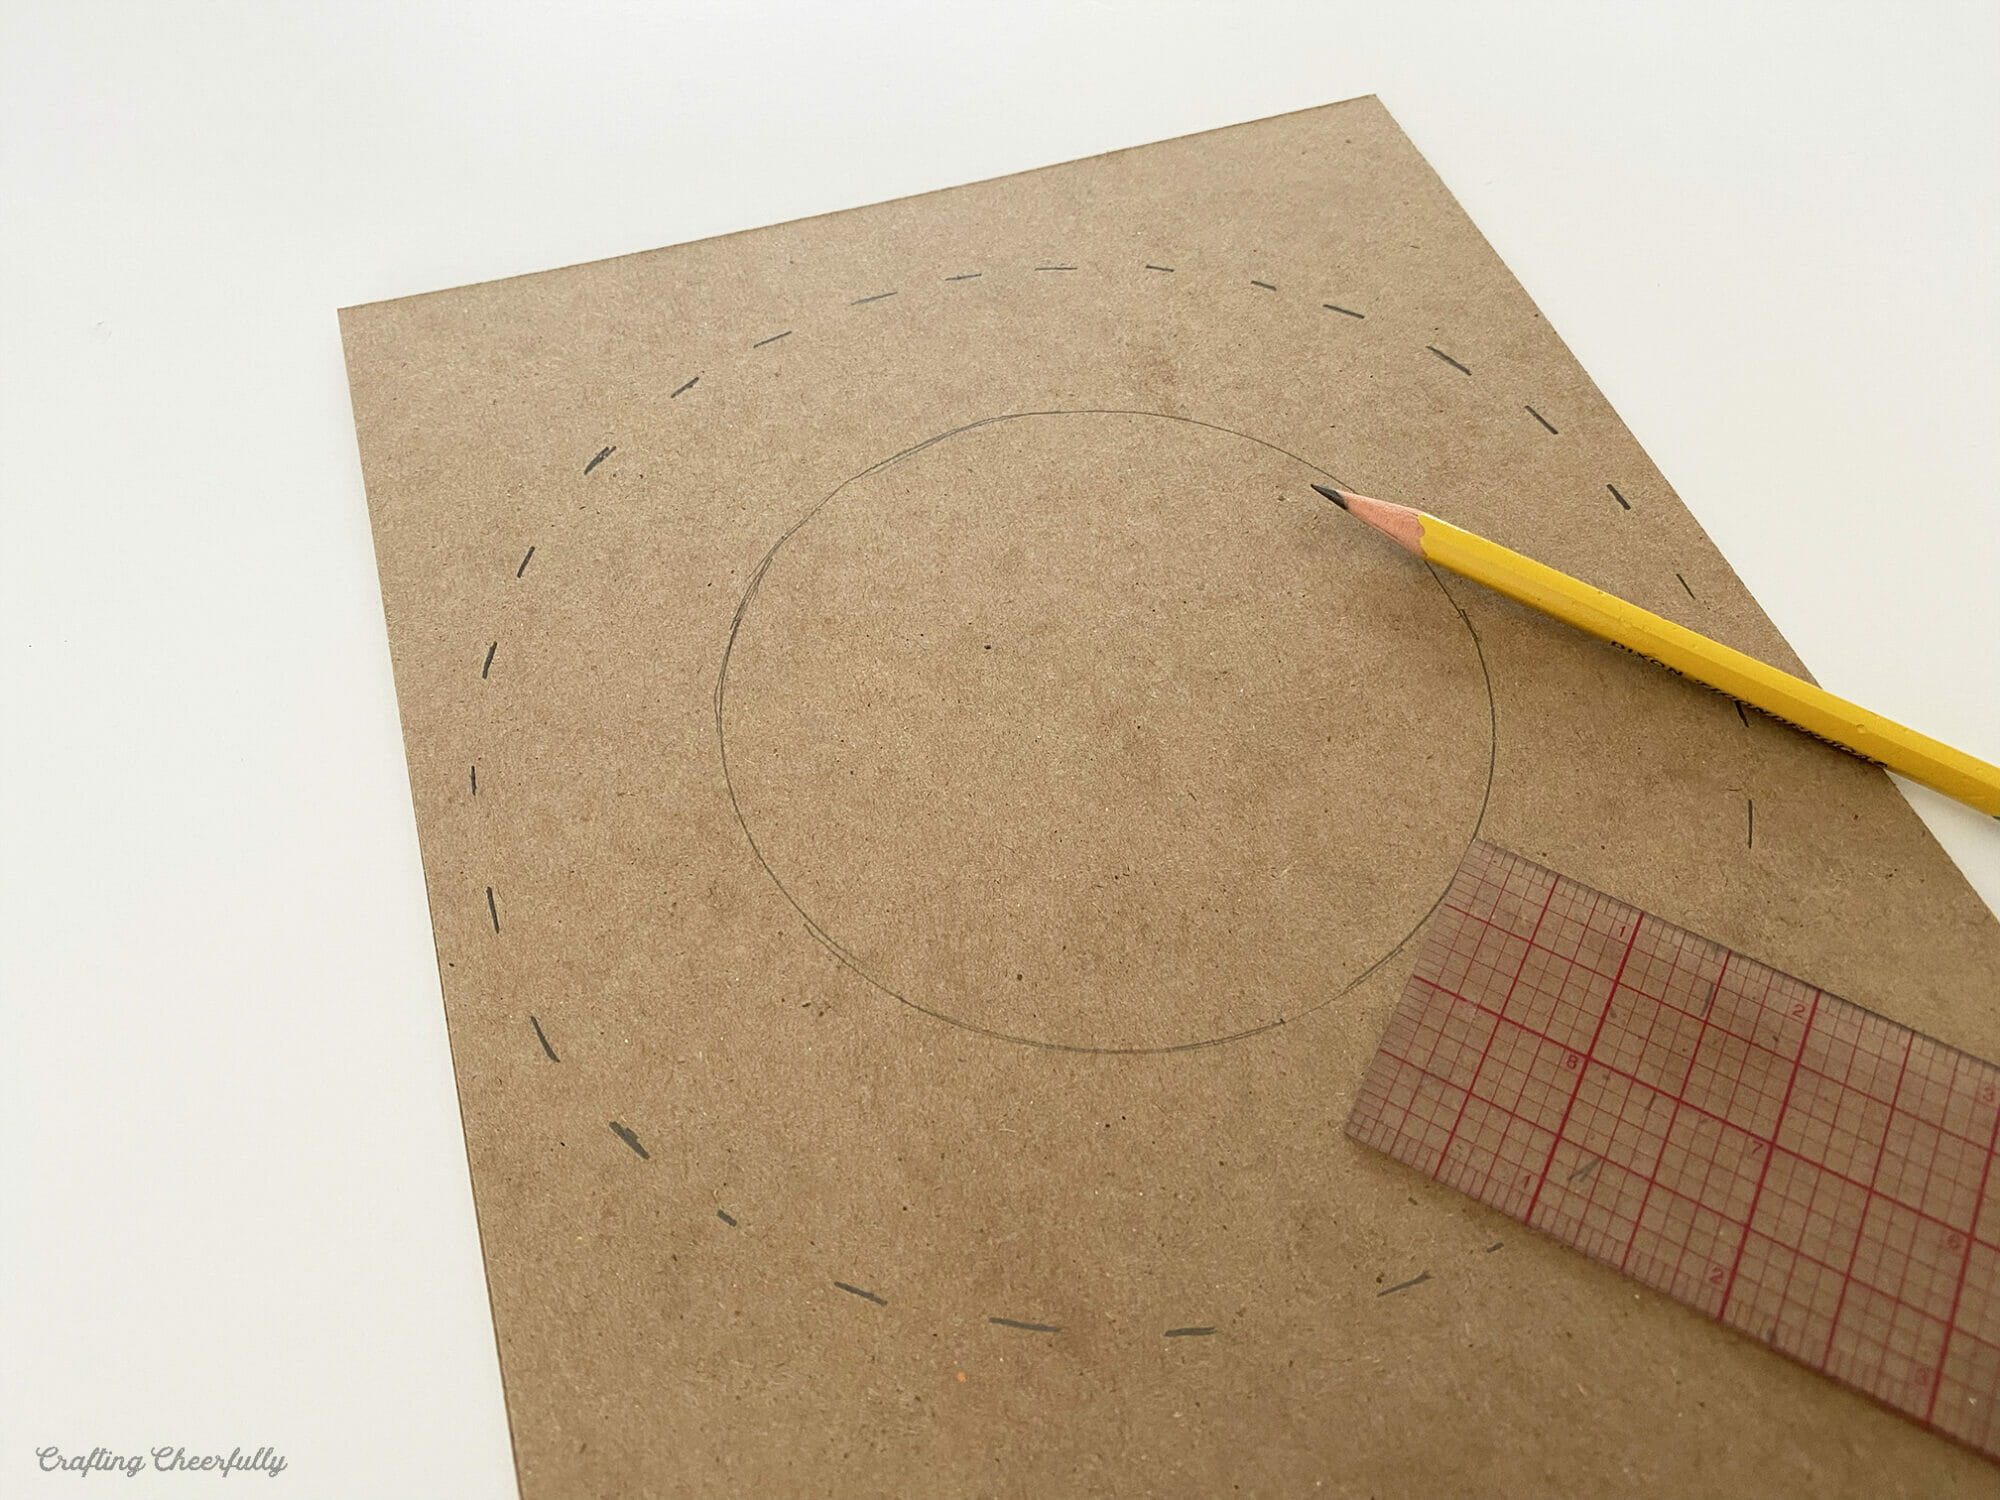
Mark a second concentric circle about 1.5" out to form the brim width.
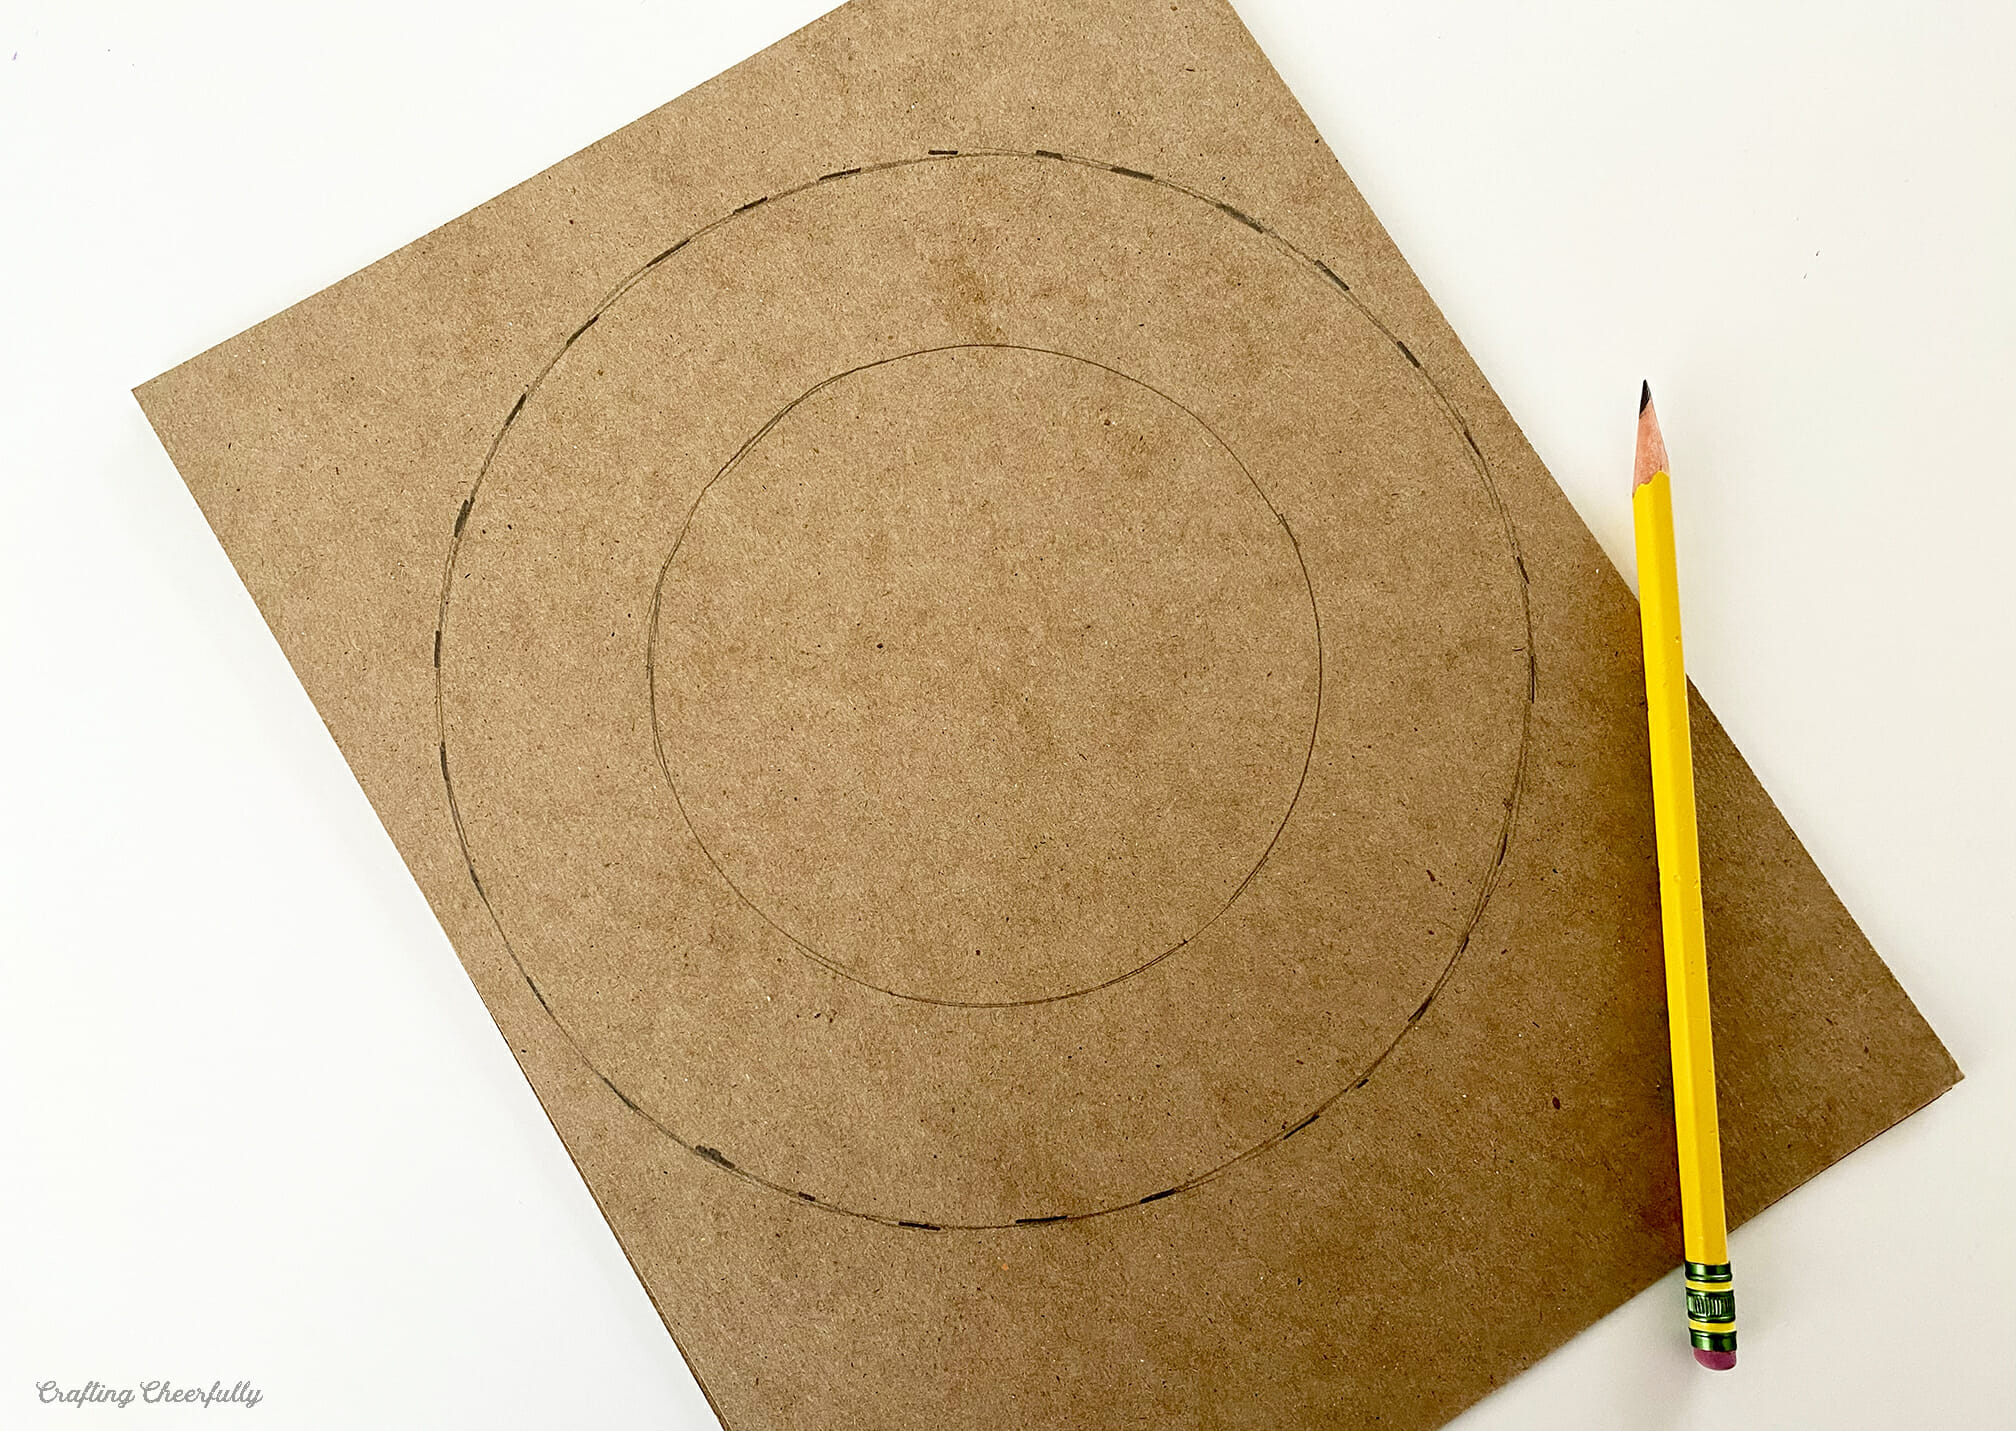
Cut out the brim and paint it to match the tall vase; press flat while drying for a neat fit.
Carefully cut out the brim and make sure the tall vase can fit inside it. You may need to trim a little away so that it can easily fit around the tall vase. Next, paint the brim the same color as your tall vase, for me this was teal. Once it has dried, place it under a stack of books to help make it lay flat. This brim will sit on top of the short vase with the tall vase inside it creating the illusion of a top hat.

The painted brim sits on the short vase with the tall vase inserted to create the top hat illusion.
Step Three: Use ribbon to add a bowtie and hat band. I used really cute plaid ribbon I found at Michael’s craft store. I doubled it to create a wider hat band and used hot glue to attach both the hat band and a bowtie.
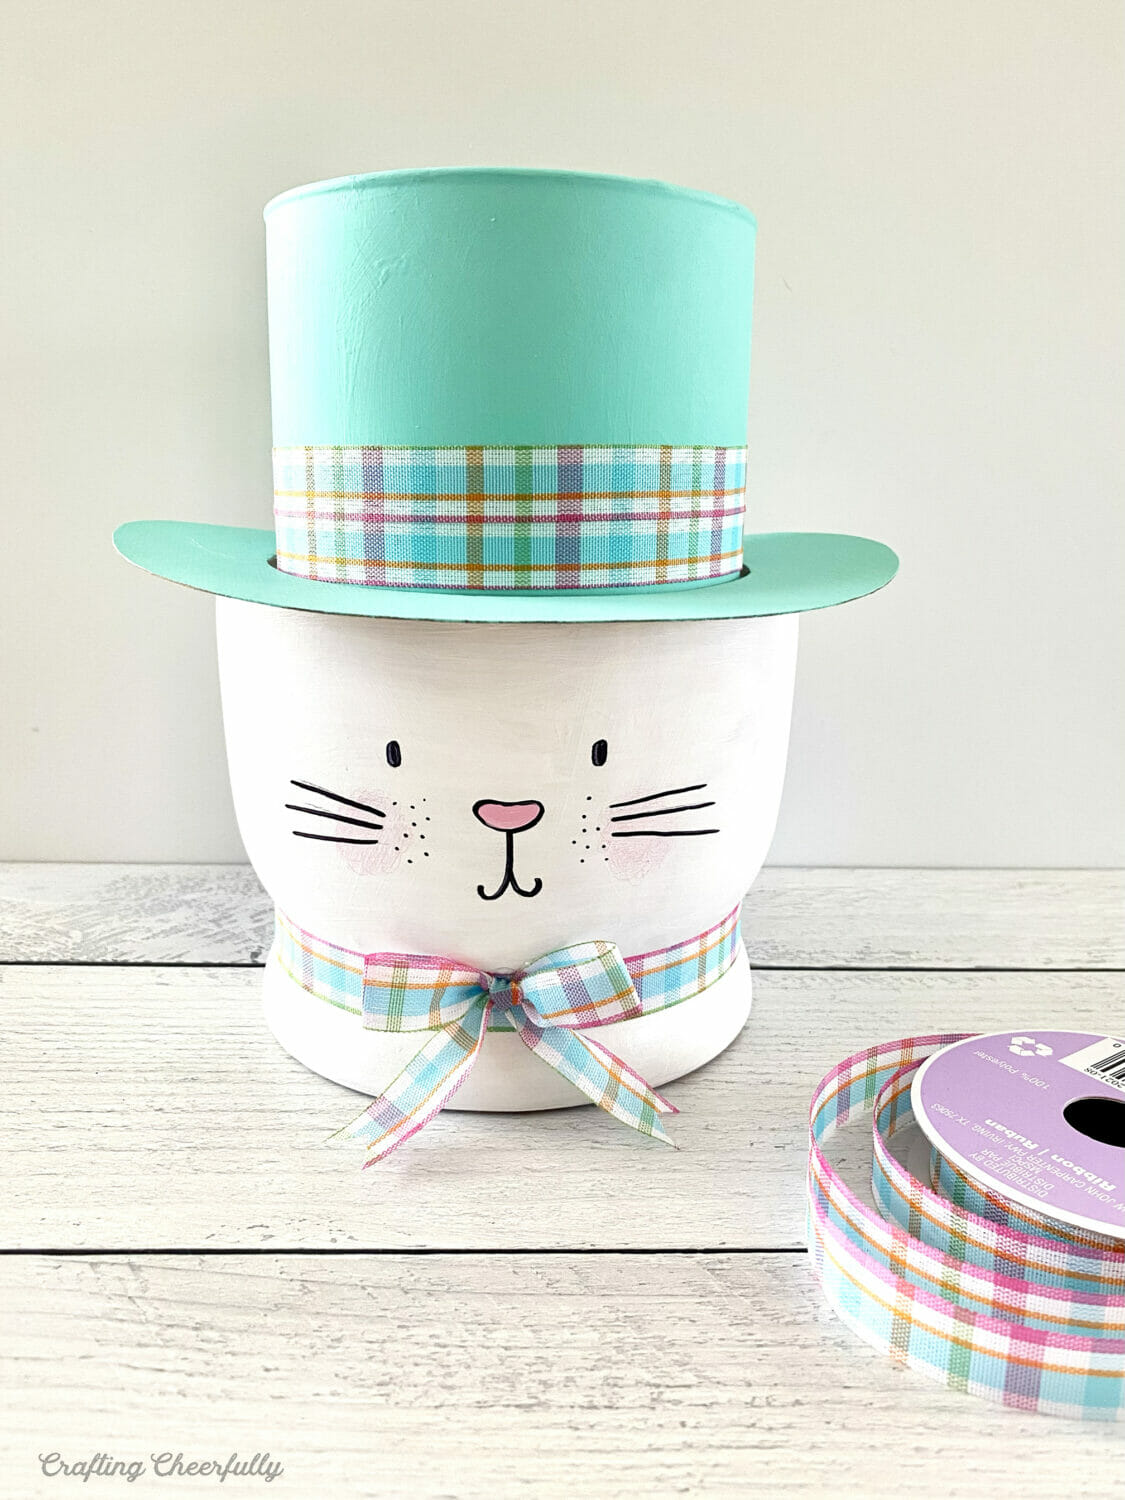
Attach a doubled ribbon band and a matching bowtie to the hat brim for extra charm.
Step Four: Add bunny ears and flowers to the hat brim! Cut two bunny ears from white cardstock and add pink paper to the center each ear. I used 110lb white paper so they are nice and sturdy. Glue the bottom of them to the top of the hat brim using hot glue.
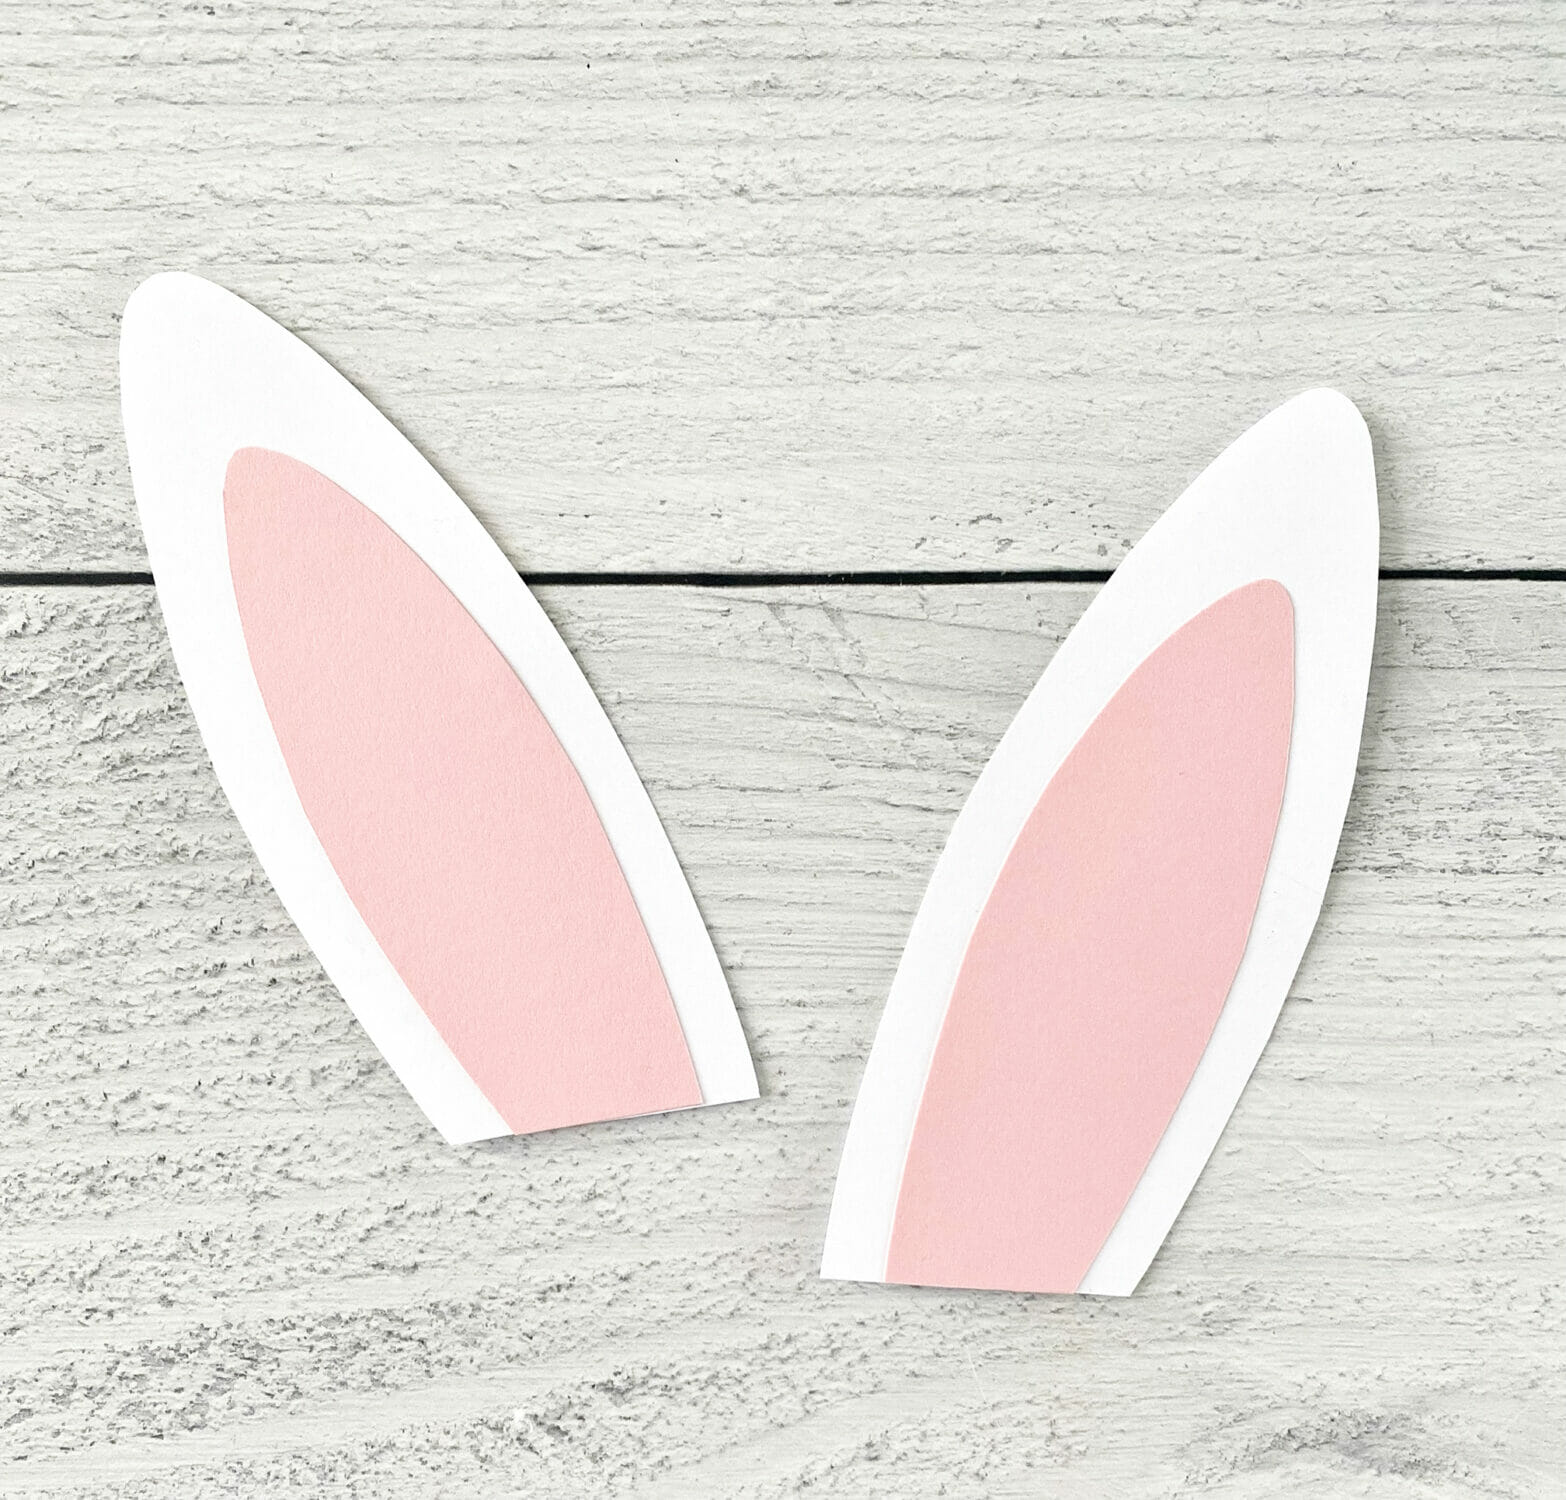
Cut sturdy cardstock ears and glue pink centers, then attach them to the brim.
Add small flowers to decorate the hat brim between the two ears.
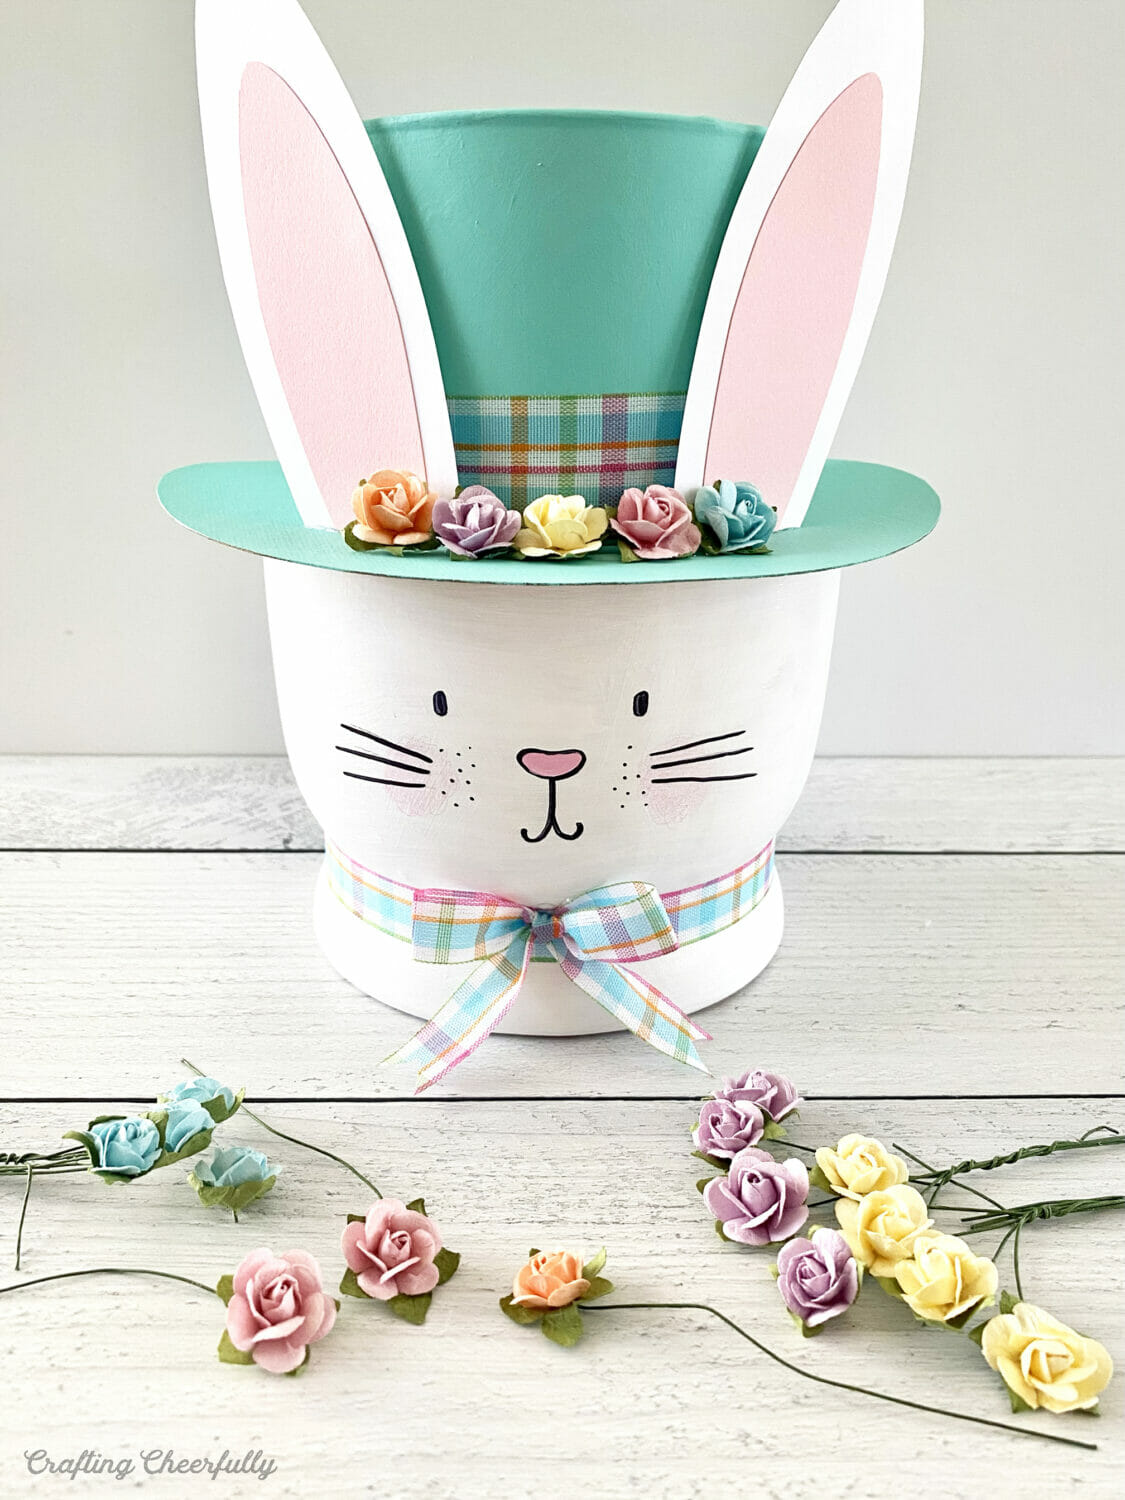
Final decorative touches: paper flowers and ribbon finish the adorable bunny hat.
The bunny vase is finished! I filled my tall vase with a bouquet of spring flowers and placed it in the shorter vase. Because the tall vase is removable, it's easy to fill, arrange, and water the flowers without getting the hat brim wet. Enjoy your festive centerpiece for Easter and spring!