Make an Adorable DIY Felt Bunny — Easy Step-by-Step Tutorial & Template
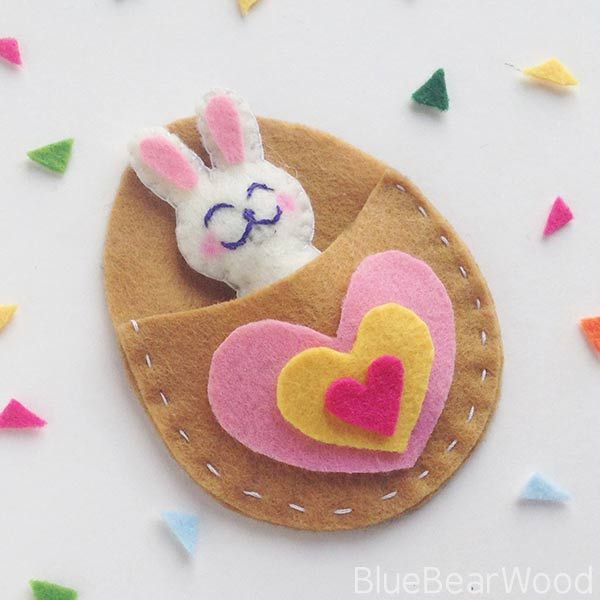
Create your own adorable DIY felt bunny with simple supplies and easy sewing techniques. This quick project is perfect for beginners and makes a sweet little gift or seasonal decoration. You can customize colors, add a bow or button eyes, and pair the bunny with a cozy felt egg bed for a finished pocket pal.
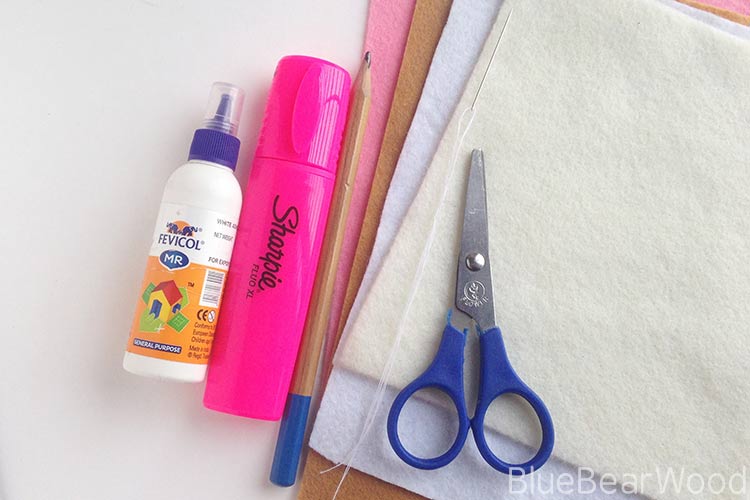
Materials Needed For The Felt Bunny Craft
- Wool-blend felt (recommended) — 100% synthetic felt can be stiff and harder to sew for soft toys
- Felt fabric — examples used: white, ivory, yellow, pink, bubble gum pink, latte/caramel (color names vary by supplier)
- Sharp scissors
- Craft glue or fabric glue (tacky white glue works well)
- Needle and thread
- Pink highlighter or felt tip for blush
- Pencil — for tracing the template
Felt Bunny Craft Template
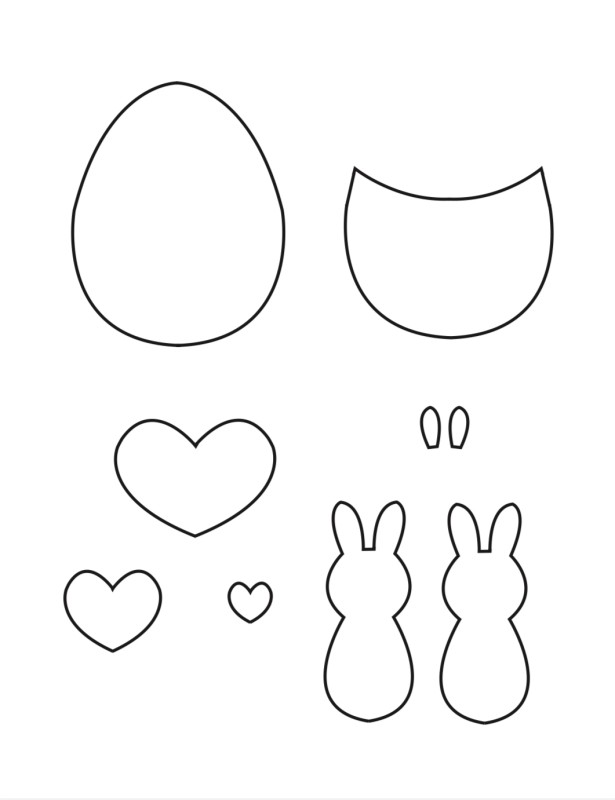
Although this tutorial uses felt, you can also use other scrap fabrics. Be aware that raw edges on woven fabrics will fray over time unless they are hemmed or finished.
How To Make Your Felt Bunny
Cut Out Your Fabric Pieces
Print the bunny template and cut out the paper pattern pieces. Use a pencil to trace each pattern piece onto the selected felt fabrics. Cut the pieces out cleanly and, if you like, lightly draw a bunny face on one of the front silhouette pieces to guide stitching.
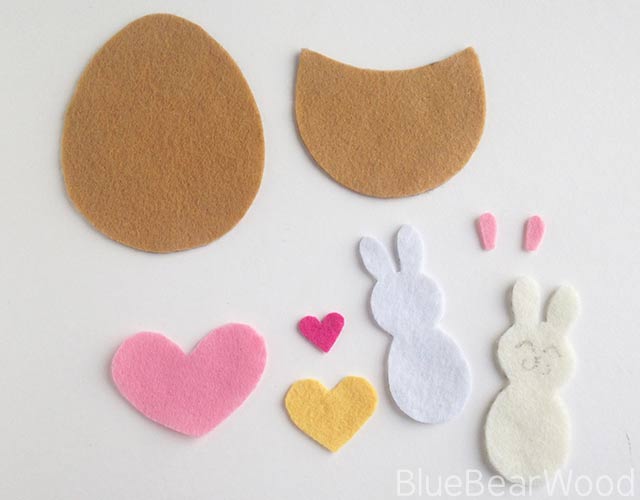
Add Detail To The Bunny’s Face
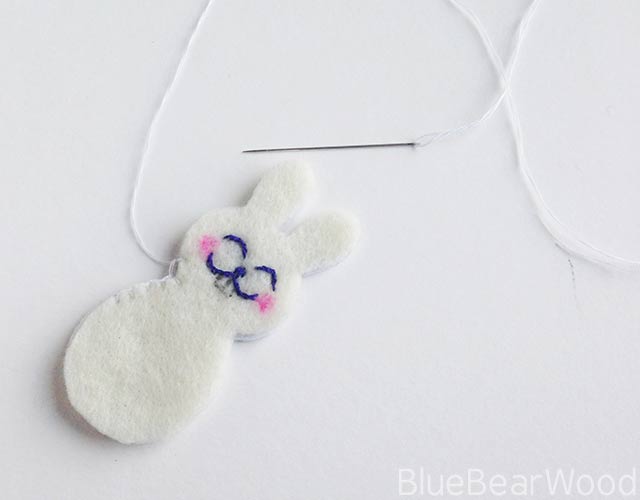
Using dark-coloured thread, carefully hand-sew the bunny’s facial features (eyes, nose, mouth). If you prefer, use a dark fabric pen or fine Sharpie for quick features.
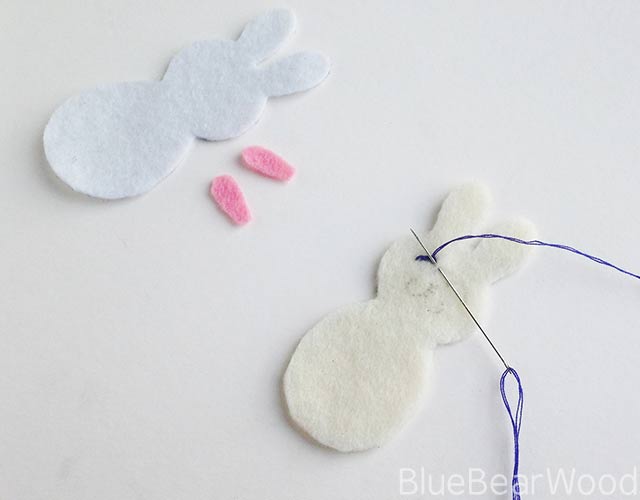
Use a pink highlighter or felt tip to add soft blush to both cheeks for a sweet finish.
Sewing & Stuffing The Bunny
Join the front and back bunny pieces with a needle and thread. Leave a small opening (the bottom works well) for stuffing. A blanket stitch gives a neat, decorative edge, but a back stitch or running stitch will work too.
Sew most of the way around, leaving about a thumb-width opening. Stuff the bunny with polyester toy stuffing or small felt scraps cut into pieces. Use a pencil to push stuffing into narrower areas like the head.
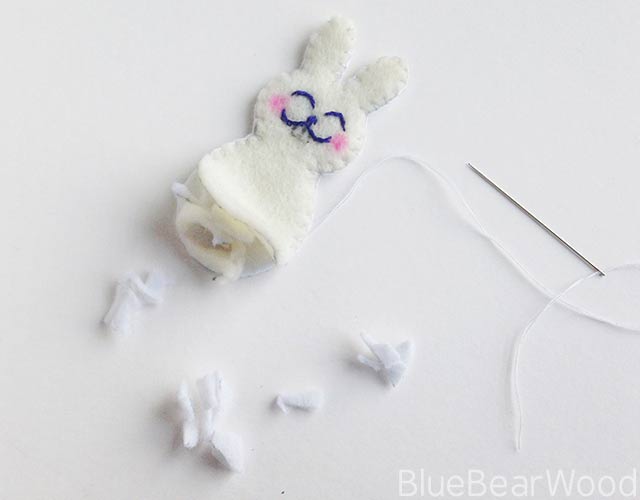
Once the bunny is filled to your liking, finish sewing the opening closed. Tie off securely with knots and hide the thread ends by pushing the needle through the stuffed body and trimming the excess so the knots sink inside.
How To Make The Felt Egg
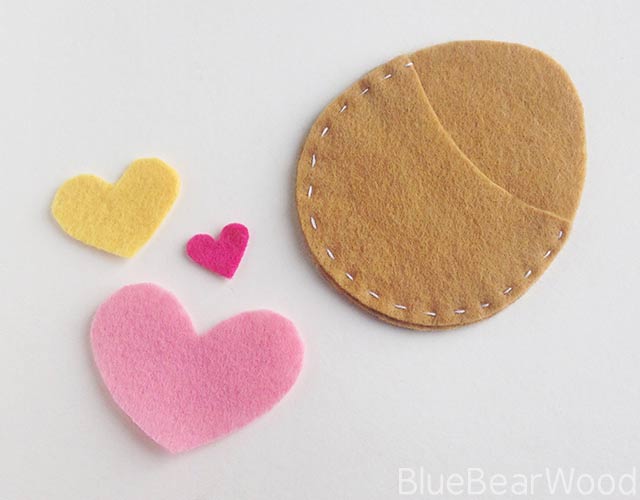
The felt egg bed uses two pieces: one full egg shape and one rounded-top piece. Place the smaller piece on top of the larger piece aligning the bottoms, then stitch them together (running, blanket or back stitch are all suitable).
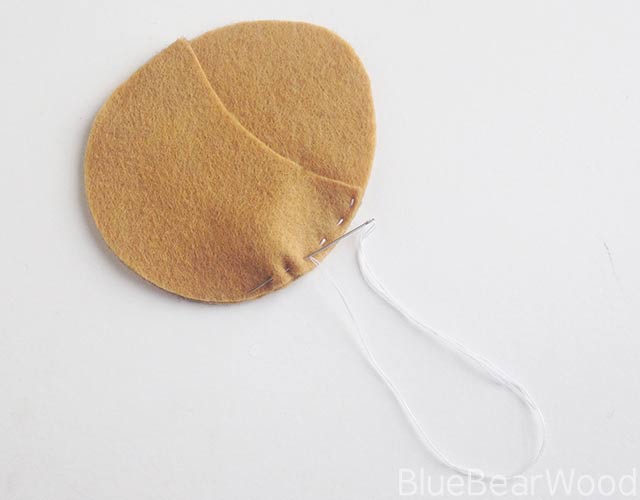
Decorate the egg by gluing small felt shapes (hearts, stars, or other cutouts). If you plan to sew beads or sequins on, add them before stitching the egg pieces together.
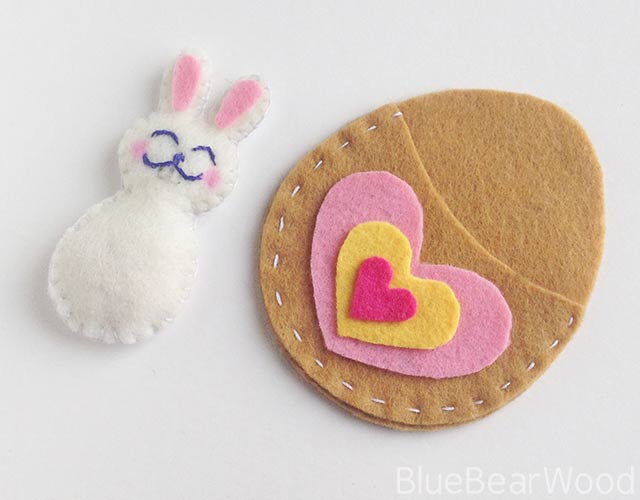
The finished bunny and egg bed make a charming little pocket pal or table decoration—perfect for gifting or seasonal displays.