Easy DIY Hanging Necklace Organizer with Crystal Knobs — Step-by-Step
Make your jewelry part of the room decor with this simple hanging DIY necklace organizer. Using an unfinished wood plaque, a row of crystal knobs and basic tools, you’ll create a stylish, tangle-free display for necklaces that’s easy to customize to your space.
This project is beginner-friendly and requires only a few materials and straightforward steps: paint the plaque, mark and drill holes, attach a picture hanger, and screw on the knobs. Below are the materials and step-by-step directions to guide you through the process.
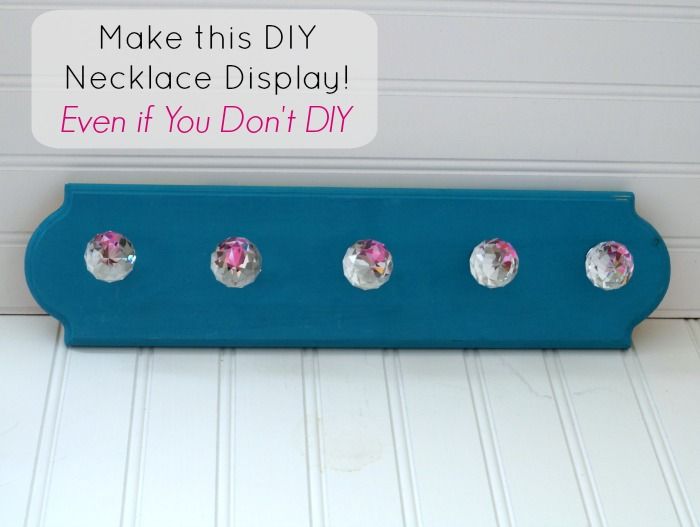
Finished hanging necklace organizer showing crystal knobs and necklaces on display.
Materials needed
Unfinished Wood Plaque – mine is 15 inches.
Crystal knobs
Paint – I’m using Americana Décor Chalky Finish in Treasure.
Picture Hanger
Foam Brush
Ruler
Pencil
Drill
Drill Bit
Fine Grit Sandpaper (optional)
Directions
Paint your wood plaque. It will need two coats, and may need three. Sand between coats, if desired. Let dry well.
Wood plaque painted with Americana Décor Chalky Finish (Treasure) and drying between coats.
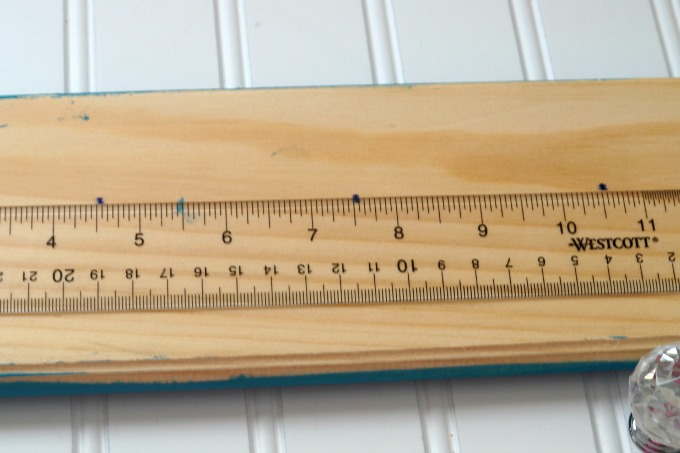
Flip your plaque back side up. Measure your plaque from end to end, and mark the center point. Now measure 3 inches to the right and left of the center point and mark those. Measure and mark the rest of your plaque at 3 inch intervals. This will space the knobs for your DIY necklace organizer nicely.
Make sure the marks are in a straight line.
Marking the center and 3-inch intervals across the plaque to position the knobs evenly.
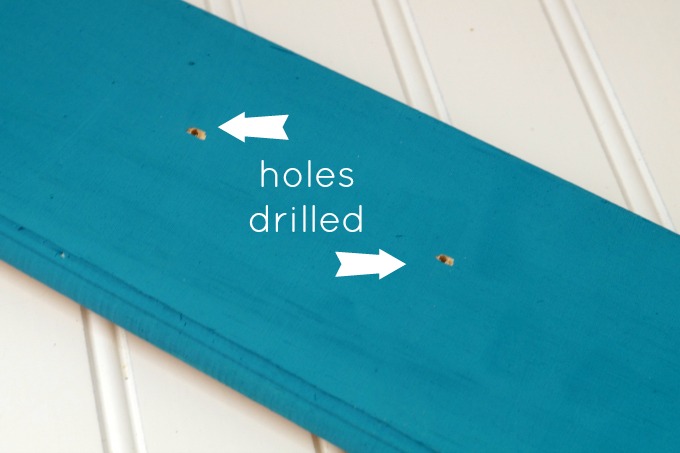
Start drilling where your marks are. Drill from back to front. Don’t worry about little chips. The knobs will cover that up, and no one will know.
Once the holes are drilled, screw the screws in from back to front, where the holes are.
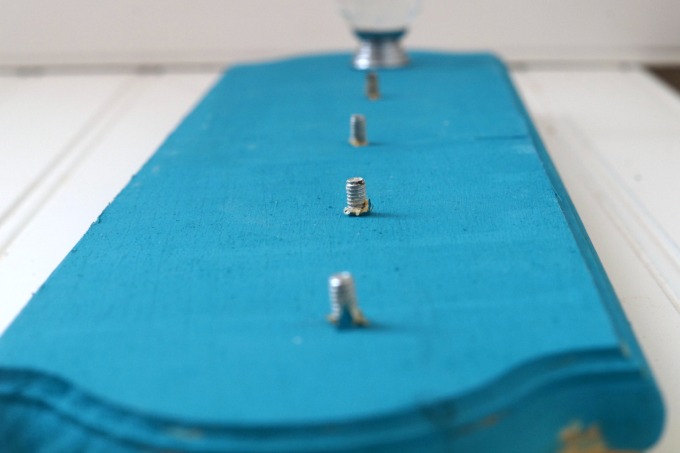
Drilling holes from the back side of the plaque, then inserting screws to accept the knobs.
Attach the picture hanger to your DIY necklace organizer at this point, too. It makes life easier to do it before the crystal knobs are on. Not that I’m speaking from experience or anything. *cough*
Flip the plaque back right side up. Screw the crystal knobs onto the screws. Tighten down with the drill or a hand screwdriver, if needed.
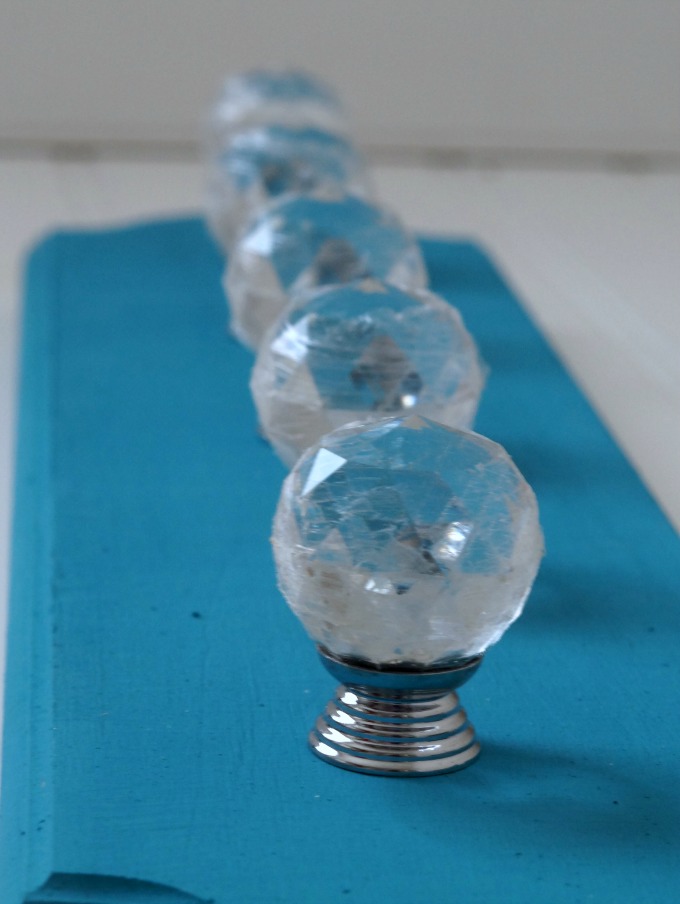
Crystal knobs screwed into place and picture hanger attached — ready to hang and display necklaces.
Voila! You’ve got a great DIY necklace organizer. Hang it on your wall, and put all your gorgeous necklaces on it.