Turn a Plastic Bottle Into a Cute DIY Purse — Step-by-Step Upcycling Tutorial
Give a single-use plastic bottle a new life by turning it into a cute, reusable purse. This easy upcycling project transforms ordinary materials—plastic bottles, cardboard, scrapbook paper, and simple trims—into a decorative, functional accessory or gift container. The project involves cutting and shaping the bottle, creating cardboard ends and a base, covering the plastic with paper, and adding a beaded handle and a simple elastic closure.
Safety note: work carefully when using a craft knife, hole punch, or soldering iron, and handle hot glue with caution. Supervise children or help them with the cutting and hot-gluing steps.
Creating a DIY plastic bottle purse is not only a fun project, but it also helps in recycling and reducing waste. You can unleash your creativity by choosing colorful bottles and adding your personal touch with decorations like beads or ribbons. By upcycling materials, you are not only making a stylish accessory but also contributing to a more sustainable environment. Give it a try and enjoy the satisfaction of turning something ordinary into something extraordinary!
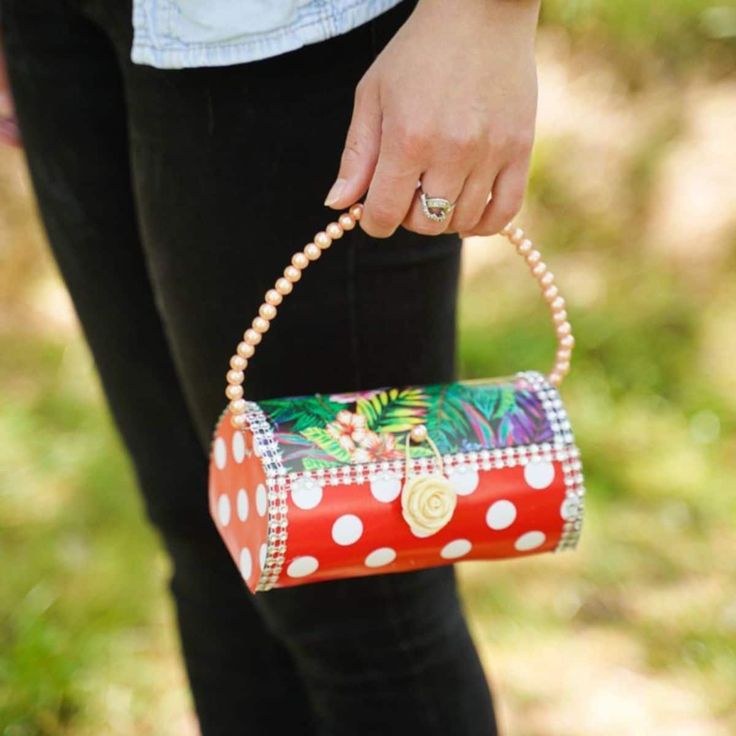
Caption: Finished plastic bottle purse decorated with floral and polka dot scrapbook paper, beaded trim, and a rose button closure.
Supplies Needed
Empty plastic bottle
Cardboard
Red and white polka dot scrapbook paper
Floral scrapbook paper
Beaded ribbon
Fake pearls
Jewelry wire
Fake plastic rose button
Twine
Craft knife
Hot glue gun
Hot glue sticks
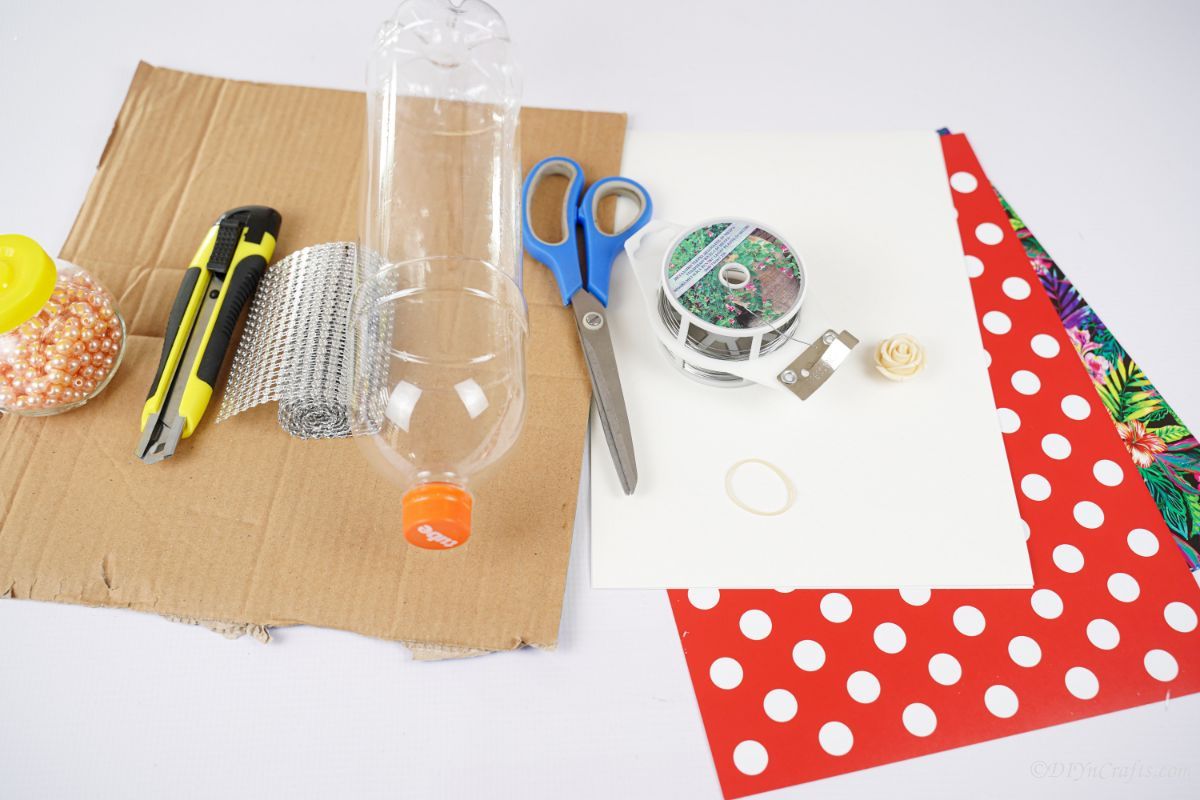
Caption: Supplies laid out for the project, including bottle, papers, beads, wire and tools.
How to Make a Purse From a Plastic Bottle
Clean the plastic bottles well and remove any labels then let them dry completely. Once dry, cut the top ¼ of the bottle off, with the lid, and discard it.
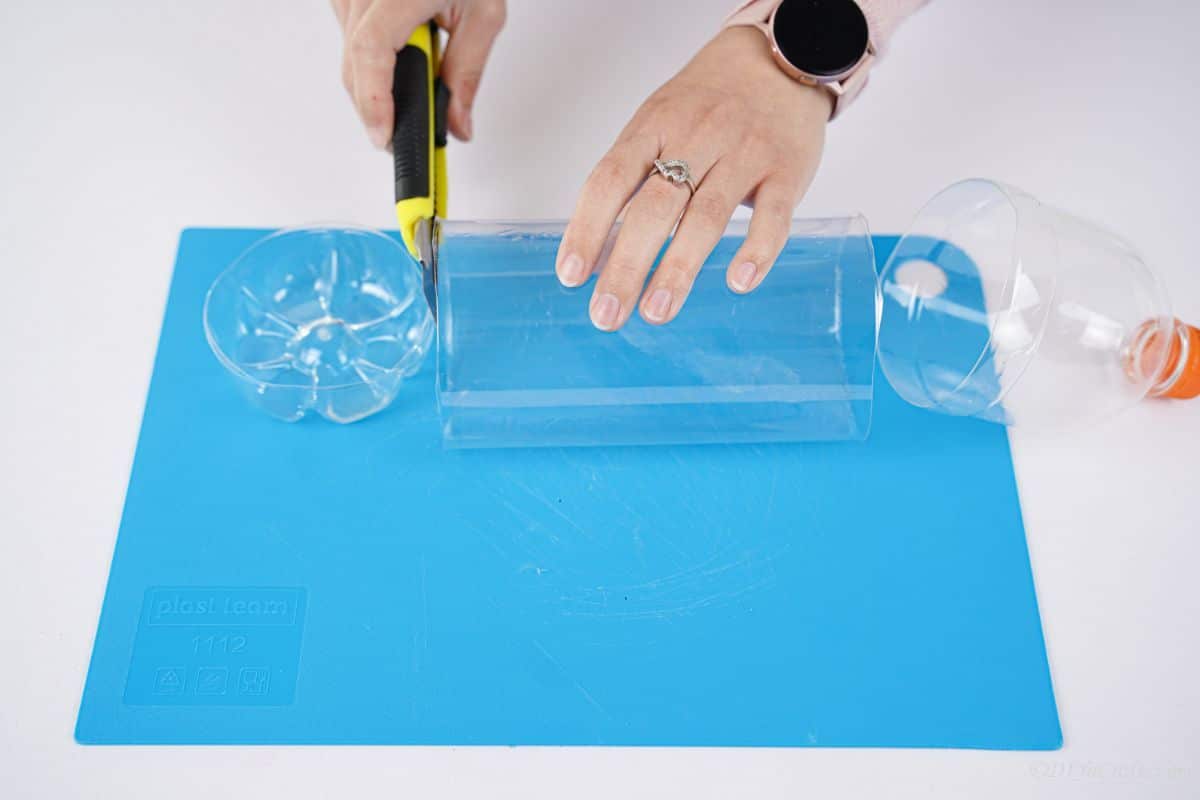
Caption: Cut the bottle to keep the middle cylinder that will form the purse body.
Now, cut off the bottom/base of the bottle so you just have that middle cylinder of the bottle. This is what you are going to use for the base of your purse.
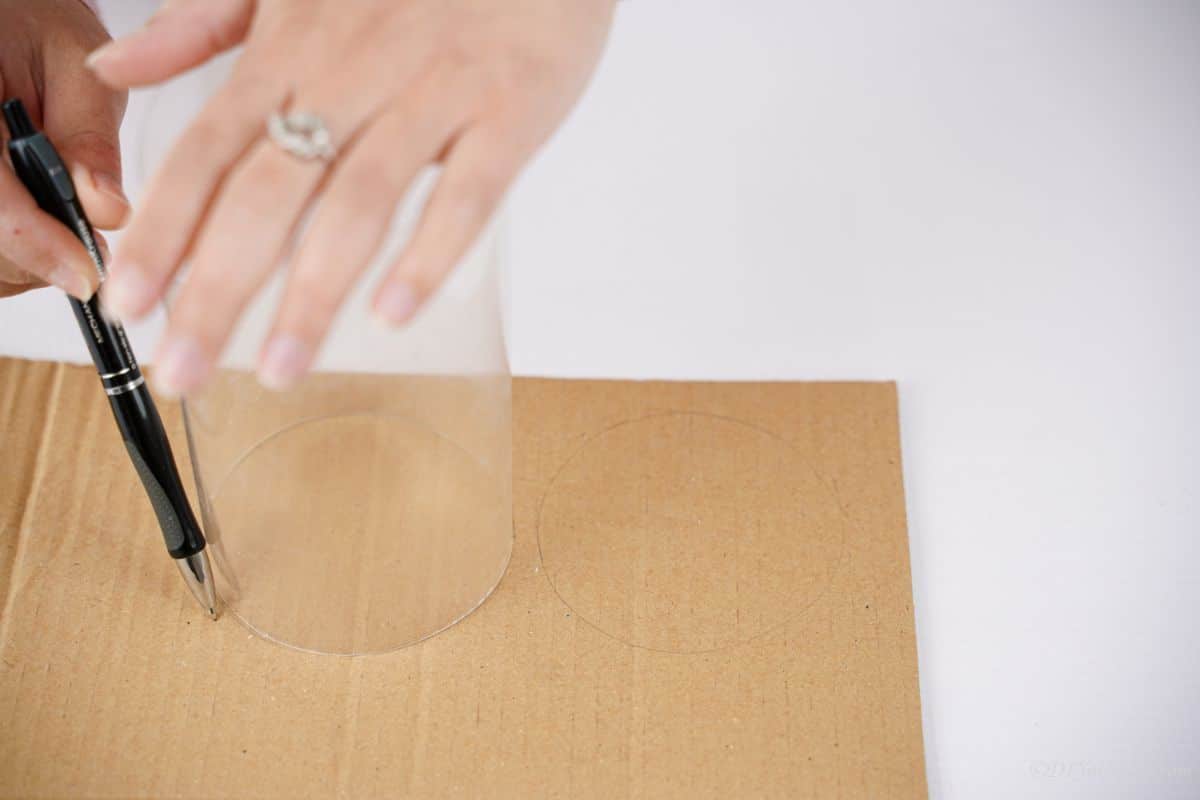
Caption: Trace two circles using the bottle as a template onto a piece of cardboard for the purse ends.
Then, use the bottle to trace two circles onto a piece of cardboard. Set aside the bottle and cut out the two circles.
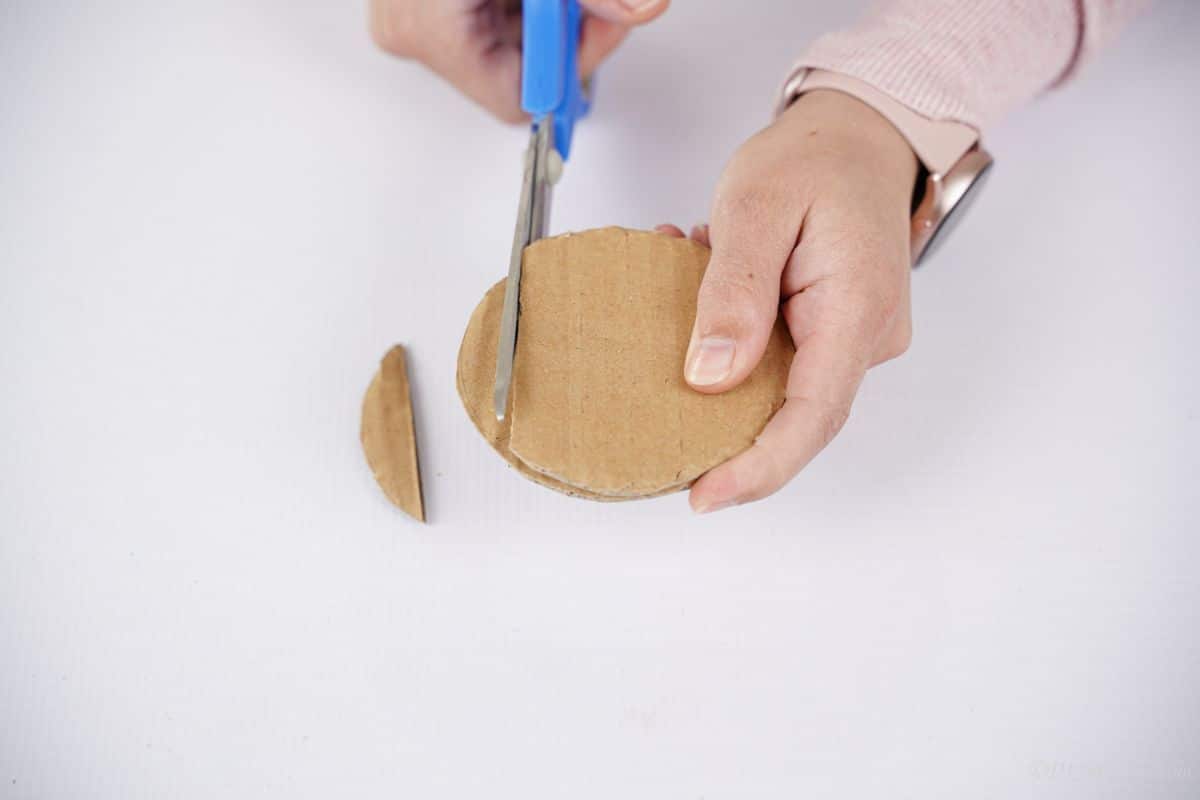
Caption: Trim about 1/2 inch from one side of each cardboard circle to create matching flat edges.
Then, cut about ½" of the cardboard off one side to give it a flat edge. Repeat this for the second piece, so they are matching.
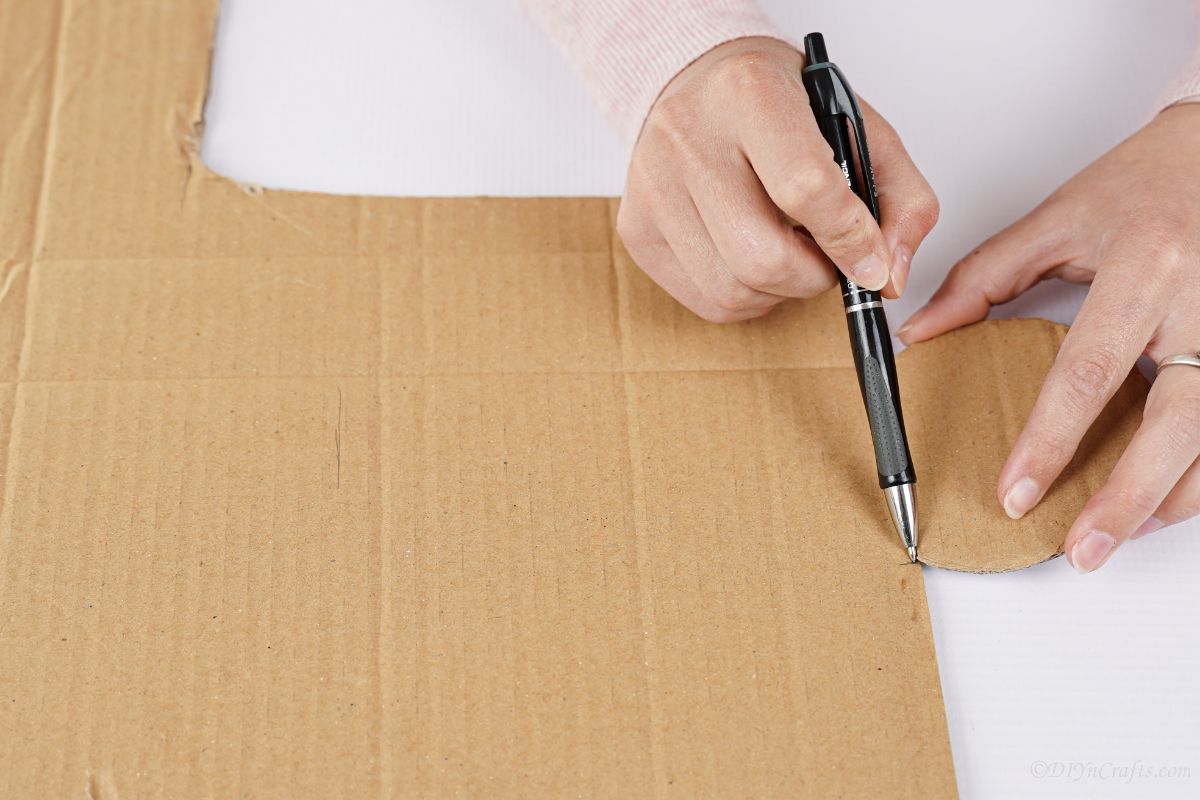
Caption: Place one flat-edged circle on cardboard and mark the width to create the base strip.
Place the flat edge of the cardboard onto another piece of cardboard. Make a mark to show the width of the ends onto the cardboard piece.
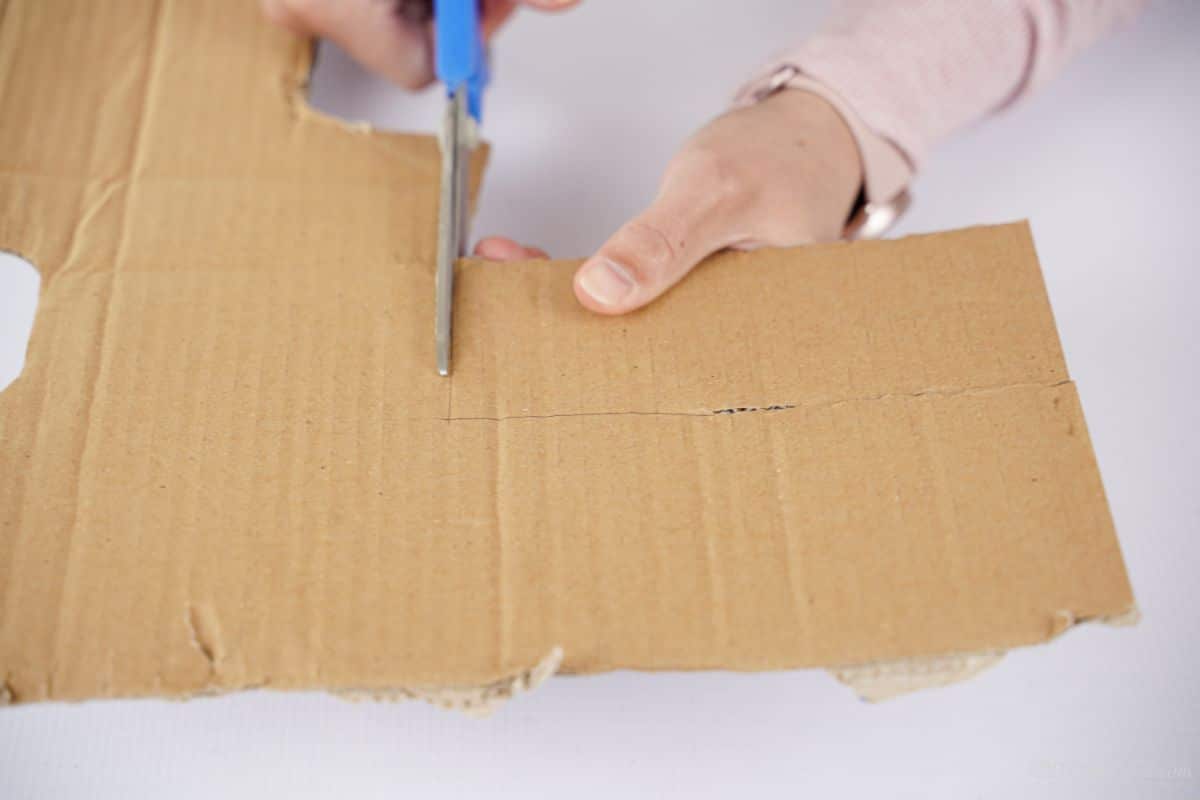
Caption: Use a ruler and cut a cardboard strip to the length of the bottle's middle section to form the purse base.
Use a ruler for straight lines, measure the length of the middle of your bottle purse portion, and then cut the cardboard out to be a base for your purse.
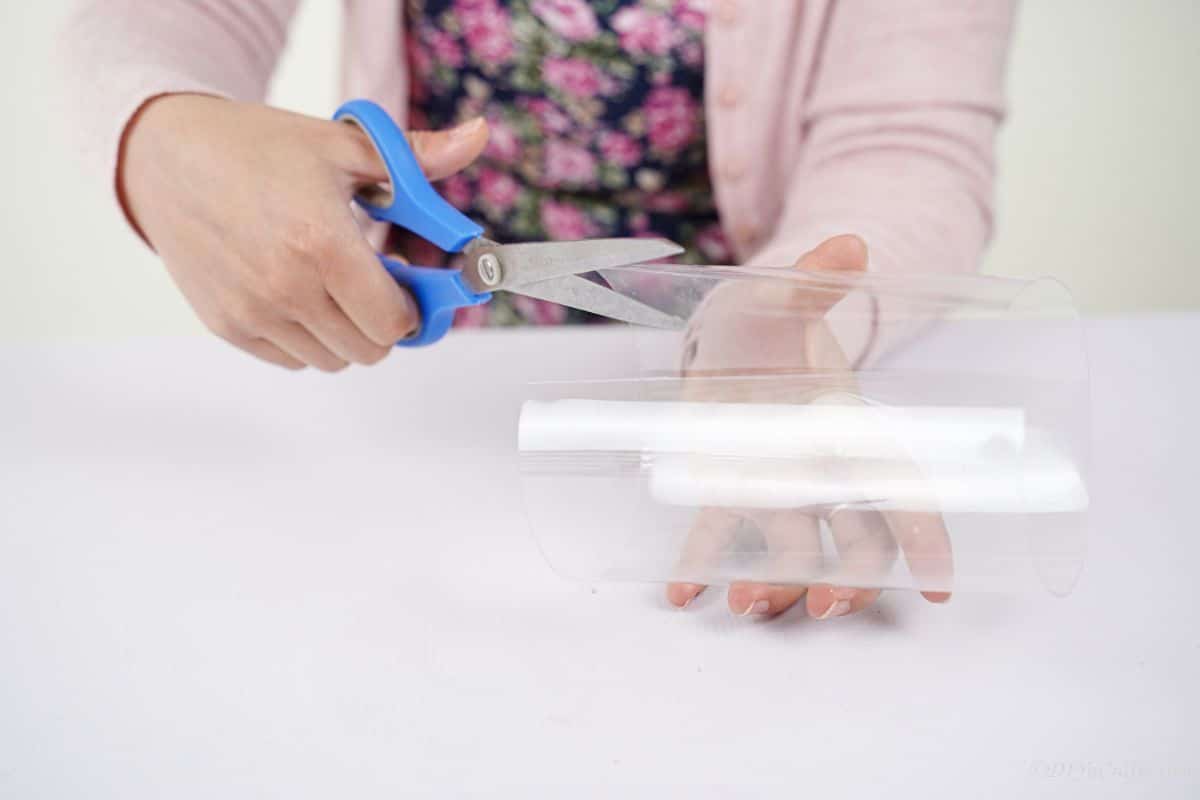
Caption: Glue the two round pieces with flat edges onto the ends of the cardboard strip and prepare the plastic cylinder by cutting down its side.
Glue the two round pieces with flat edges onto the end of this strip of cardboard. Now, use scissors to cut down the side of the cylinder of plastic from the bottle.
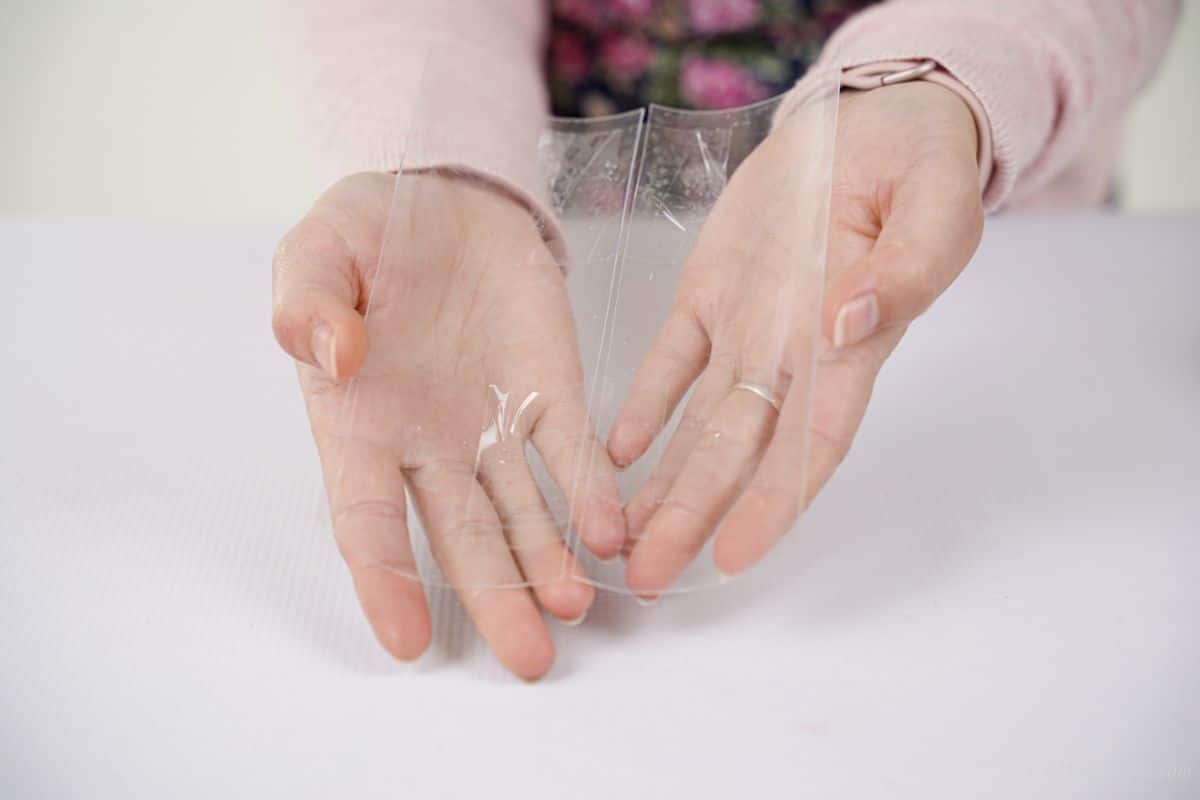
Caption: Flatten the plastic and measure out three matching panels from it to wrap around the purse.
Flatten this out, and use the cardboard piece to measure out three pieces of the same width and length.
Cut these apart. Then, put two of the pieces, curved side up, side by side, and tape them together. You want them to move independently but be connected at the seam.
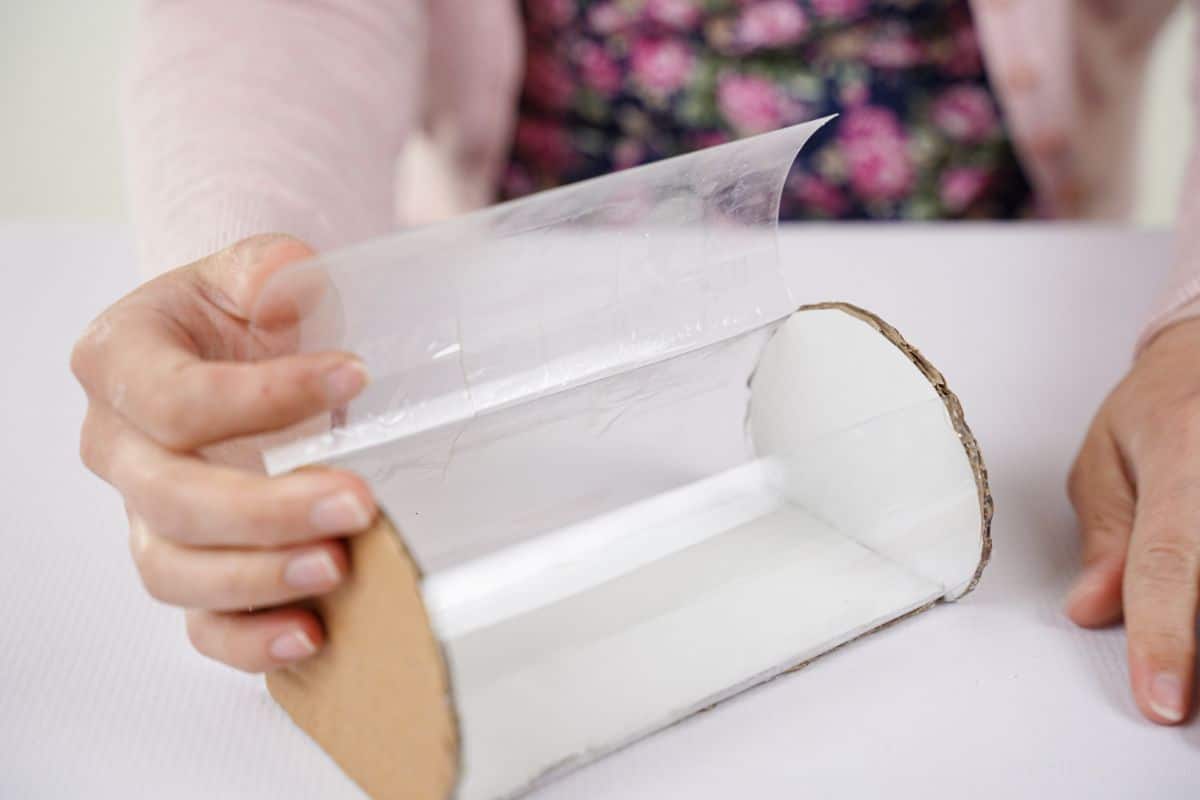
Caption: Tape the panels together so one side can open at the seam as a hinge.
Now, tape the single piece on one side of the cardboard.
And the two pieces on the other side so that you have one that can open at the seam as a sort of hinge on the purse.
Secure this into the purse shape with additional tape or hot glue as needed, then begin covering in the paper.
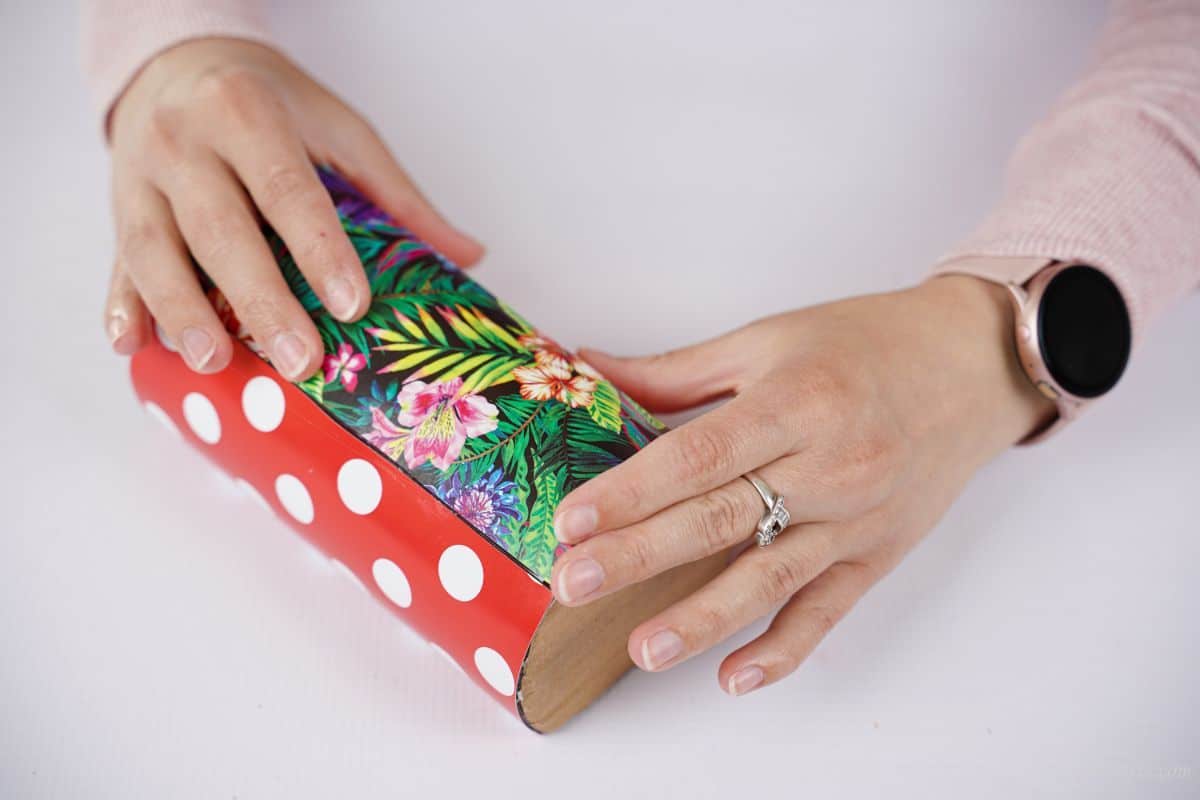
Caption: Cover the plastic parts with scrapbook paper—use matching or mixed patterns for a custom look.
Cut and glue scrapbook paper around the plastic parts first. Then, cut and glue a piece on either end of the purse. Use all the same color/pattern, or mix it up as I did.
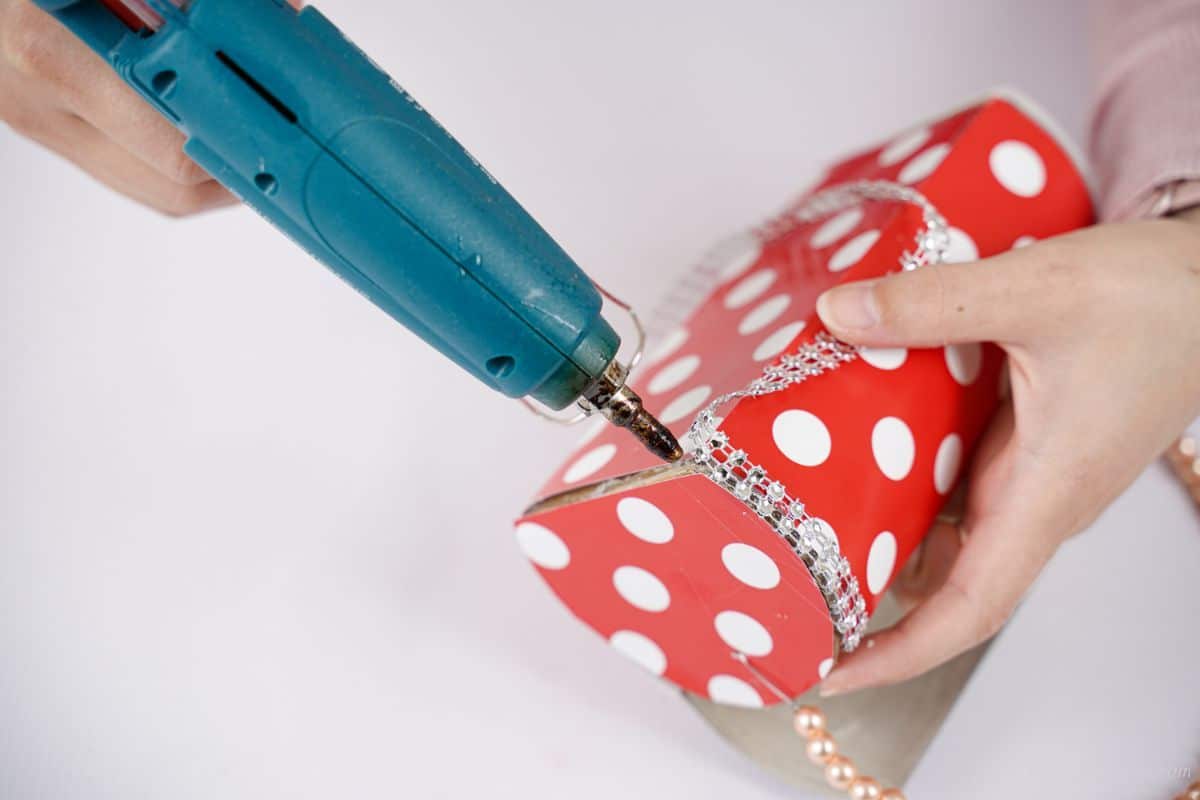
Caption: Add a beaded ribbon trim along all seams to finish the edges neatly.
Then, add a beaded ribbon trim along all of the seams of the purse.
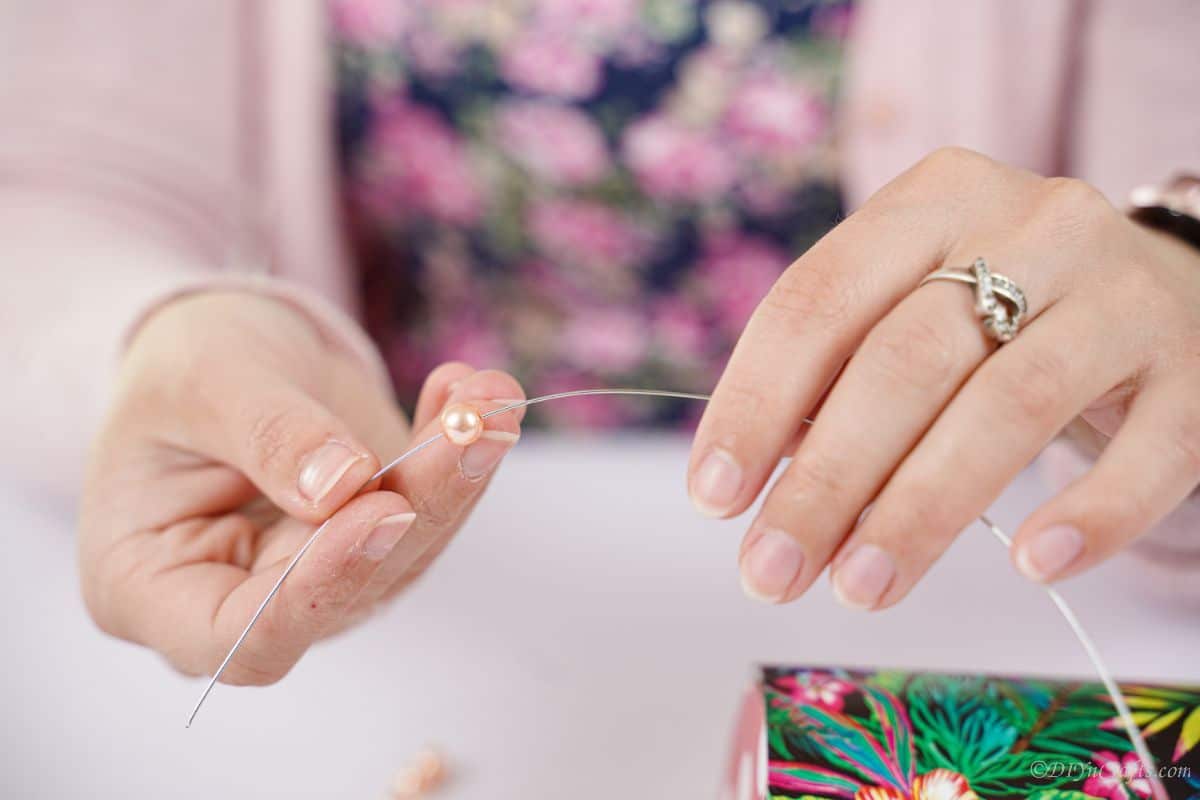
Caption: Punch holes on both ends and thread jewelry wire through to anchor the handle.
Use a hole punch or soldering iron to make a hole on both ends of the purse, string the jewelry wire through one of the ends and secure on the inside.
Now, string that piece of wire with beads or pearls until you have a nice handle length.
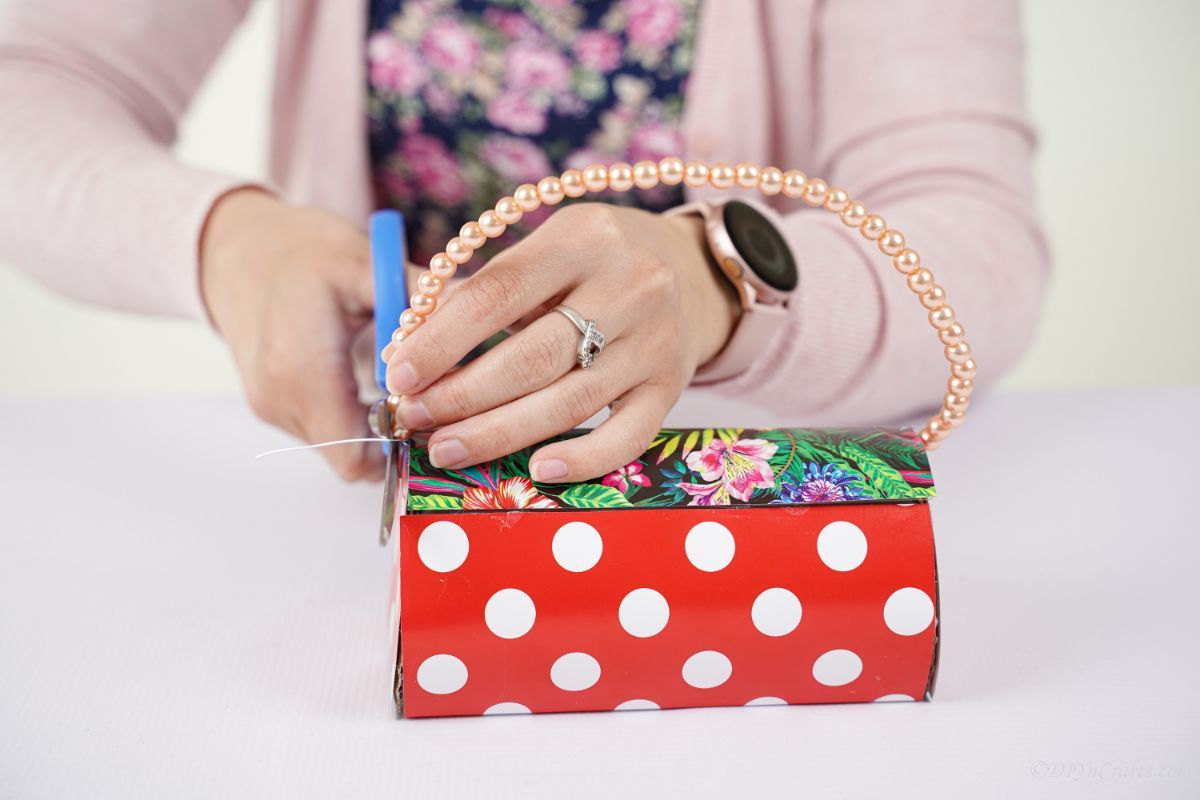
Caption: Attach the beaded handle on the other end and secure the wire inside the purse.
On the other end, put the wire through the hole and secure it on the inside of the purse.
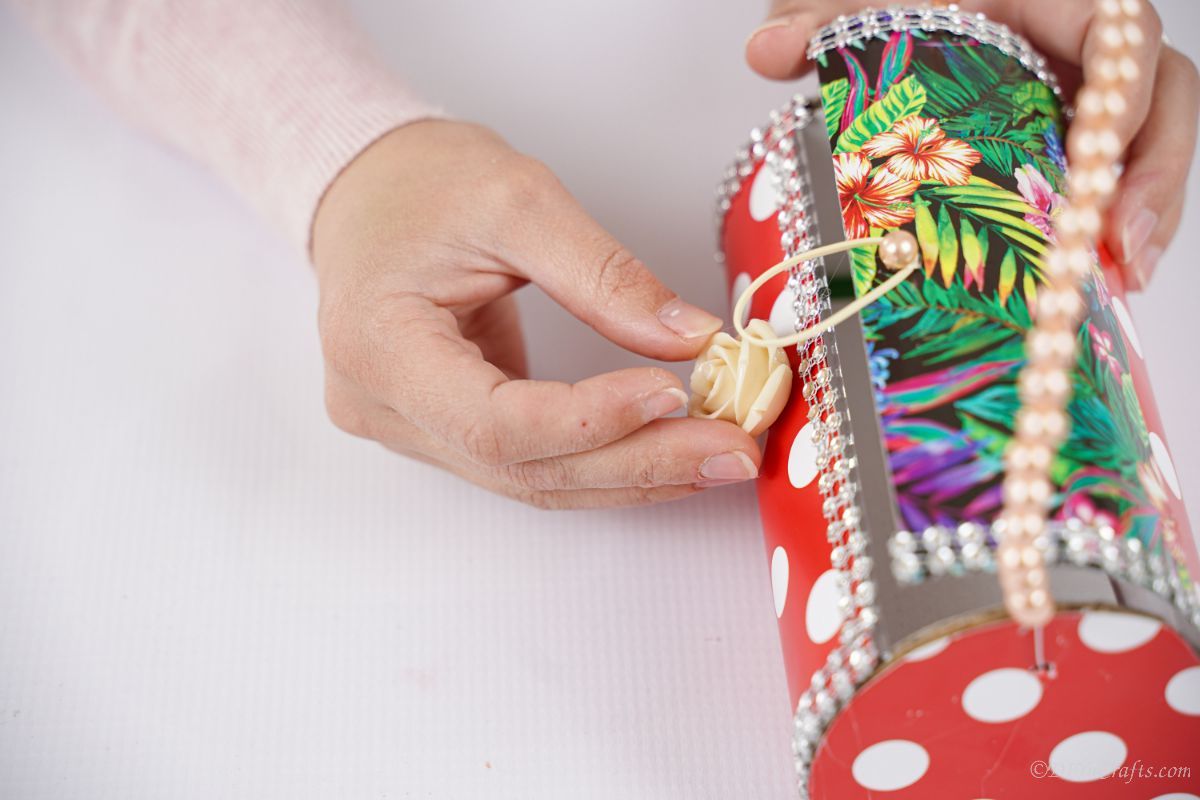
Caption: Glue a small bead or button to the flap and a matching button or rose to the body to form a toggle.
Glue a small bead or button to the bottom edge of the flap.
Then glue a second button, or rose as I did, just below that on the bottom side of the purse.
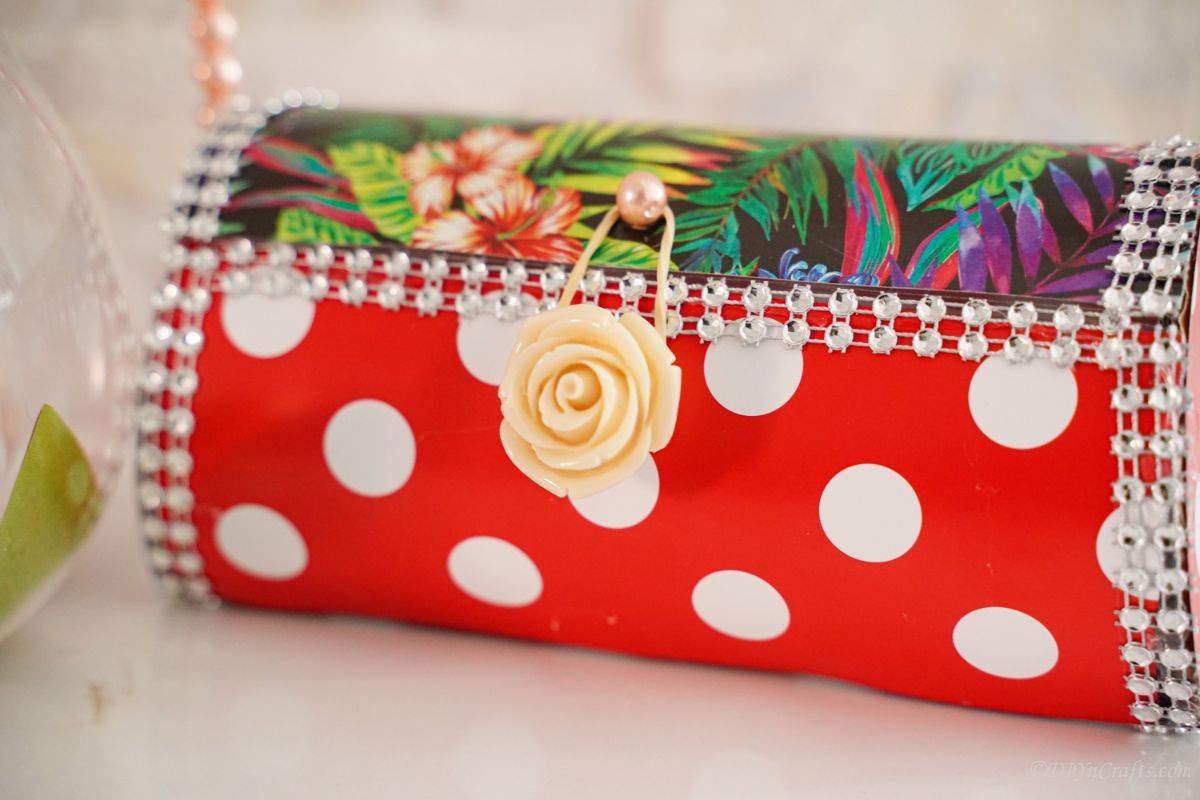
Caption: Stretch an elastic band between the two buttons to hold the purse closed; ready to use as a small purse or a gift container.
Use an elastic band to stretch between them and hold the purse closed securely.
Now you can use it as a purse or gift!