Quick & Easy Mod Podge Picture Frame: Step-by-Step DIY Tutorial
Give a plain picture frame a fresh, personalized look using Mod Podge, patterned paper or fabric, and a little paint. This simple decoupage project is great for beginners and makes a thoughtful handmade gift or a stylish addition to your home decor.
Below are clear steps, materials, and tips to help you get a professional-looking finish.
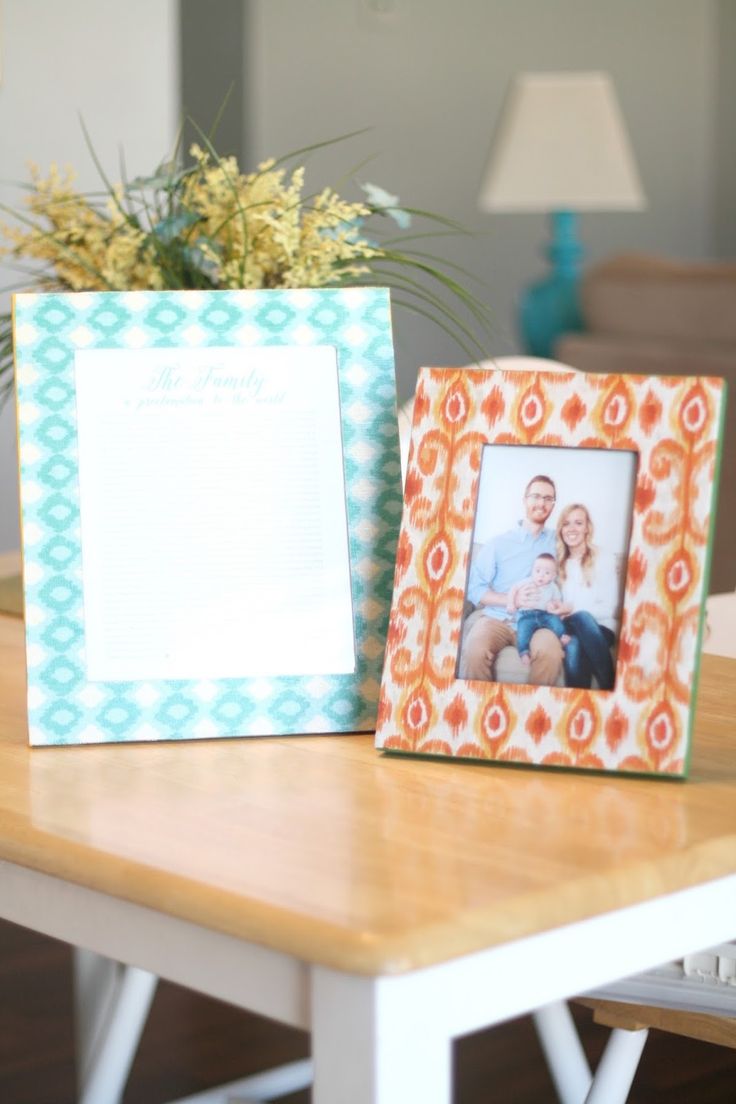
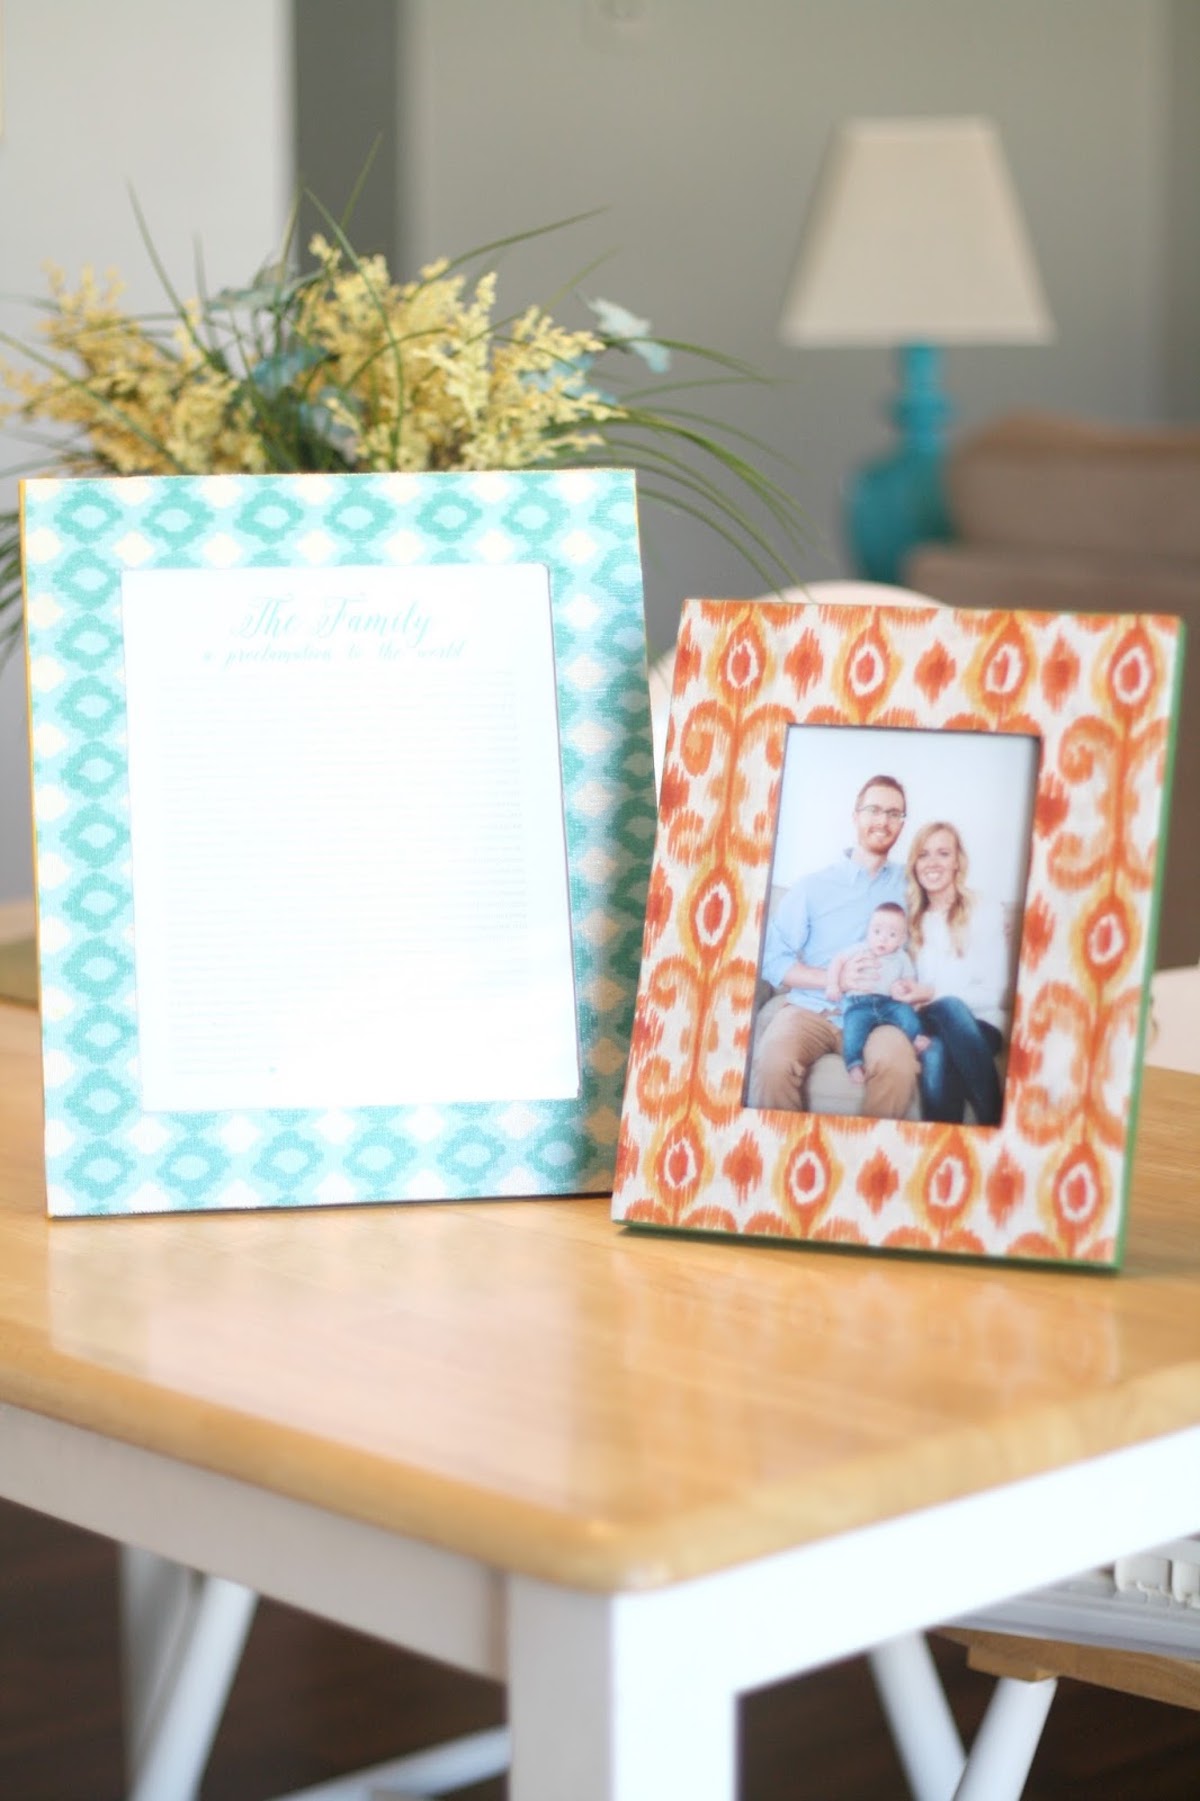
Equipment
Pencil(s)
Ruler
Scissors or rotary cutter
Craft mat
Paintbrush(es)
Materials
Picture frame
Patterned fabric or paper
Acrylic paint
Mod Podge (decoupage glue/sealer)
Instructions
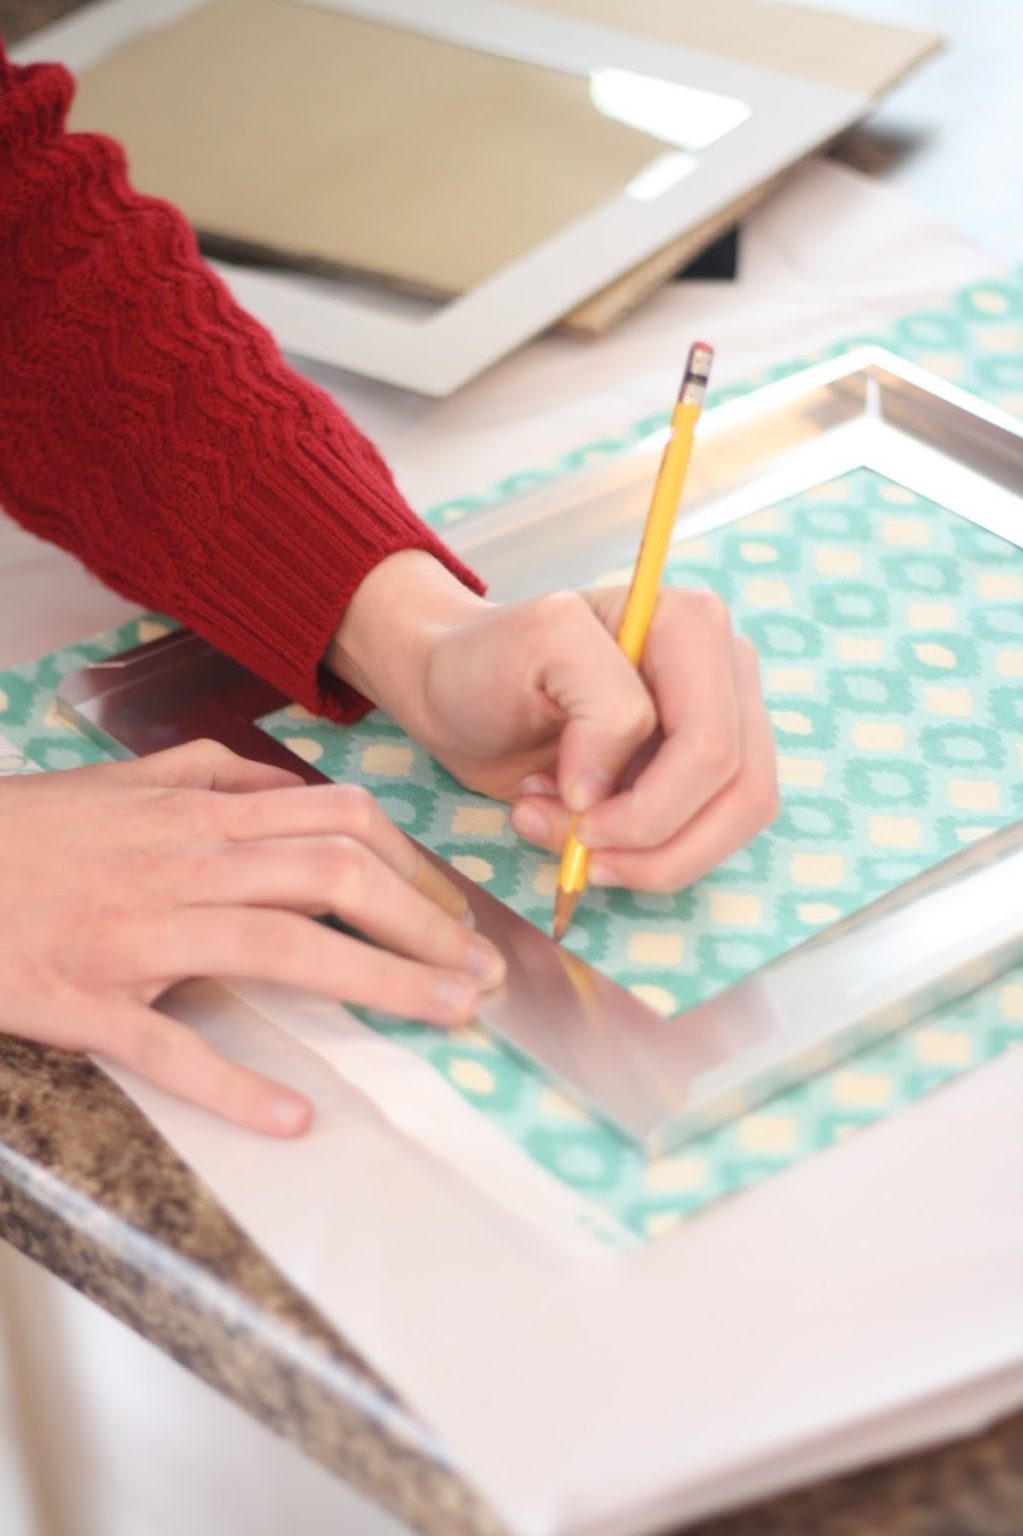
- Measure and trace: Use a ruler and pencil to measure the paper or fabric so it fits the front area of the frame. You can also trace the frame opening directly onto your backing material for accuracy.
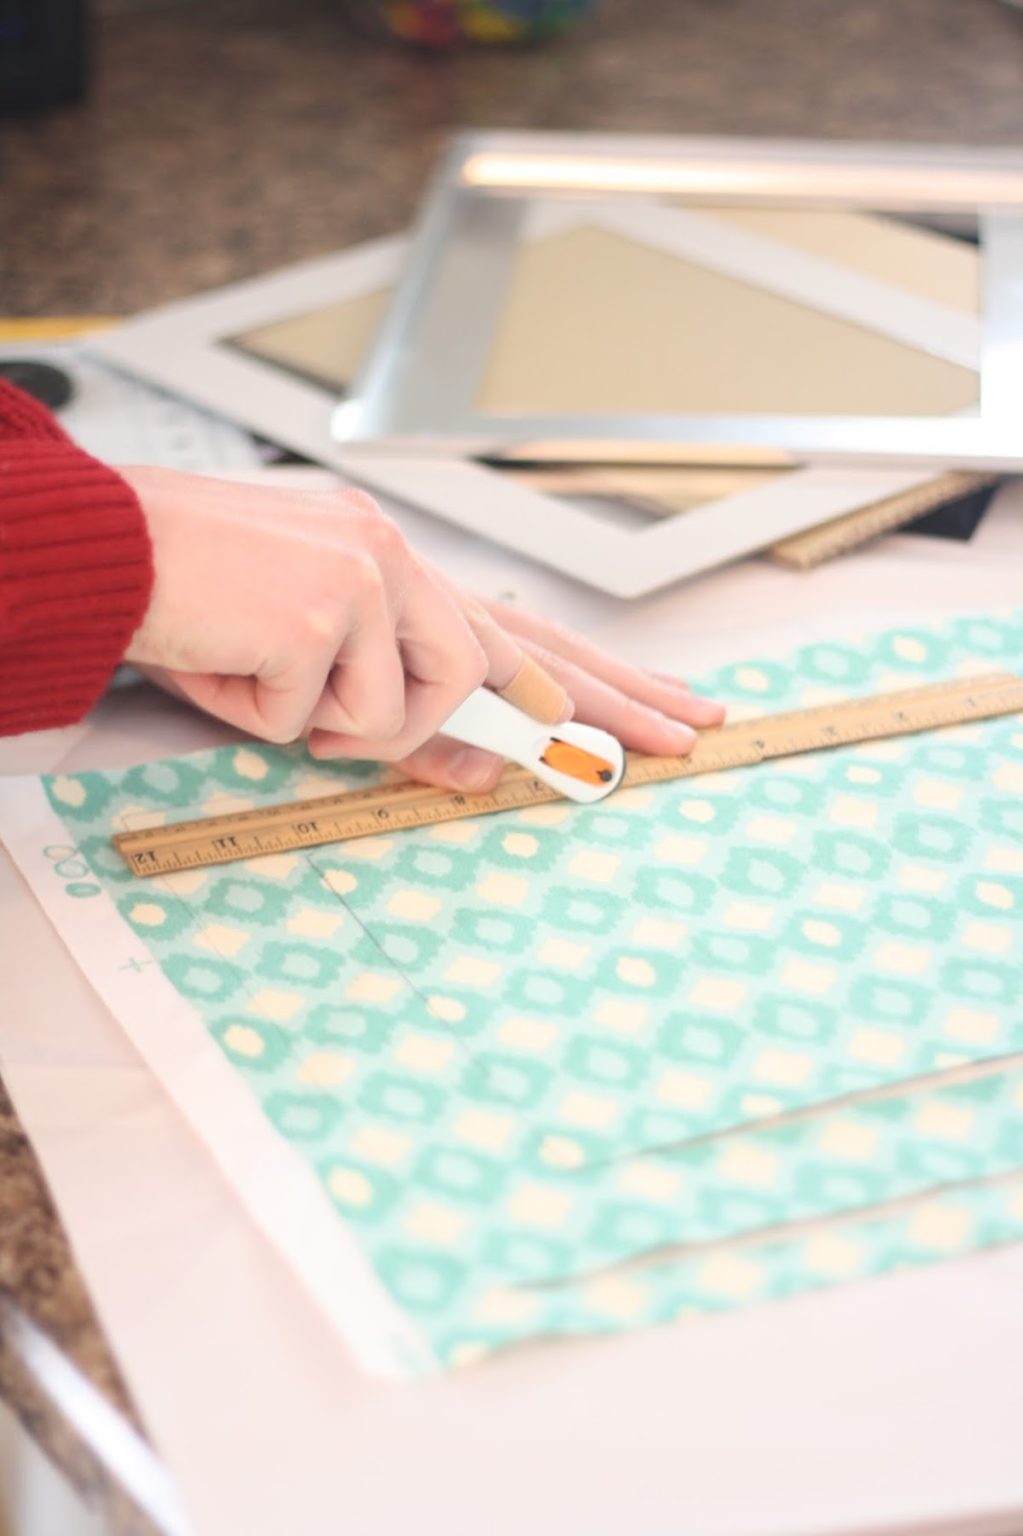
- Cut to size: Use scissors, a craft knife, or a rotary cutter on a cutting mat to trim your paper or fabric to the measured size.
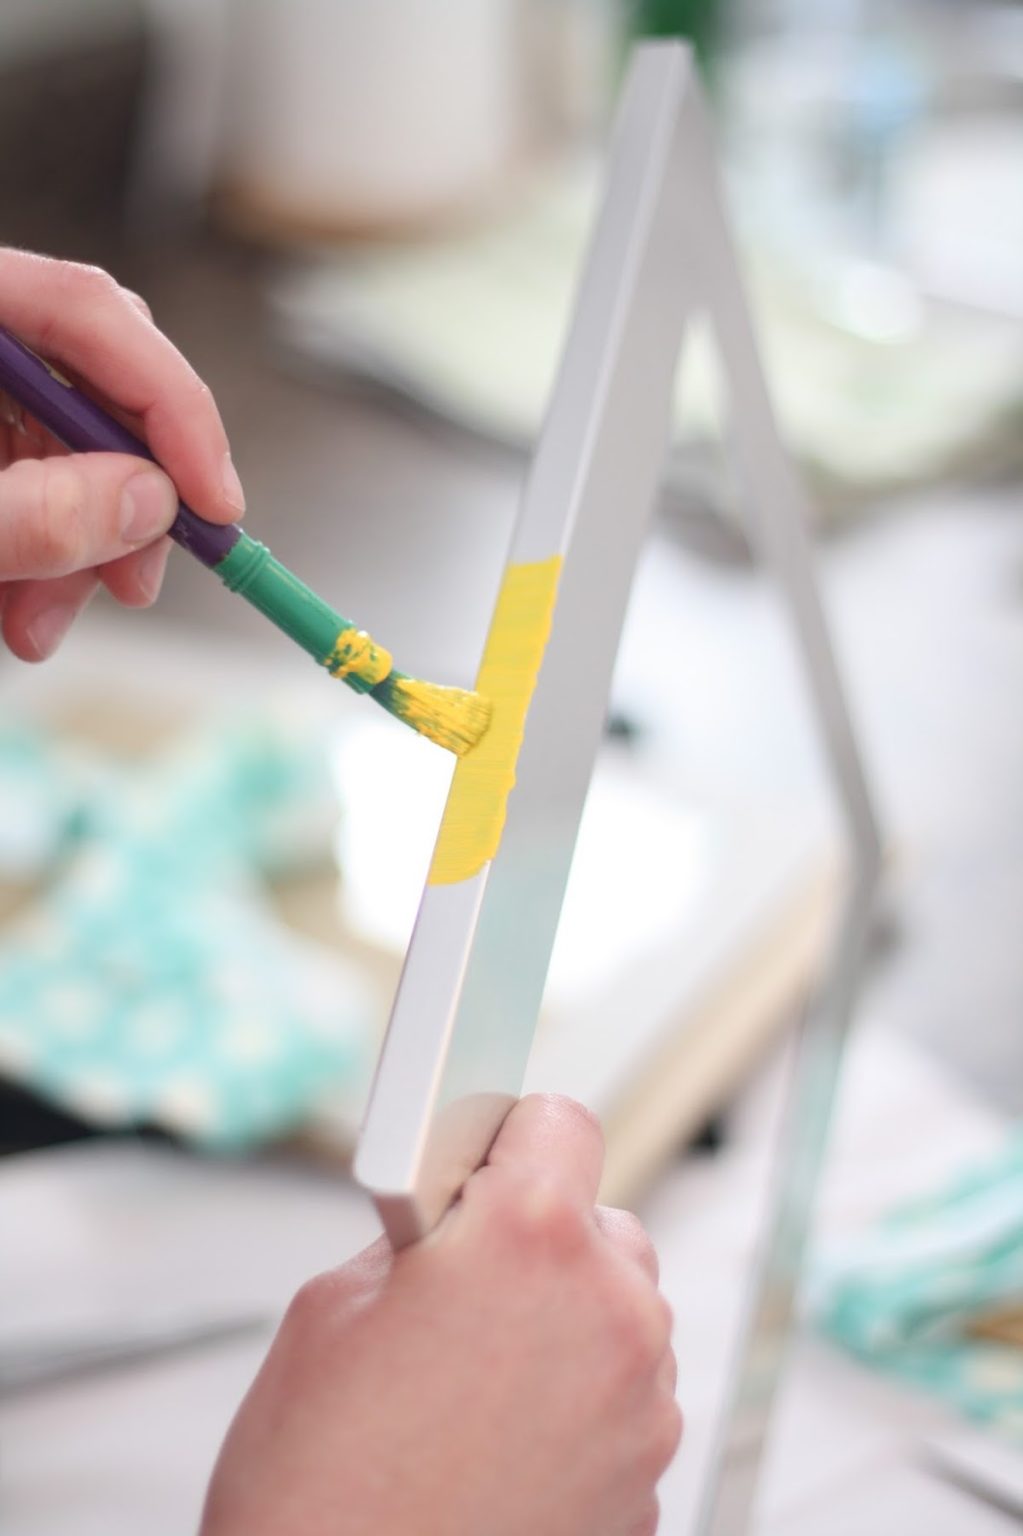
- Prep and paint the frame: If you want a colored border or a base coat, paint the frame with acrylic paint and allow it to dry thoroughly before decoupaging.
- Adhere the design: Apply a thin, even coat of Mod Podge to the front of the frame. Carefully position your paper or fabric, then smooth from the center outward to remove bubbles and wrinkles. Let the adhesive set for 15–20 minutes.
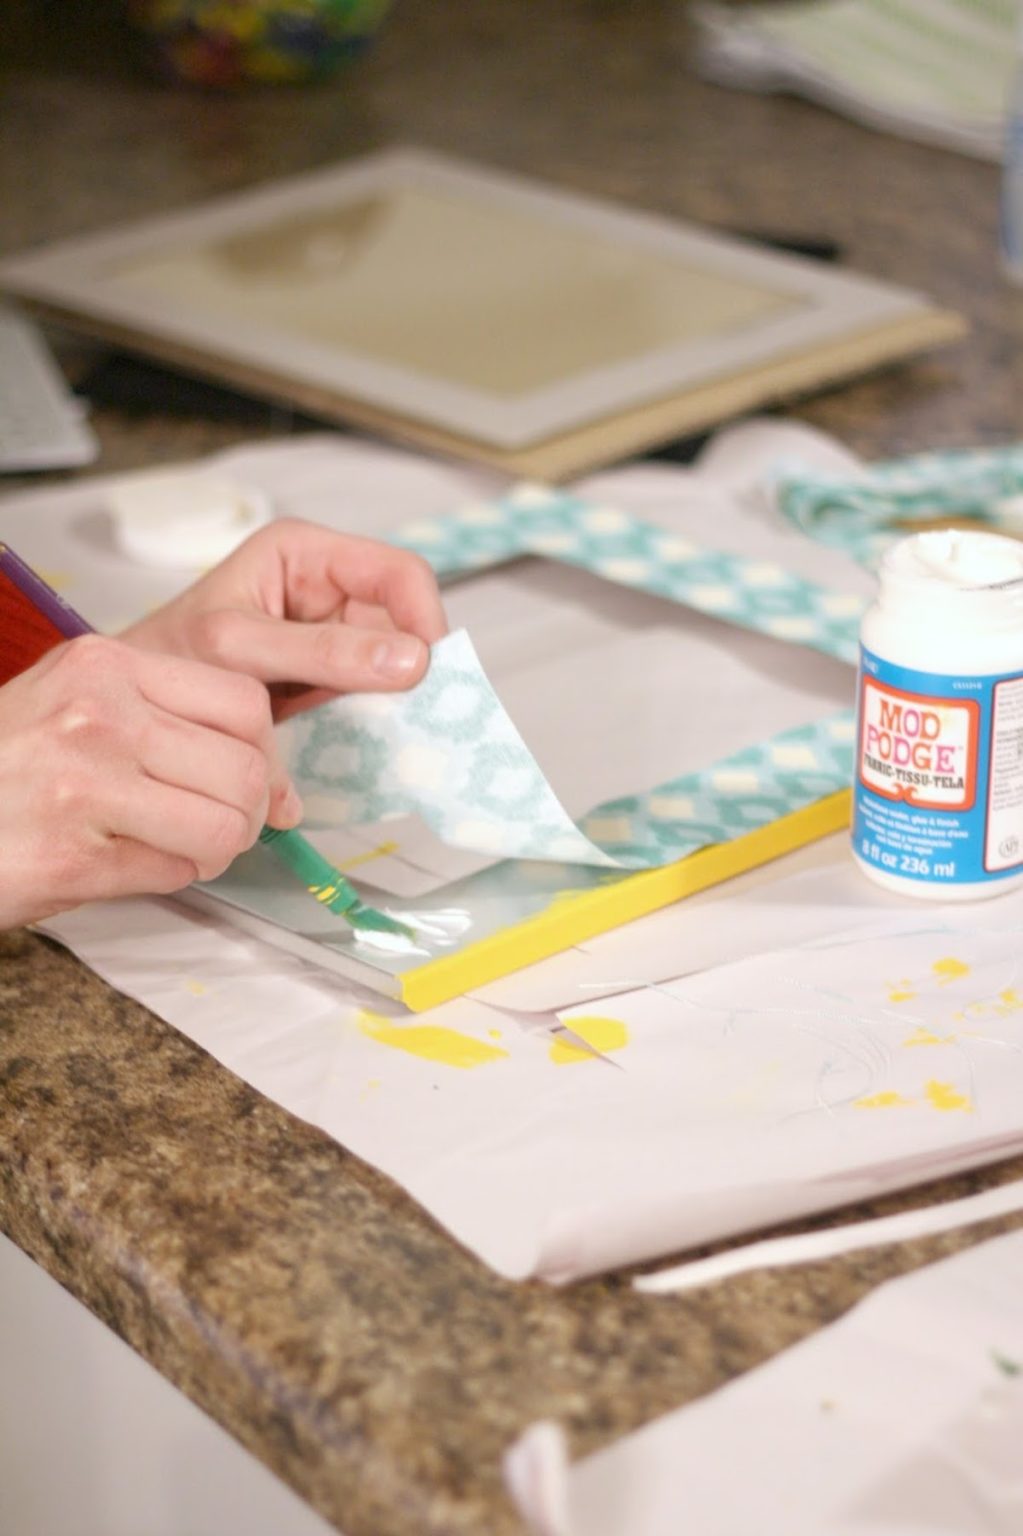
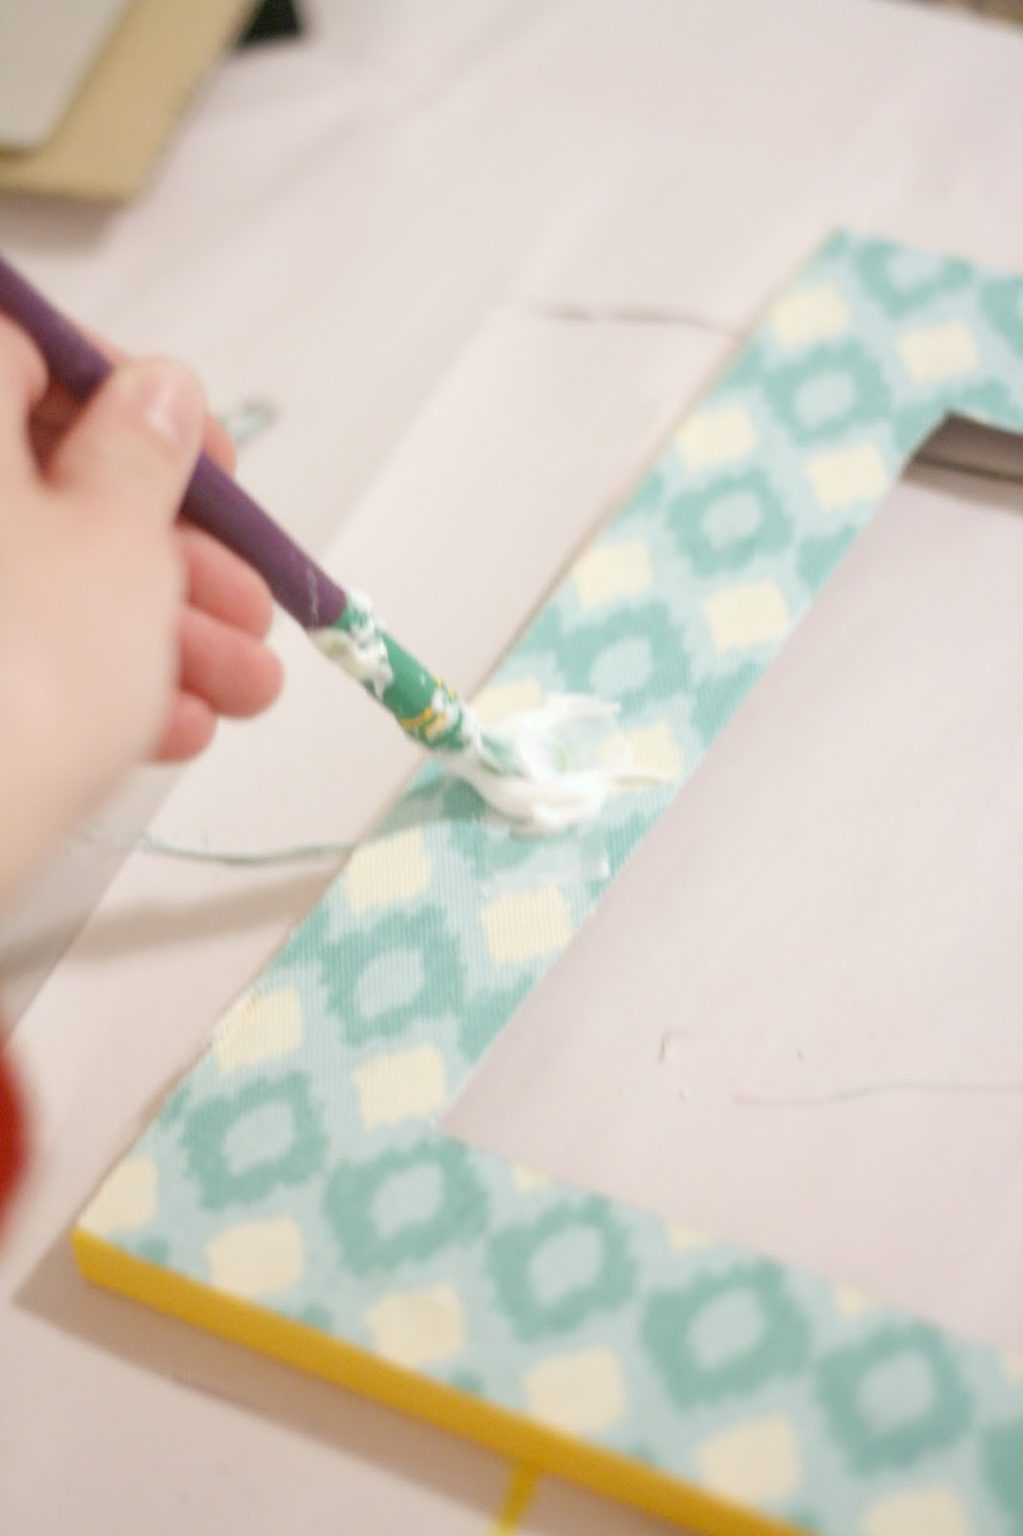
- Seal the surface: Apply a coat of Mod Podge over the top of the applied material to seal it. Allow to dry, then apply a second coat if desired. Let the frame dry completely before handling or replacing the frame back and photo.
Finishing tips:
- Trim any excess paper or fabric from the edges with a sharp craft knife for a clean finish.
- If you prefer a distressed look, lightly sand edges after the sealer is fully dry.
- Use a foam brush for smoother Mod Podge application and to minimize brush marks.
Enjoy your custom frame — it's an easy way to refresh a room or create a meaningful handmade gift.
No comments
Write a comment