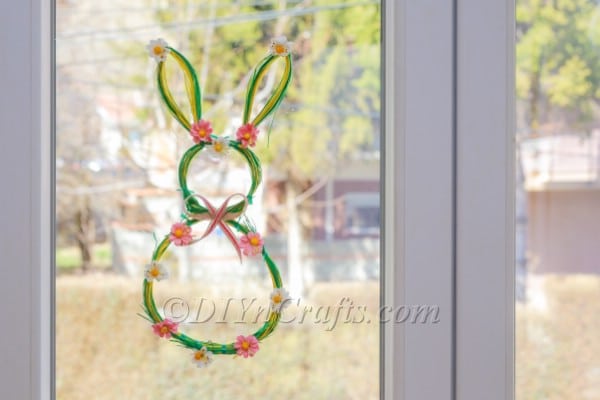
DIY Bunny-Shaped Easter Wreath — Easy Step-by-Step Guide
Make a cheerful, bunny-shaped Easter wreath to welcome spring — an easy, budget-friendly craft that uses shredded construction paper, ribbon, and a few embellishments. This step-by-step guide walks you through building the wreath body, head and ears, then decorating it with artificial flowers and a bow.
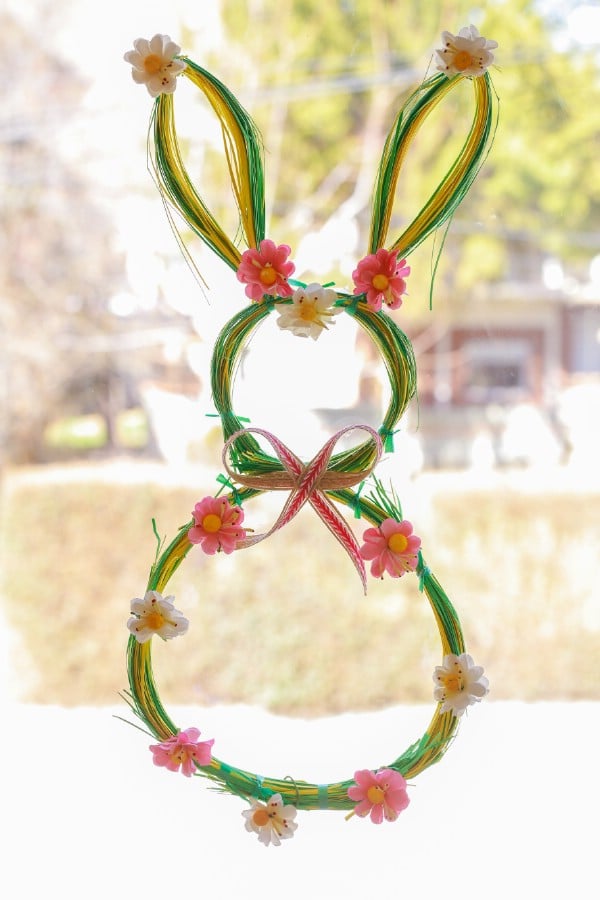
The Bunny Shaped Easter Wreath is a whimsical way to add charm to your door or wall this season. The finished wreath features a fluffy, paper-textured body, a smaller head, two looped ears, and pastel accents. Follow the simple materials list and instructions below to create your own.
Materials
- Yellow and green construction paper (shredded into strips)
- Artificial flowers
- Ribbon (for tying bundles and a decorative neck bow)
- Any additional décor you want (pom-poms, small eggs, etc.)
Tools
- Hot glue and glue gun
- Scissors
- Twine or extra ribbon (optional)
Instructions
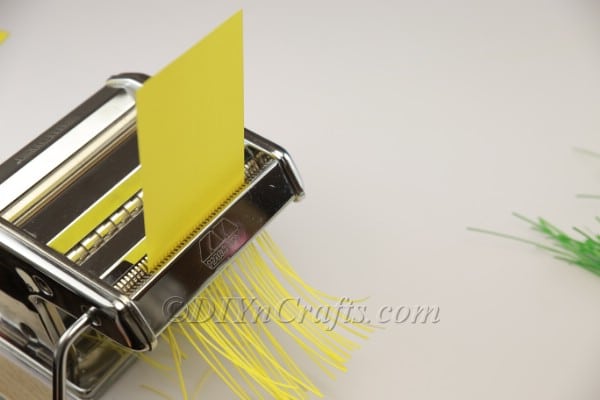
1. Prepare the paper: shred your yellow and green construction paper into strips.
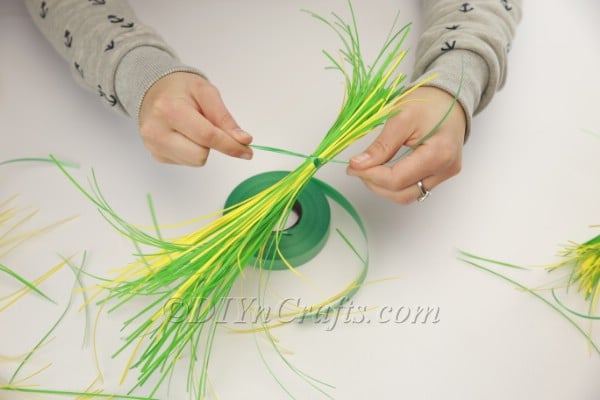
2. Make bundles: gather a small handful of shredded strips and tie them together with ribbon, twine, or a short piece of string. Mix green and yellow strips for a textured look.
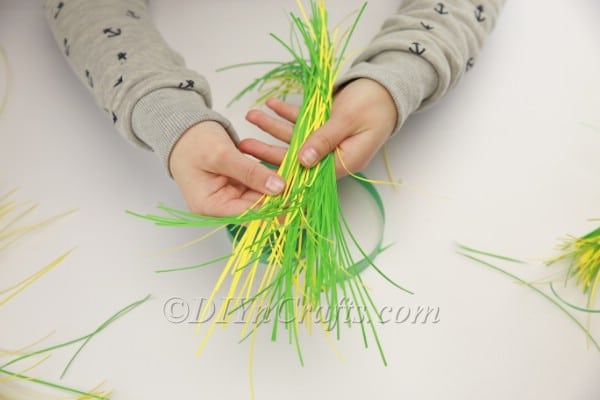
3. Connect bundles: create a second bundle and attach it to the first so their ends overlap; continue adding bundles until the length matches the circumference you want for the bunny's body. Then bring the ends together and tie them to form a circle.
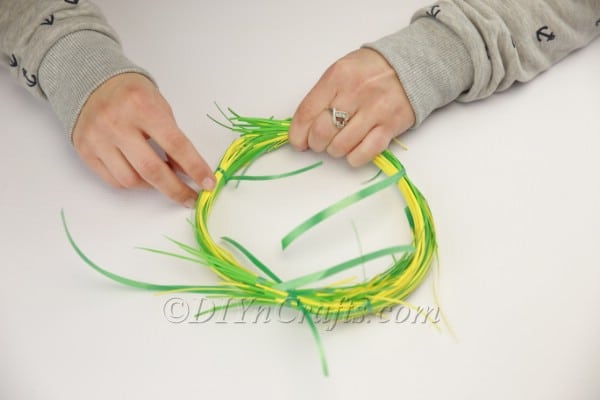
4. Tidy the body: trim any excessively long or uneven strips to give the body a neater appearance.
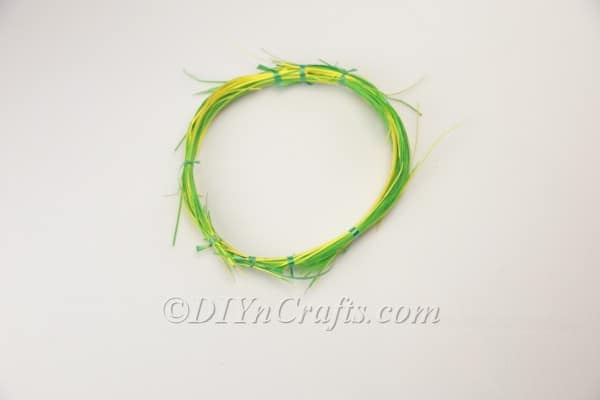
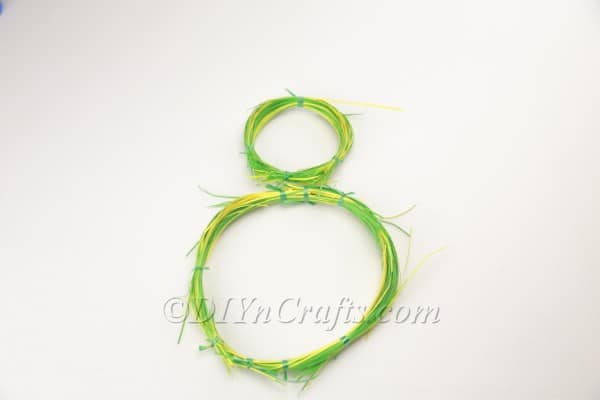
5. Make the head: repeat the same bundle-and-join process to create a smaller circle for the bunny's head.
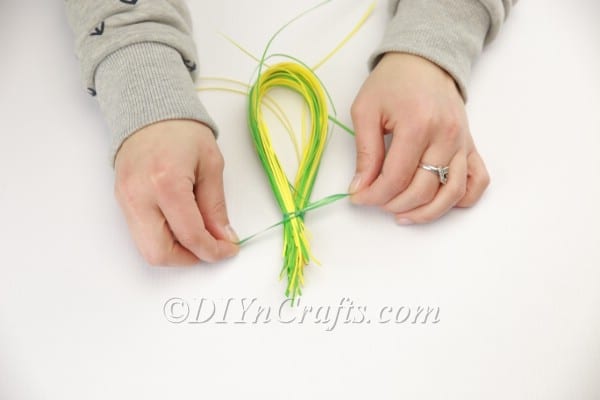
6. Form the ears: take a bundle of paper strips, fold it into a loop and tie it closed at the base — this creates one ear.
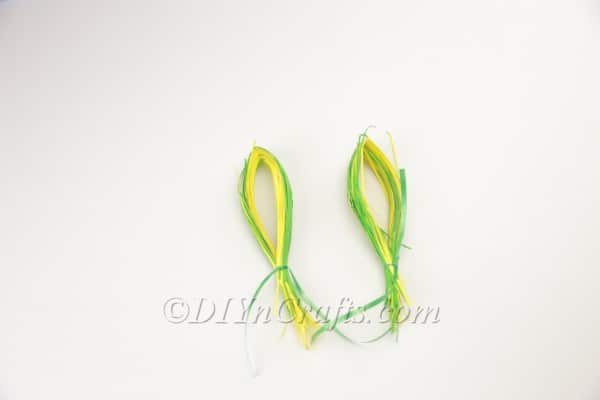
7. Repeat for the second ear so you have two matching loops.
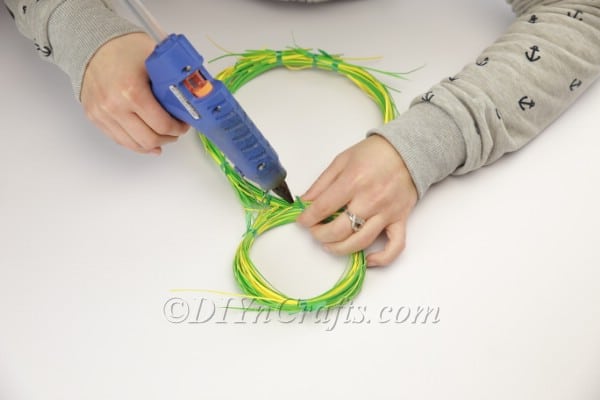
8. Assemble: use hot glue to attach the head to the body and glue the ears to the top of the head. Hold pieces briefly until the glue sets so the shape stays secure.
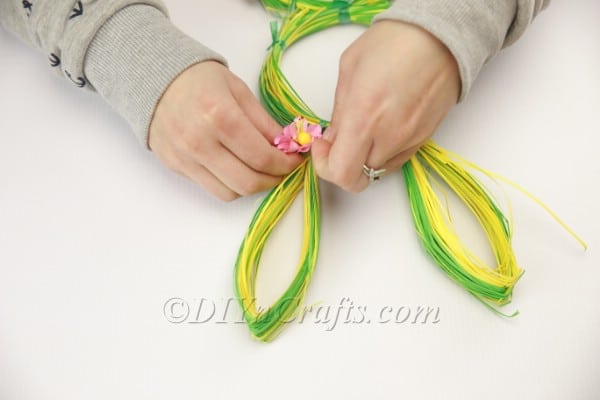
9. Embellish: decorate the wreath as you like. In this example, artificial flowers are glued around the body and on the head, with a ribbon bow at the neck for a finishing touch.
10. Finish and display: once the glue has dried, your bunny wreath is ready to hang on a door or wall to add a festive Easter accent to your home.
When it is done, it should look like this