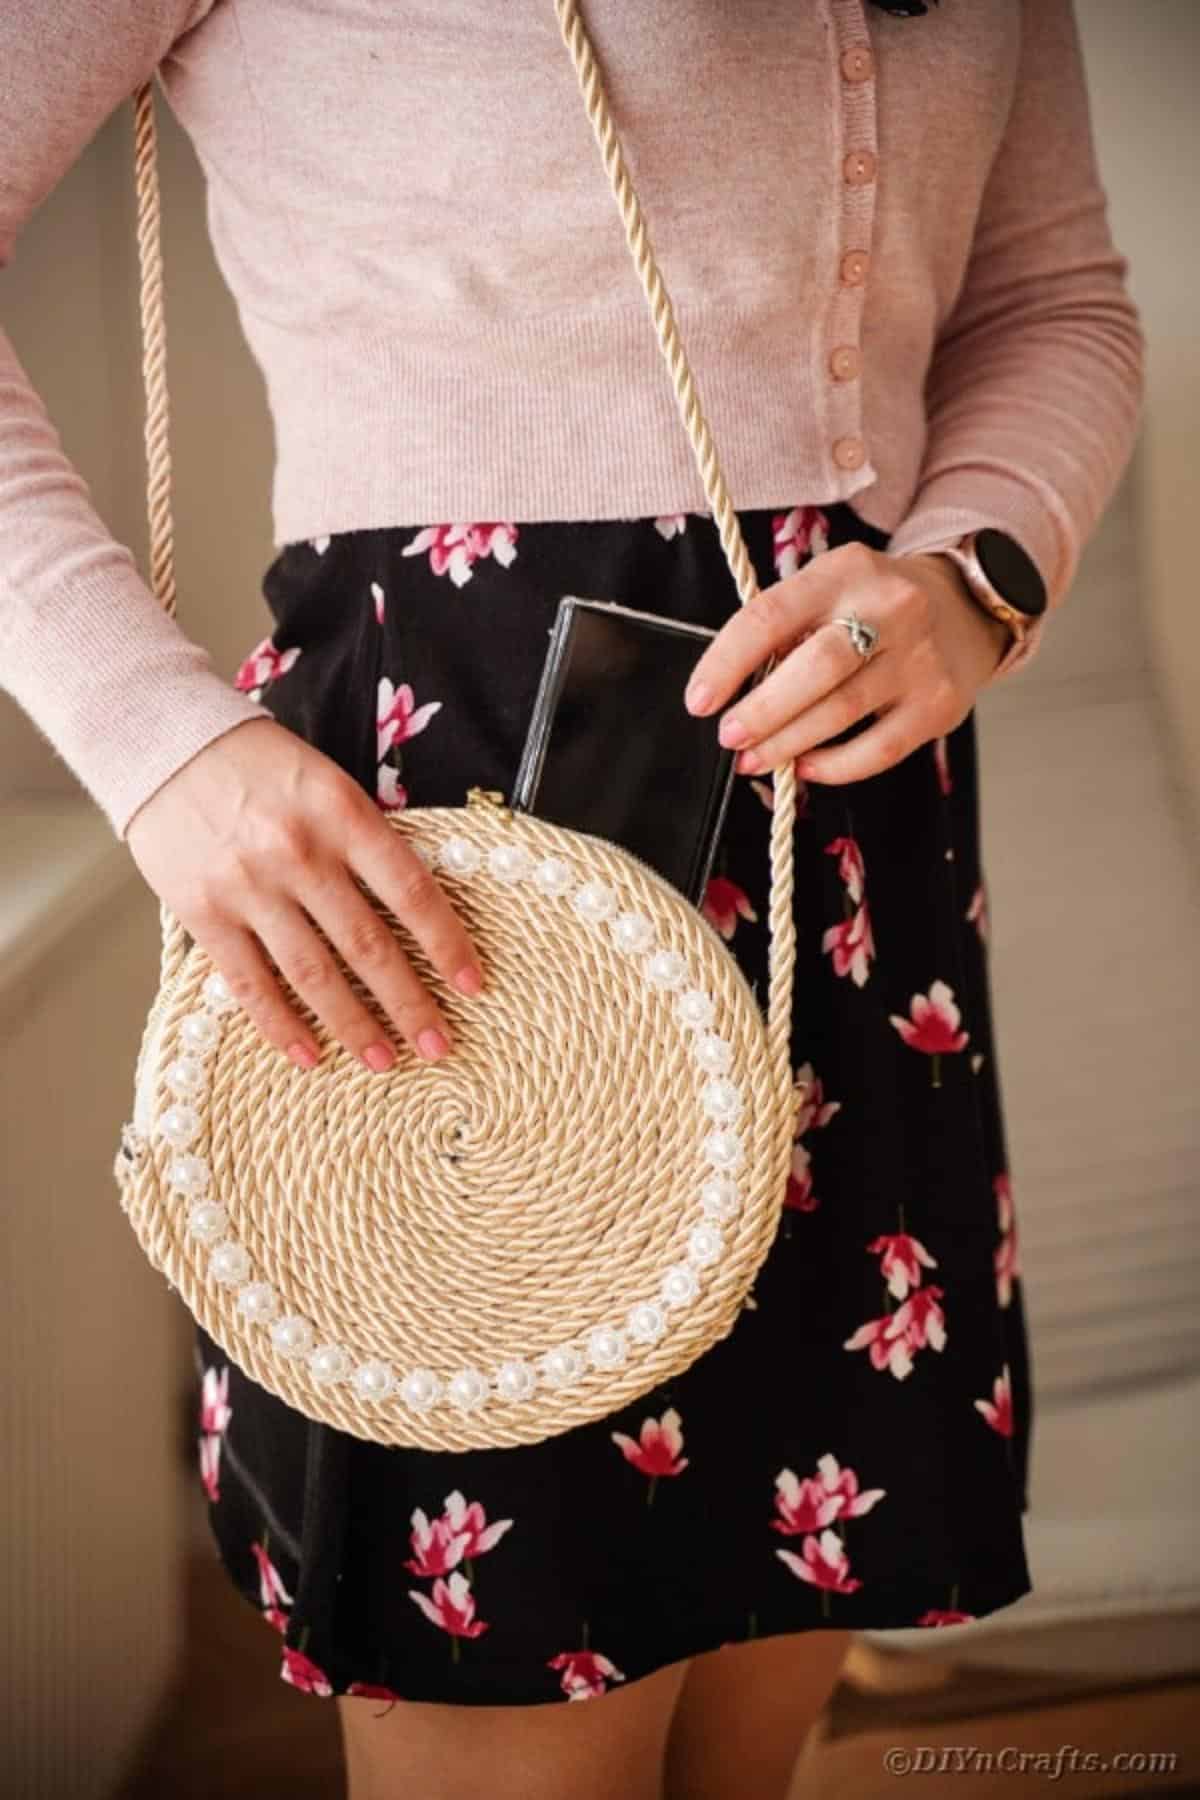
Turn Rope into a Gorgeous No‑Sew Purse — Easy Step‑by‑Step DIY
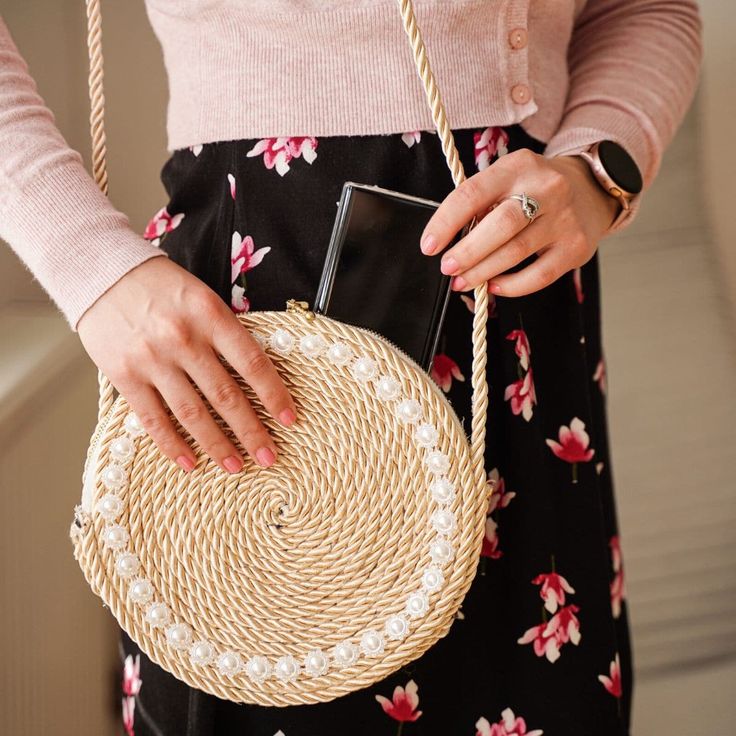
Make a stylish, store-worthy purse without sewing — just rope, a zipper and hot glue. This no-sew rope purse project is perfect for crafters who want a quick, durable bag with a handcrafted look. Below you'll find a clear list of supplies and step-by-step instructions illustrated with photos so you can follow along easily.
Supplies
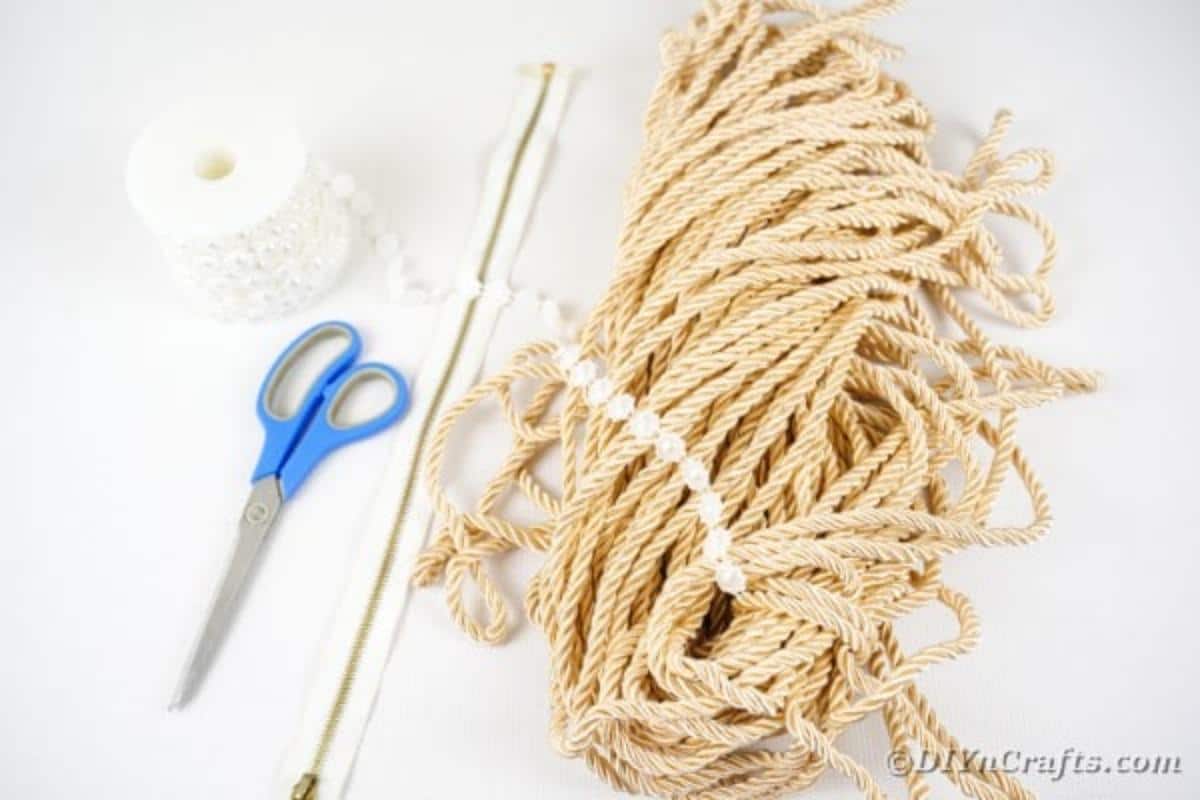
Gather the following:
- Rope
- Zipper
- Beaded ribbon or beads (for decoration)
- Bag stabilizer (fusible or fabric stabilizer)
- Purse strap or additional rope for a strap
- Scissors
- Hot glue gun
- Hot glue sticks or hot glue rope
Steps
1. Start the base: Add a drop of hot glue to the end of the rope and begin rolling the rope onto itself to form a tight center.
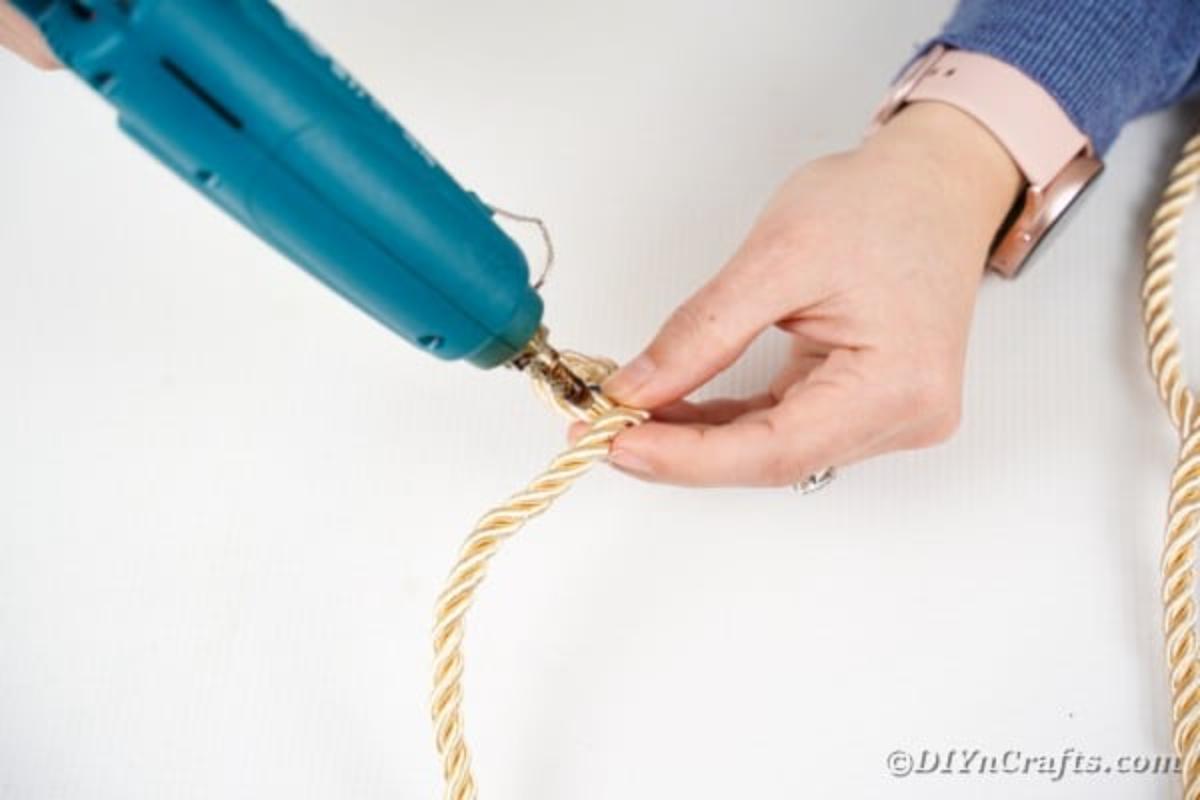
2. Continue coiling: Add glue along the outside of the rope as you curl it around itself, keeping the coil flat and even.
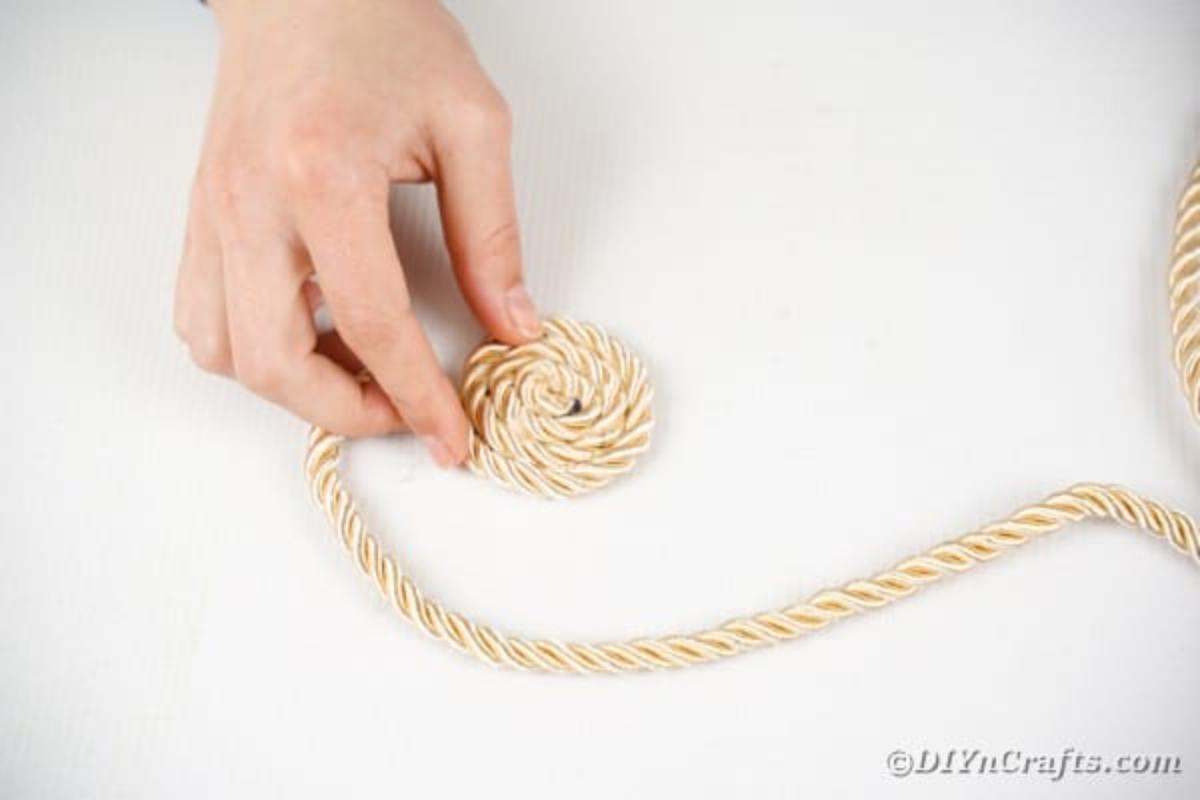
3. Build to size: Keep adding rope until the circle reaches the size you want — in this example the maker made the circle about 10 inches wide.
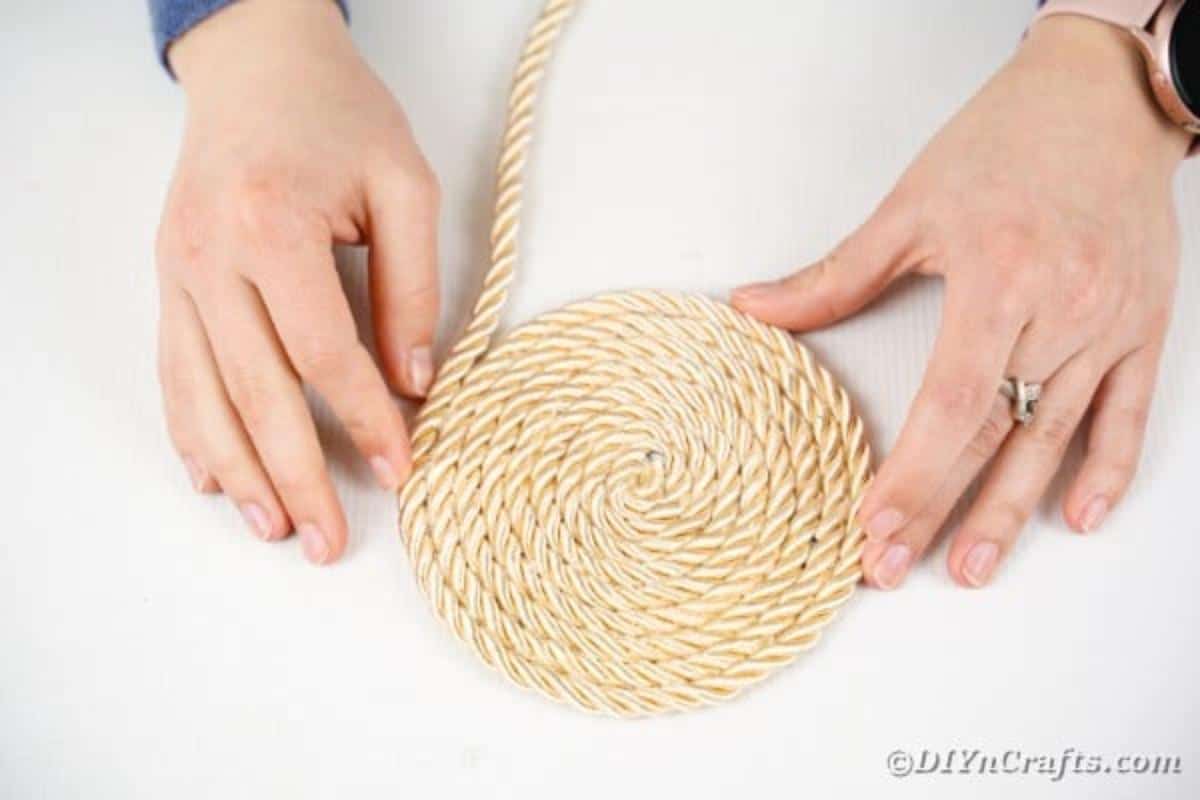
4. Finish and secure the end: Clip the rope end and glue it down neatly to the outside edge so it won't unravel.
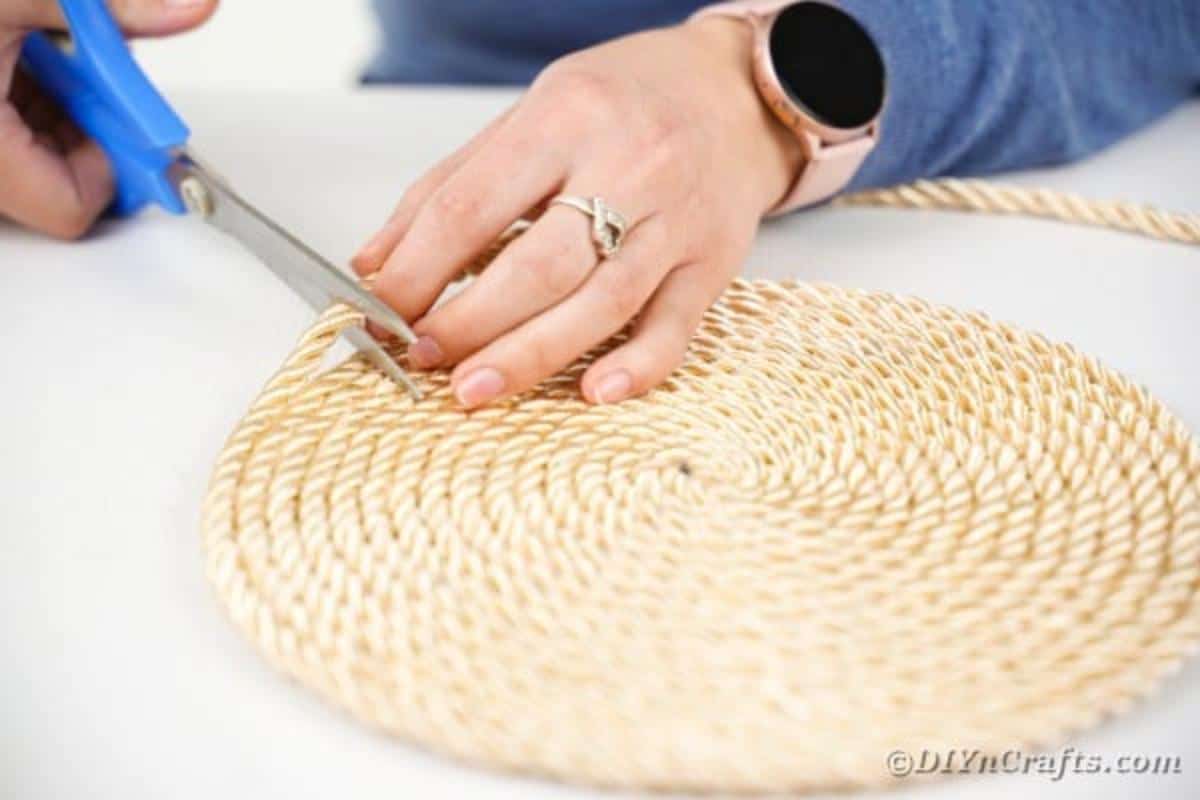
5. Make two sides: Repeat the entire process so you have two identical rope circles — one for the front and one for the back of the purse.
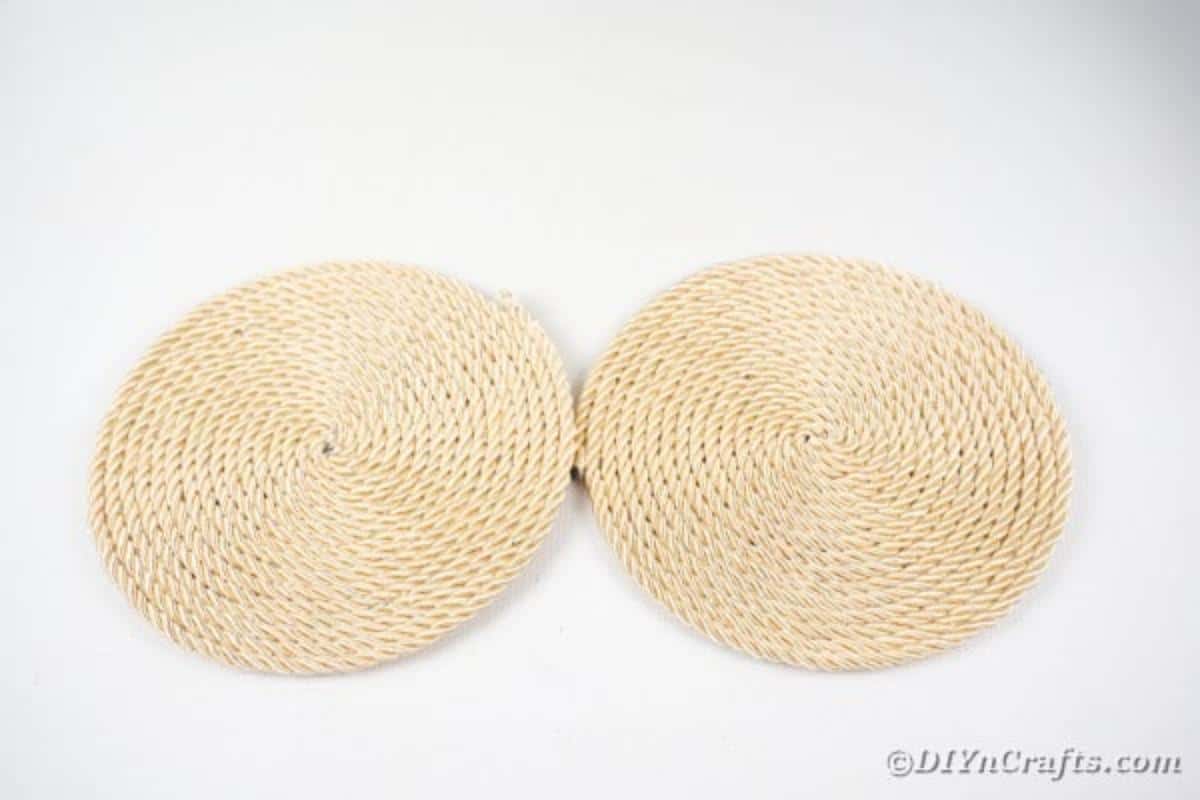
6. Line the interior: Apply hot glue over the flat side of each rope circle and press a piece of bag stabilizer onto it to create a neat, stable interior lining. Trim any excess stabilizer flush with the rope edge.
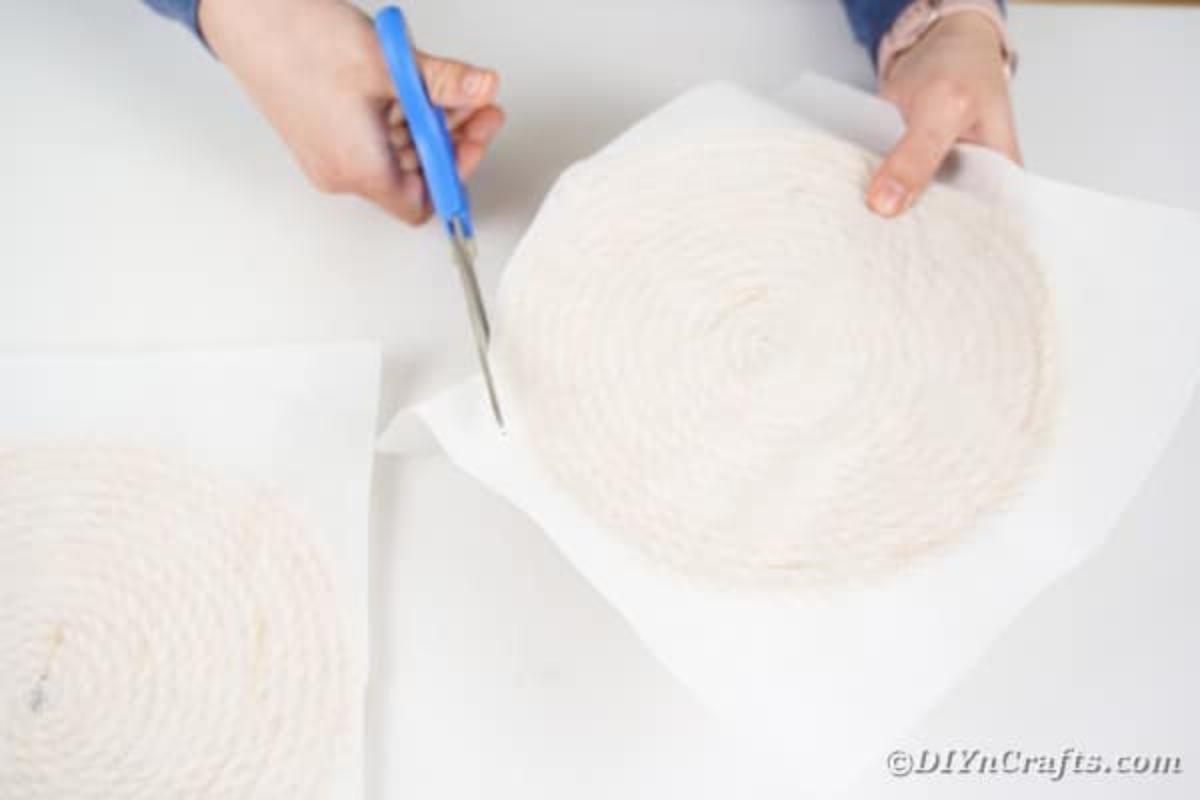
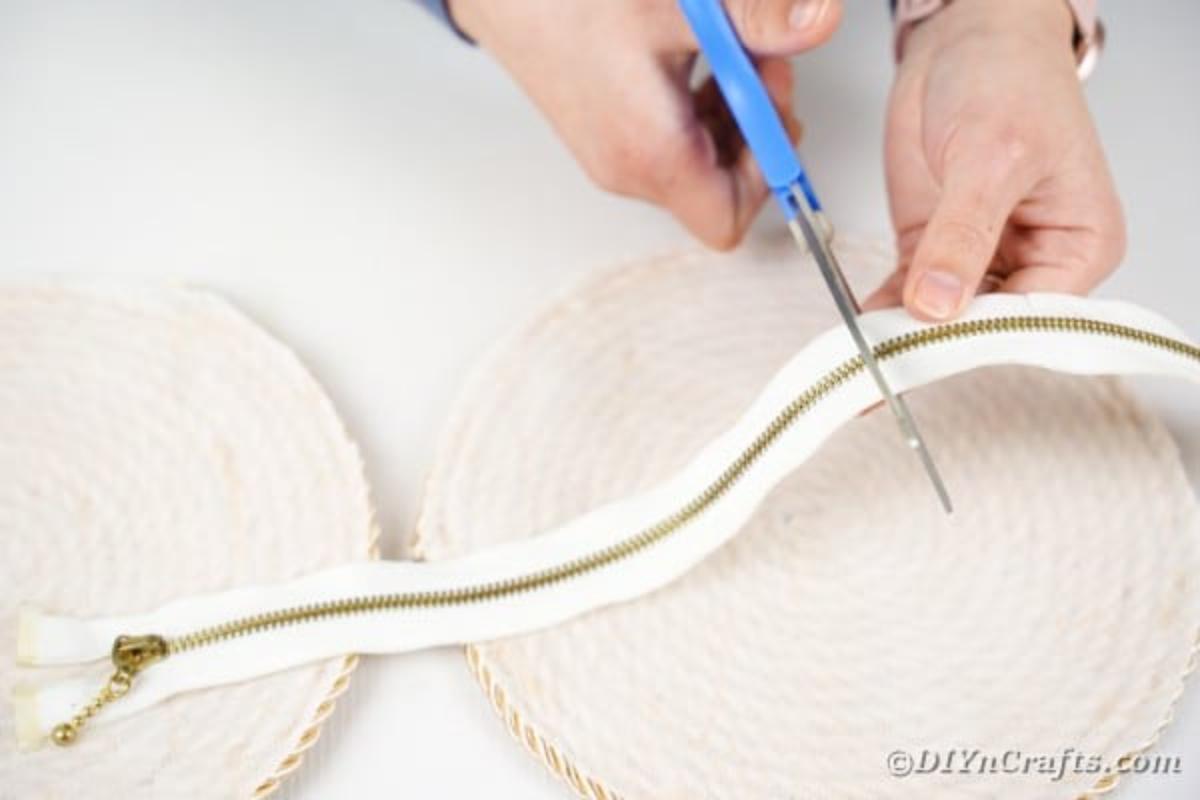
7. Prepare the zipper: Cut small slits in the zipper tape every inch or so on both sides so the zipper will fold and curve smoothly around the circular shape when glued.
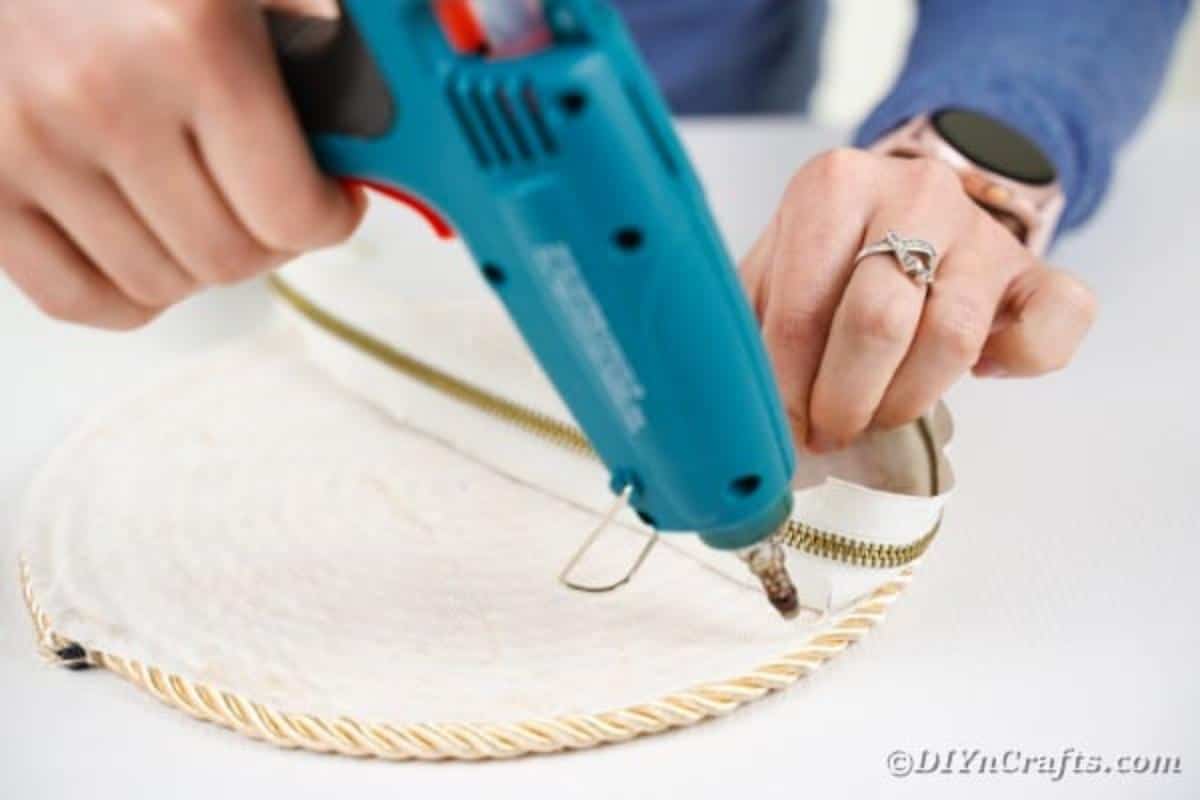
8. Attach the zipper: Glue one side of the zipper to the edge of one rope circle, working in short sections so the zipper sits evenly.
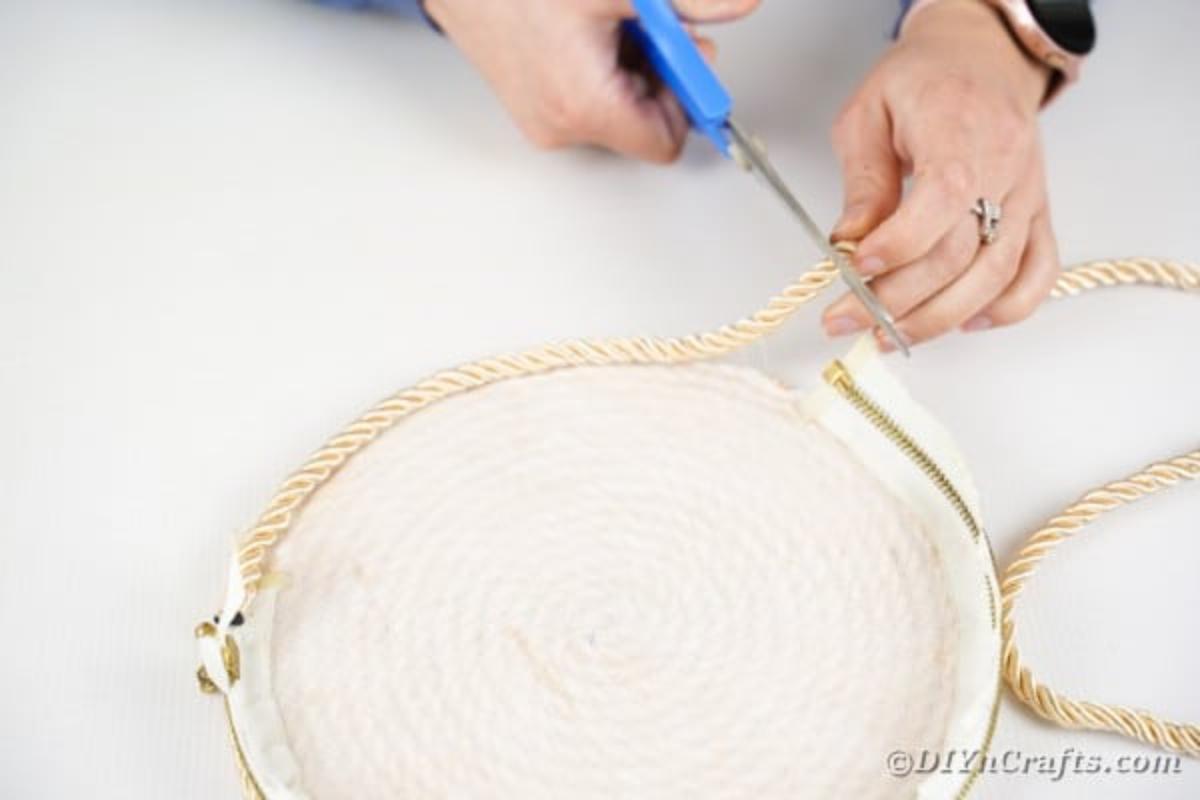
9. Fill any gaps: Where the zipper doesn't reach or leaves small gaps, glue short lengths of rope to build the height to match the zipper, creating a uniform edge.
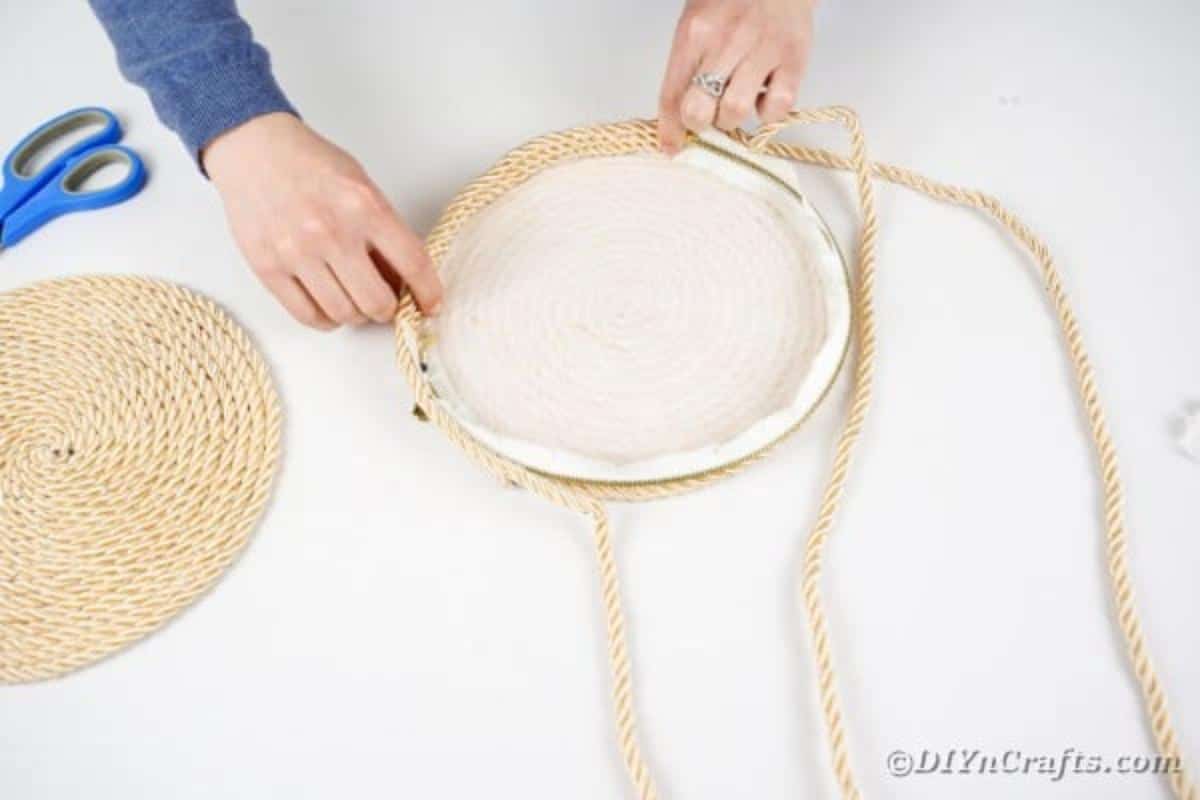
10. Add the strap: Cut a length of rope (or use a purchased strap) to your desired shoulder drop. Hang it over your shoulder to check the length and add 2–3 inches to each end for secure attachment. Glue the strap ends to the sides of the purse and allow to set; for extra strength you can cover the glued ends with a small leather patch and stitch it in place.
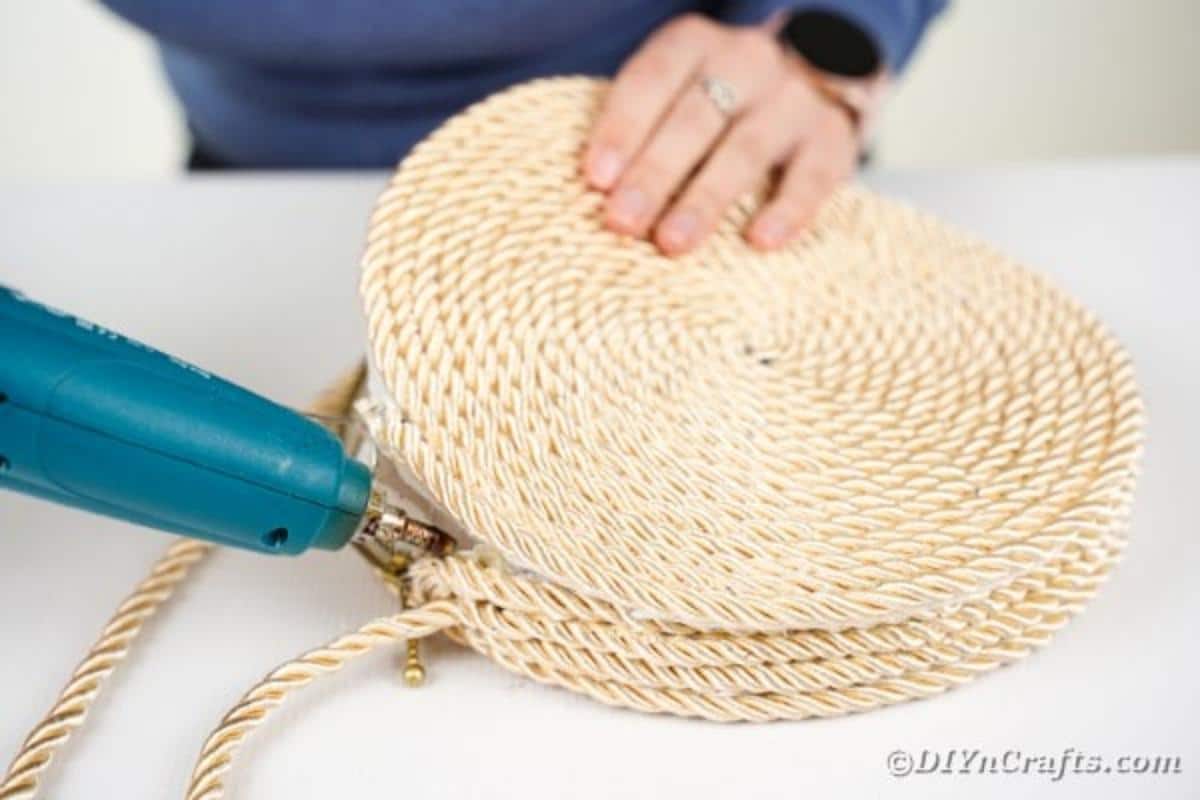
11. Seal and finish: Apply a line of glue along the top edge of the rope on the first circle, place the second circle on top so the zipper is sandwiched and press to seal. Add more glue along the zipper edge as needed to secure the two halves together.
12. Decorate: Glue beaded ribbon or individual beads along the outside edge for a polished, decorative finish.
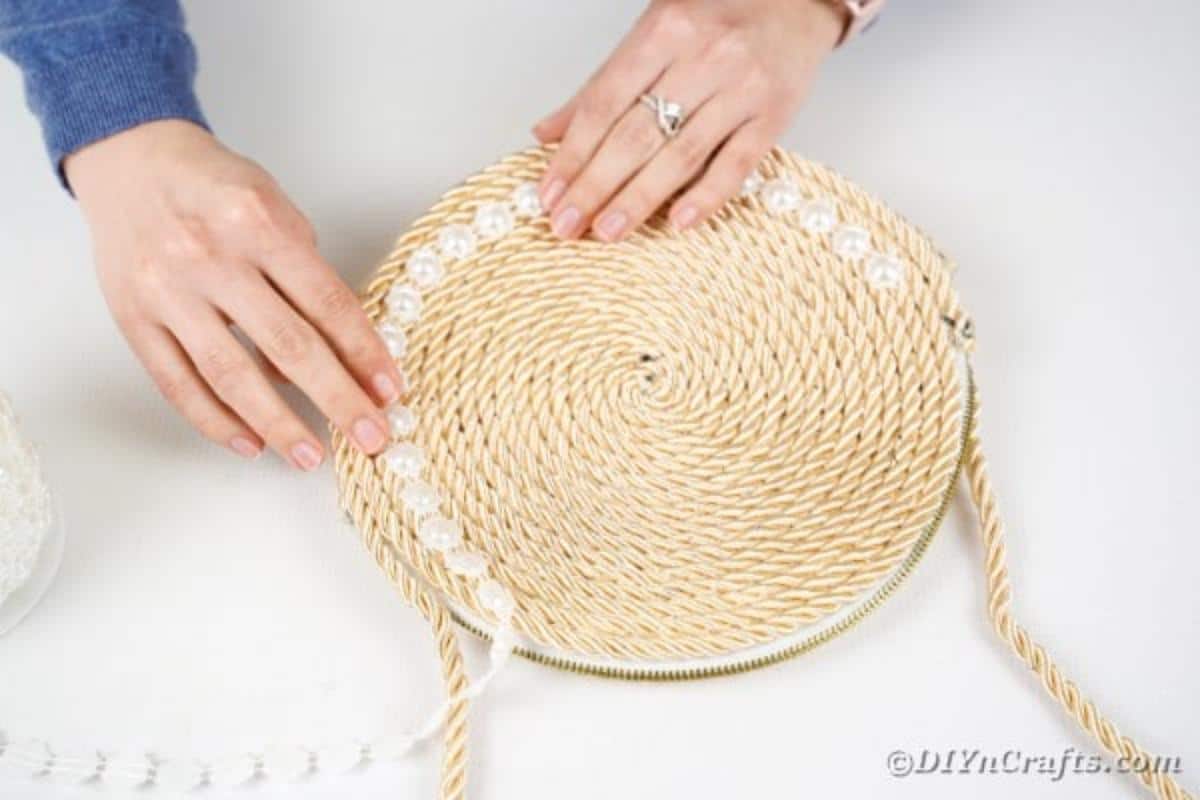
13. Ready to use: Let all glued areas cool and set fully before using your purse. Now your handmade no-sew rope purse is ready to carry!