Transform Tin Cans into Charming Planters: Easy DIY Step-by-Step
Give old tin cans new life with a simple, budget-friendly DIY that adds instant charm to your home or garden. This guide walks you through cleaning and preparing cans, reshaping and decorating them, and finishing touches to create hanging or tabletop planters for faux flowers or real plants.
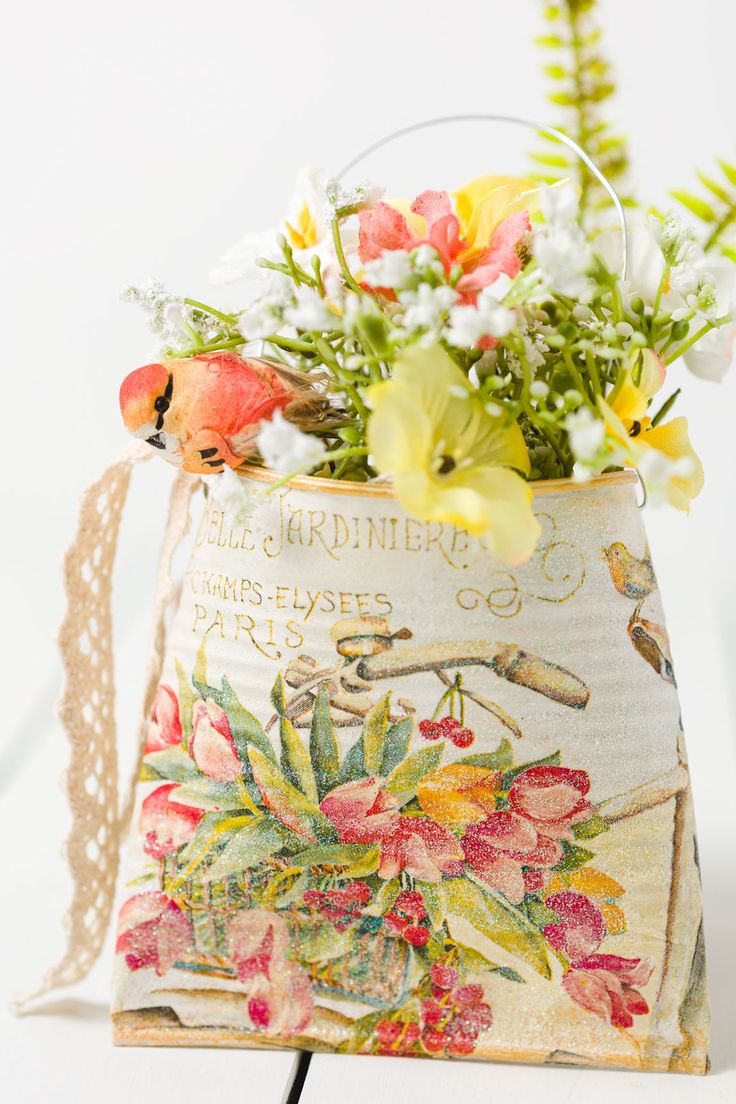
Tin can planters are a fantastic way to upcycle and bring some greenery into your home! Not only are they environmentally friendly, but they also add a touch of charm to any space. Simply clean out an old tin can, punch a few holes in the bottom for drainage, fill it with soil, and plant your favorite herbs or flowers. These DIY planters are not only cute and budget-friendly but also a fun project that can be enjoyed by all ages. So grab those tin cans lying around and get creative with your new mini garden!
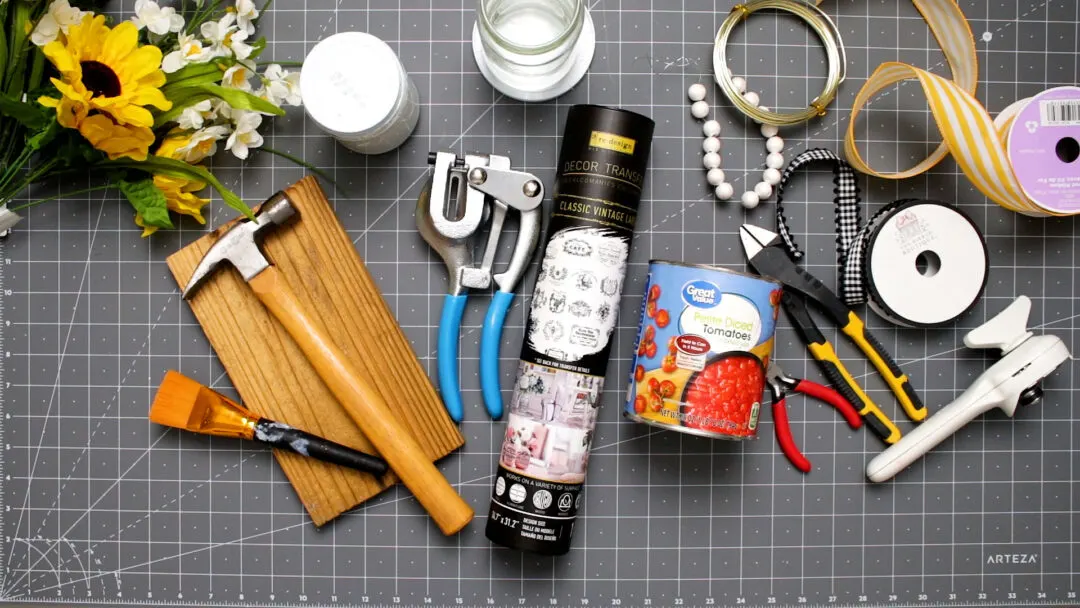
Supplies to Make Tin Can Planters
After gathering your supplies, you are ready to create a one-of-a-kind tin can planter.
Tin cans
Transfer
Napkin
Paint
Wood
Hammer
Wirecutter
Wire
Hole punch
Ribbon
Foam
Flowers
Can opener
Wood beads
Mod Podge
Heat tool
Gold gilding wax
Step-by-Step Directions for Recycling Tin Cans – Planters
Step 1. Prepare Cans:
Before making your planter, give your cans a good scrub and allow them to dry.
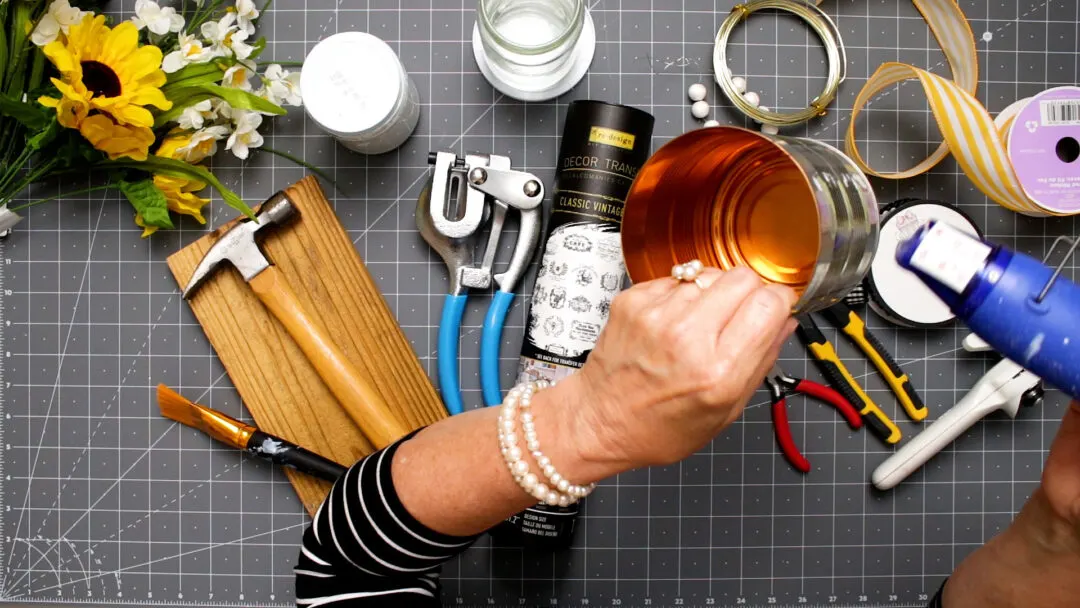
Remove the label and glue. I used a heat tool to melt the glue.
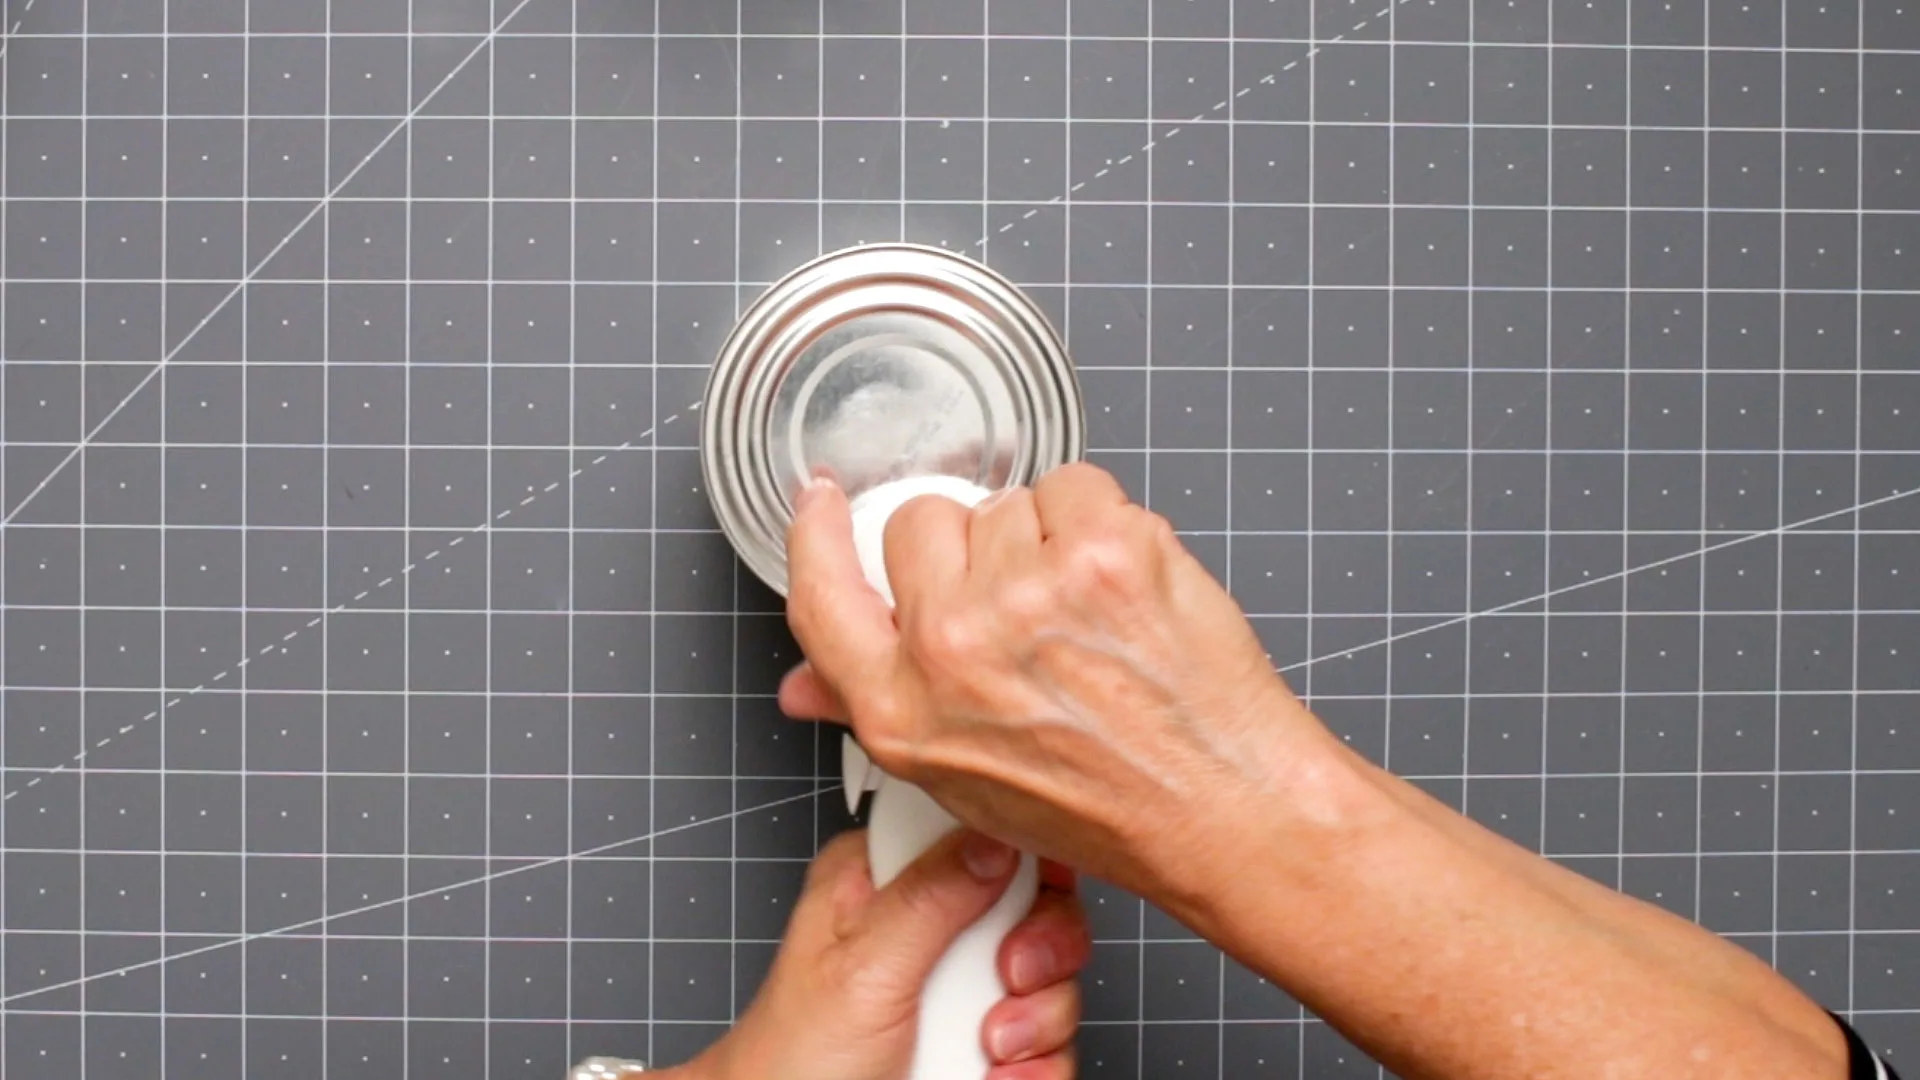
Next, I removed the bottom of the can with a can opener that leaves a non-sharp edge.
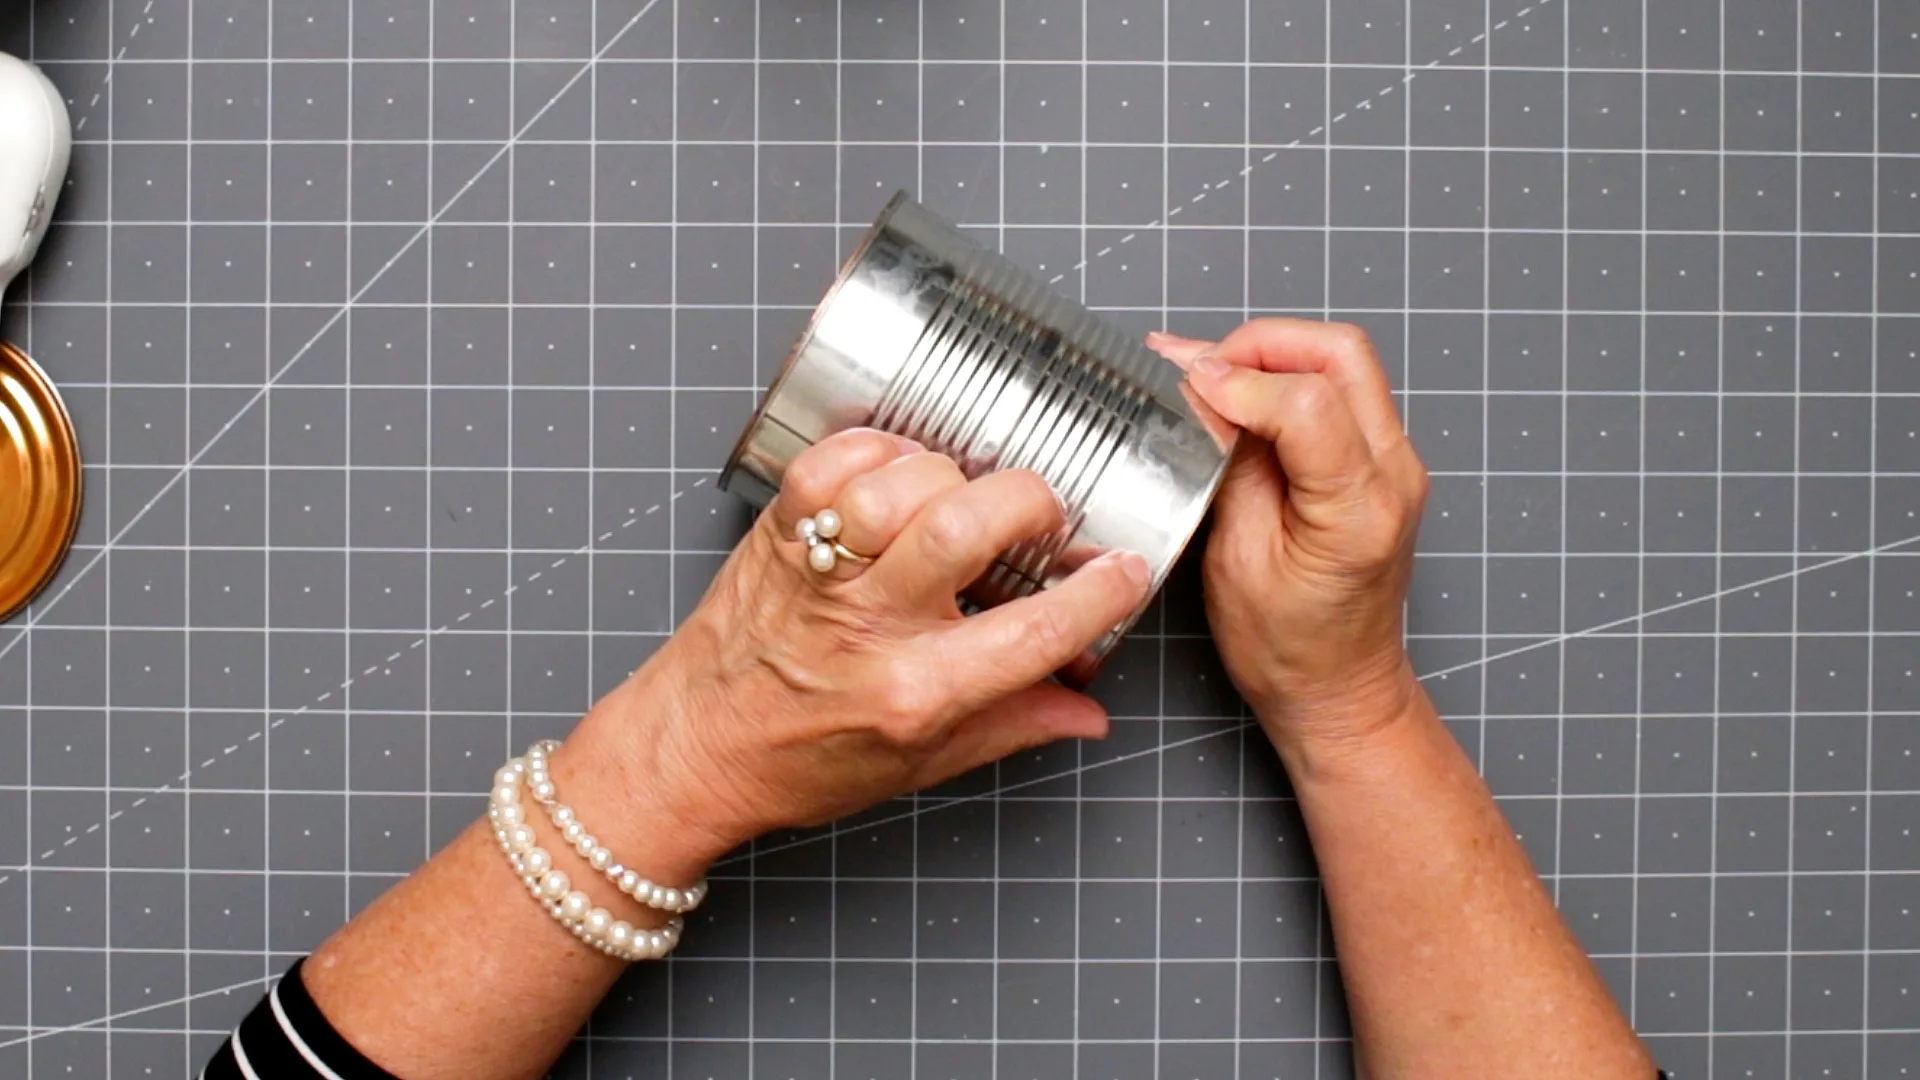
Then I figure out where my sides will be before smashing the can.
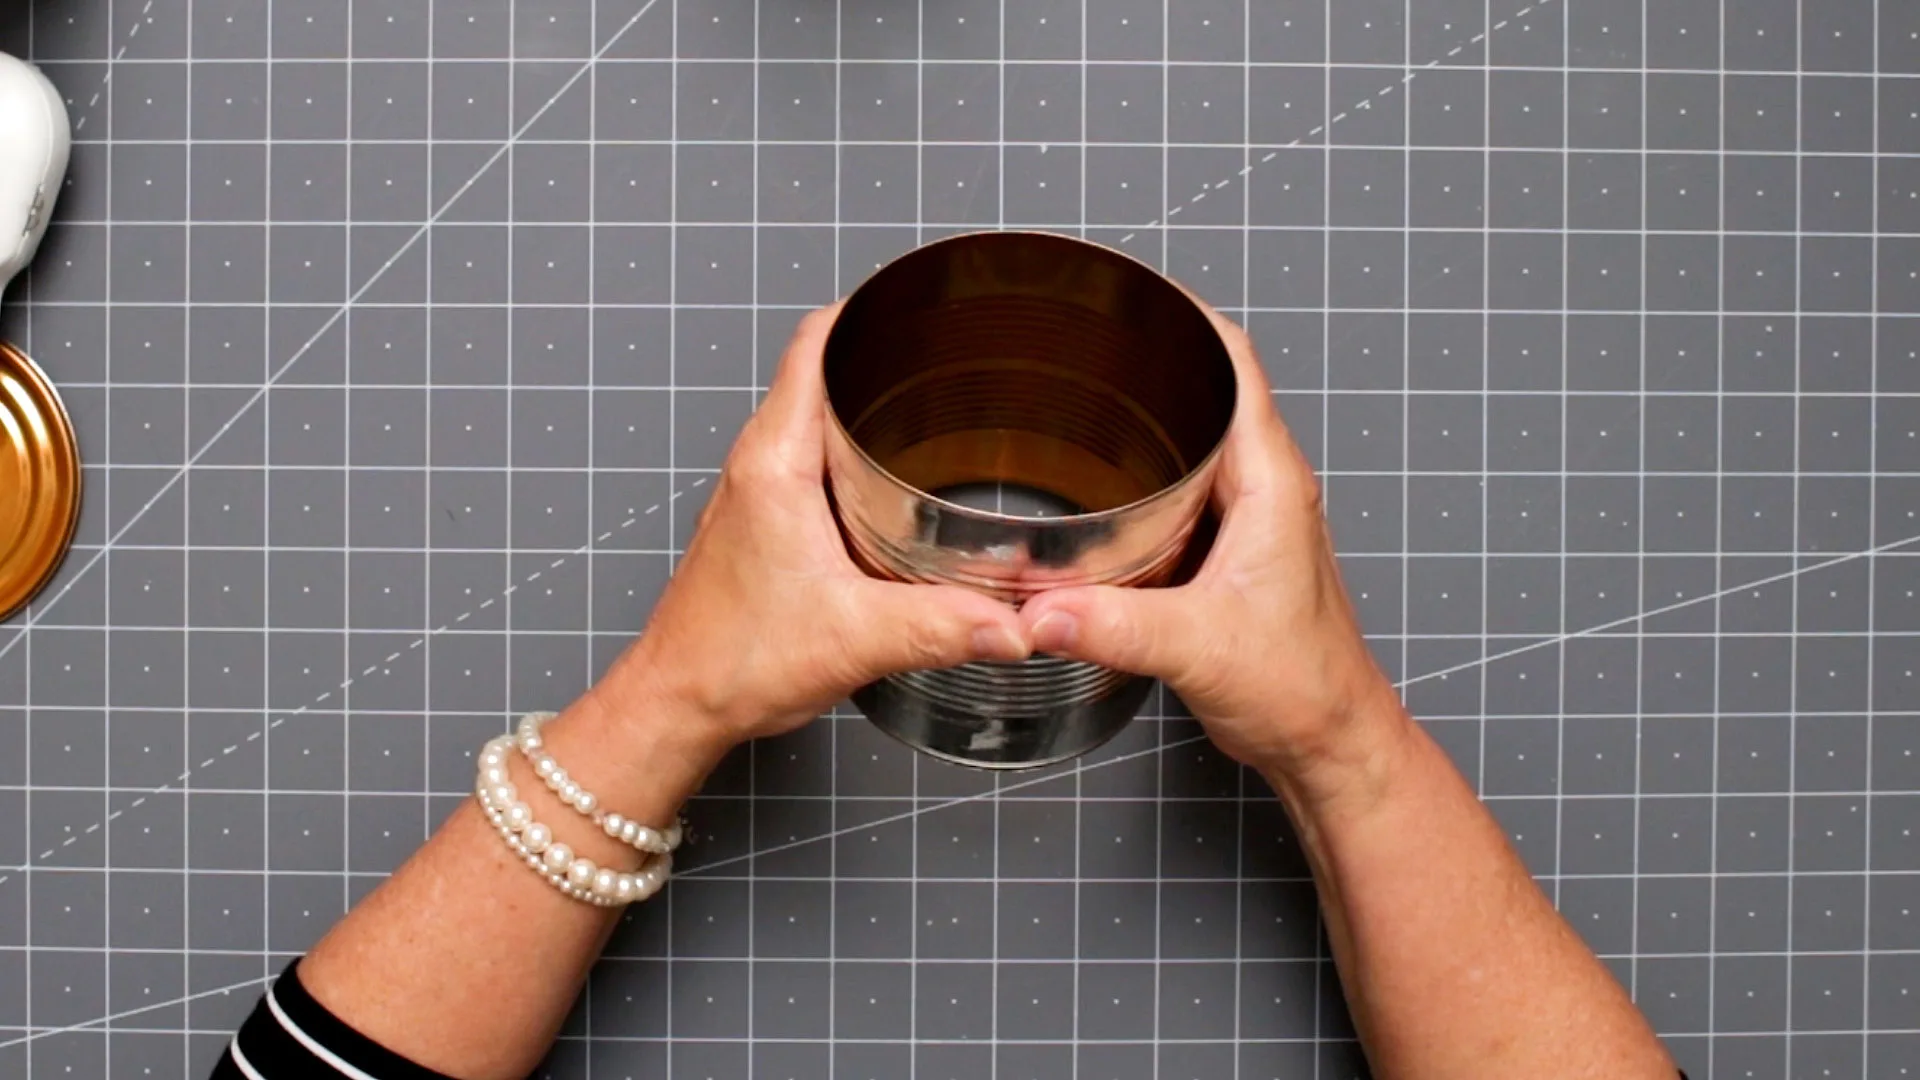
Next, I slowly start bending the can but not crushing the sides.
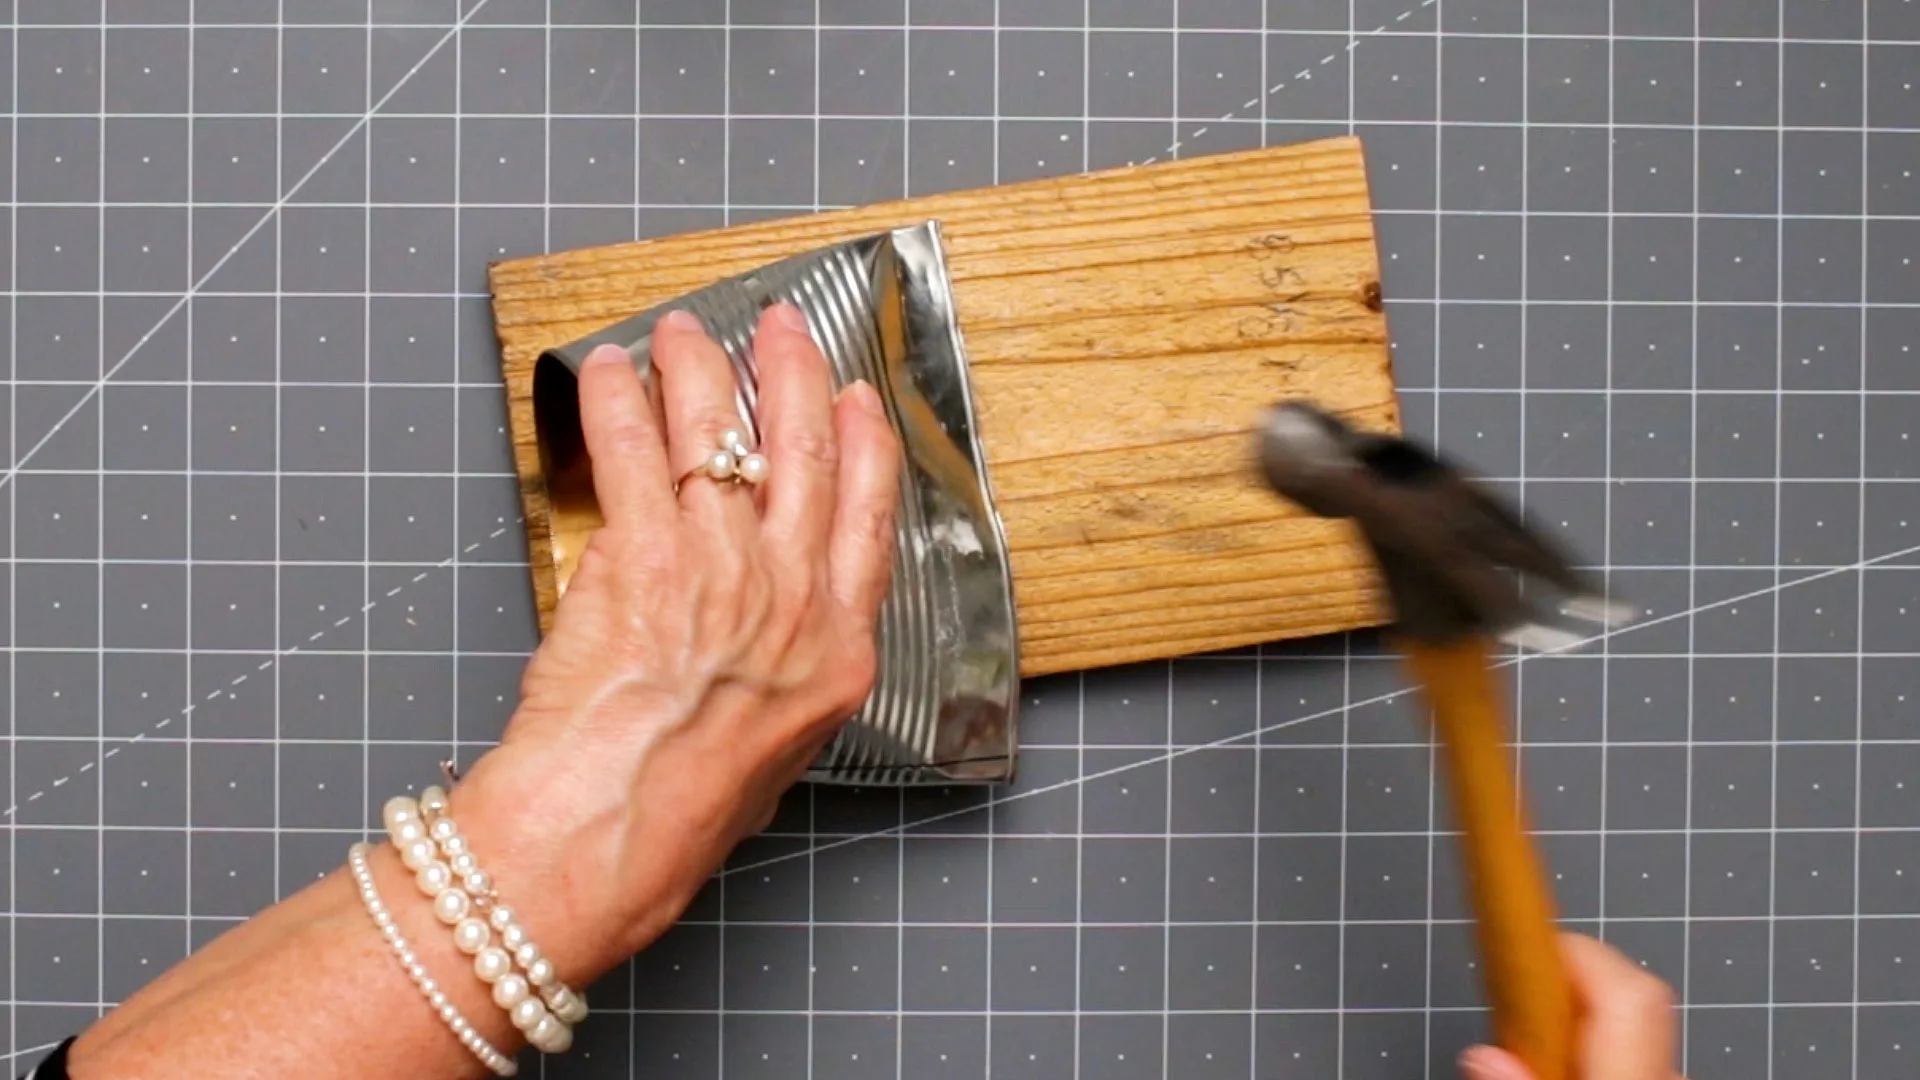
To close off the bottom of the can, I place my can on a piece of wood. Then I use a hammer and start hammering the bottom edge closed.
I turn it over and repeat the process.
Step 3. Punch Holes
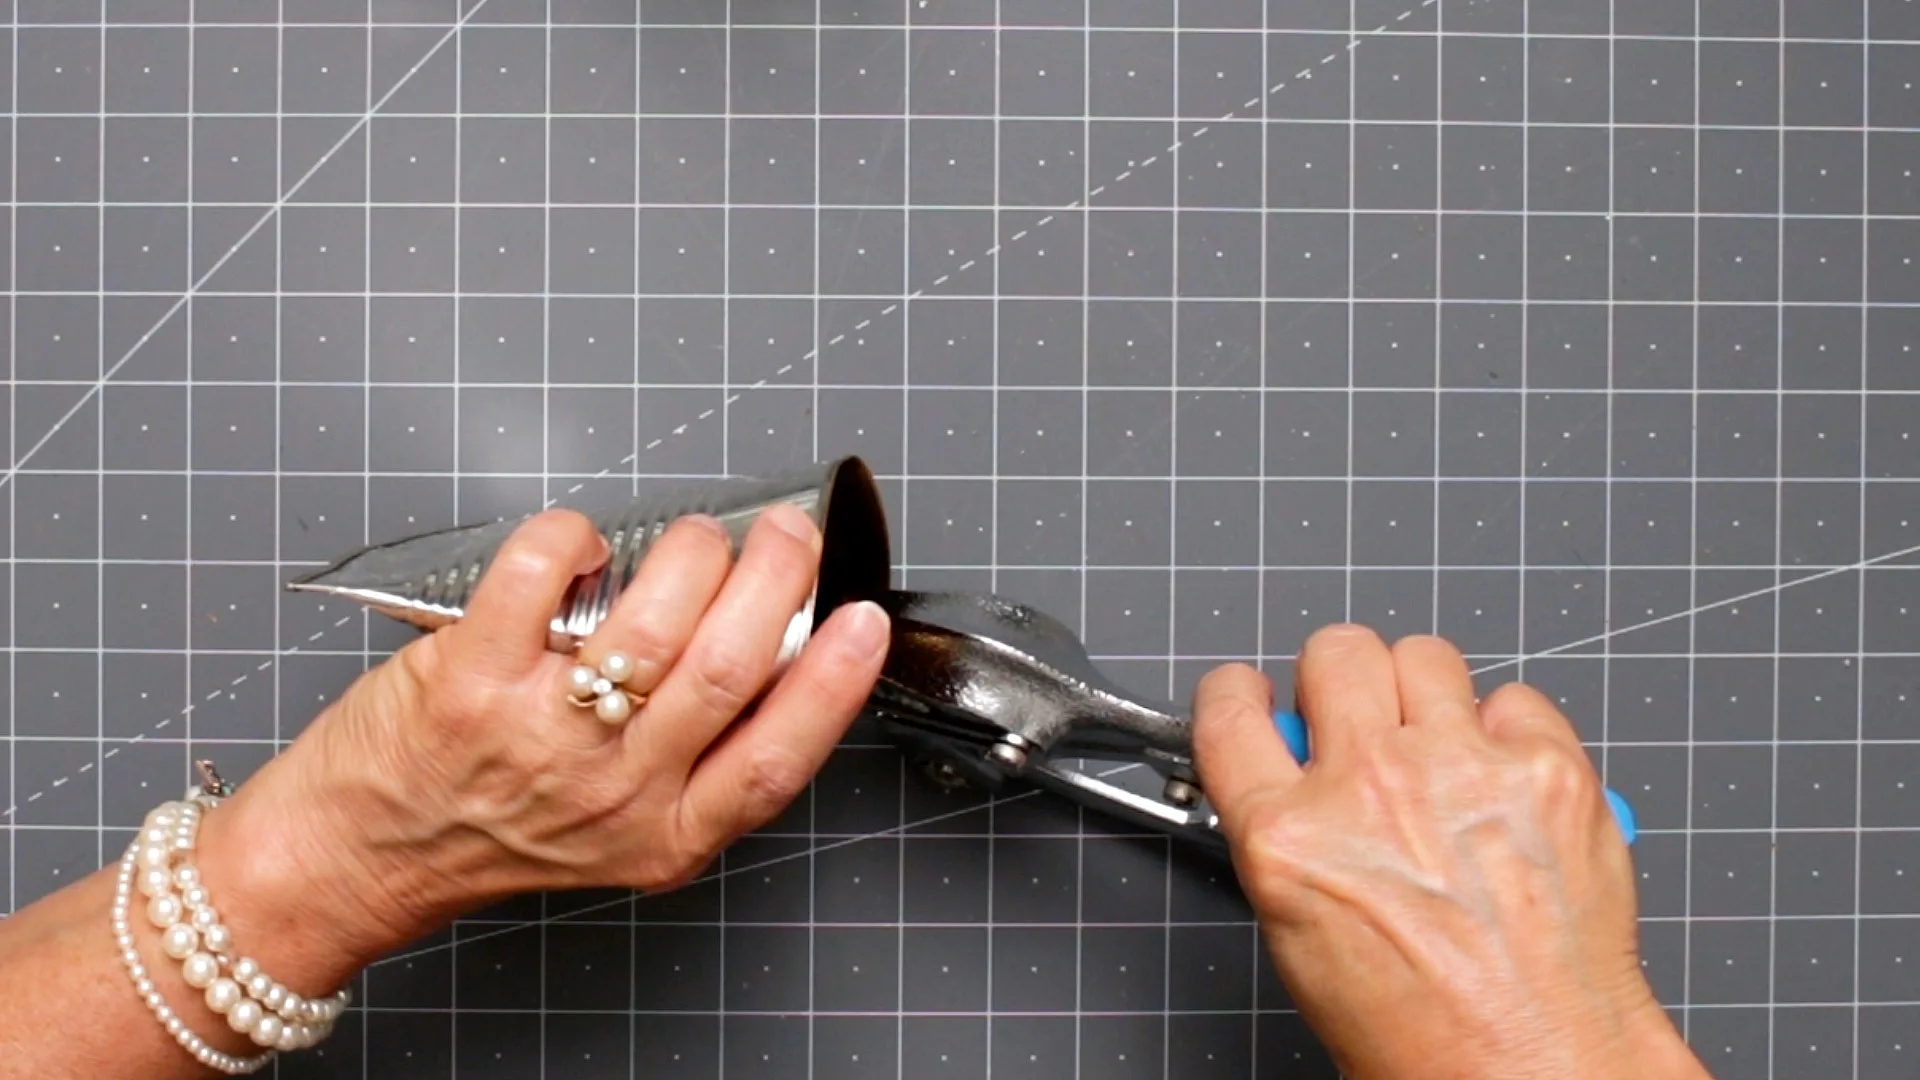
To make the holes for the handle, I use a metal hole punch.
Step 4. Painting and Transfer
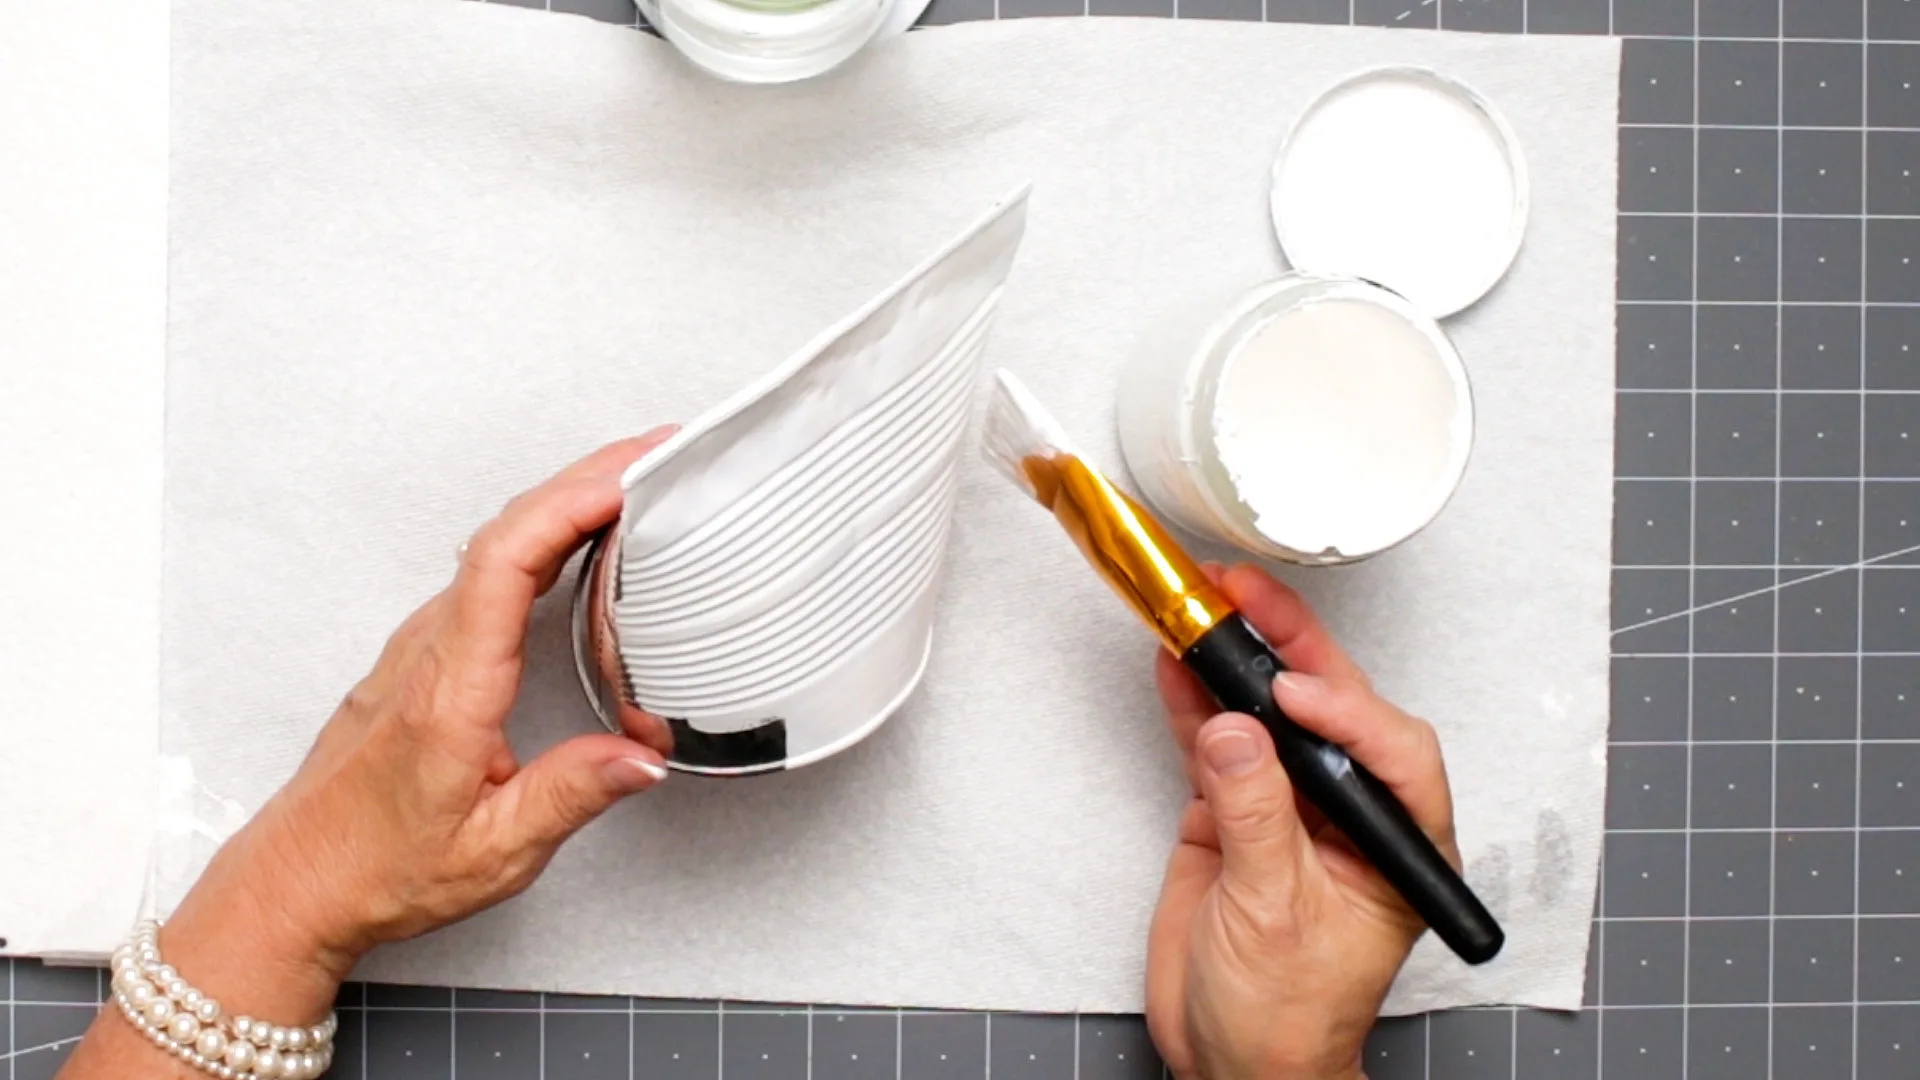
Next, I paint the can and allow it to dry.
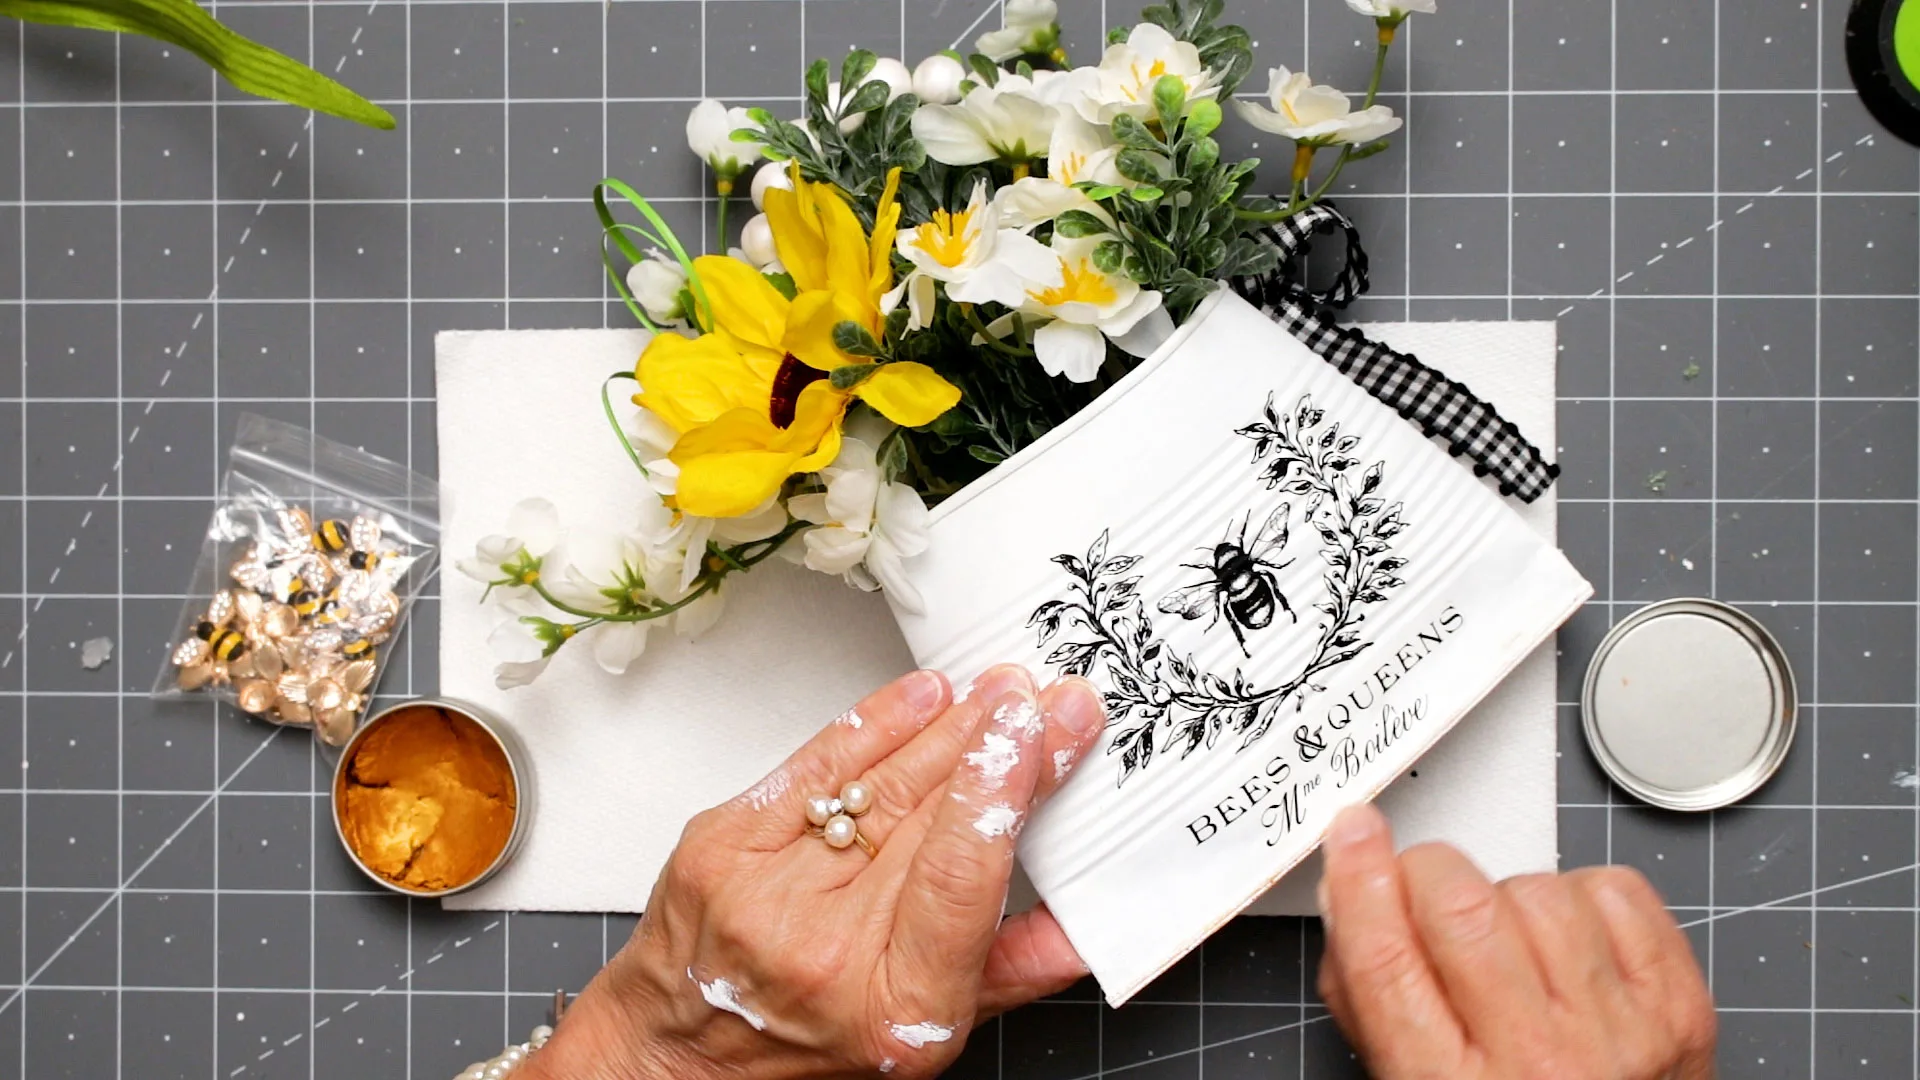
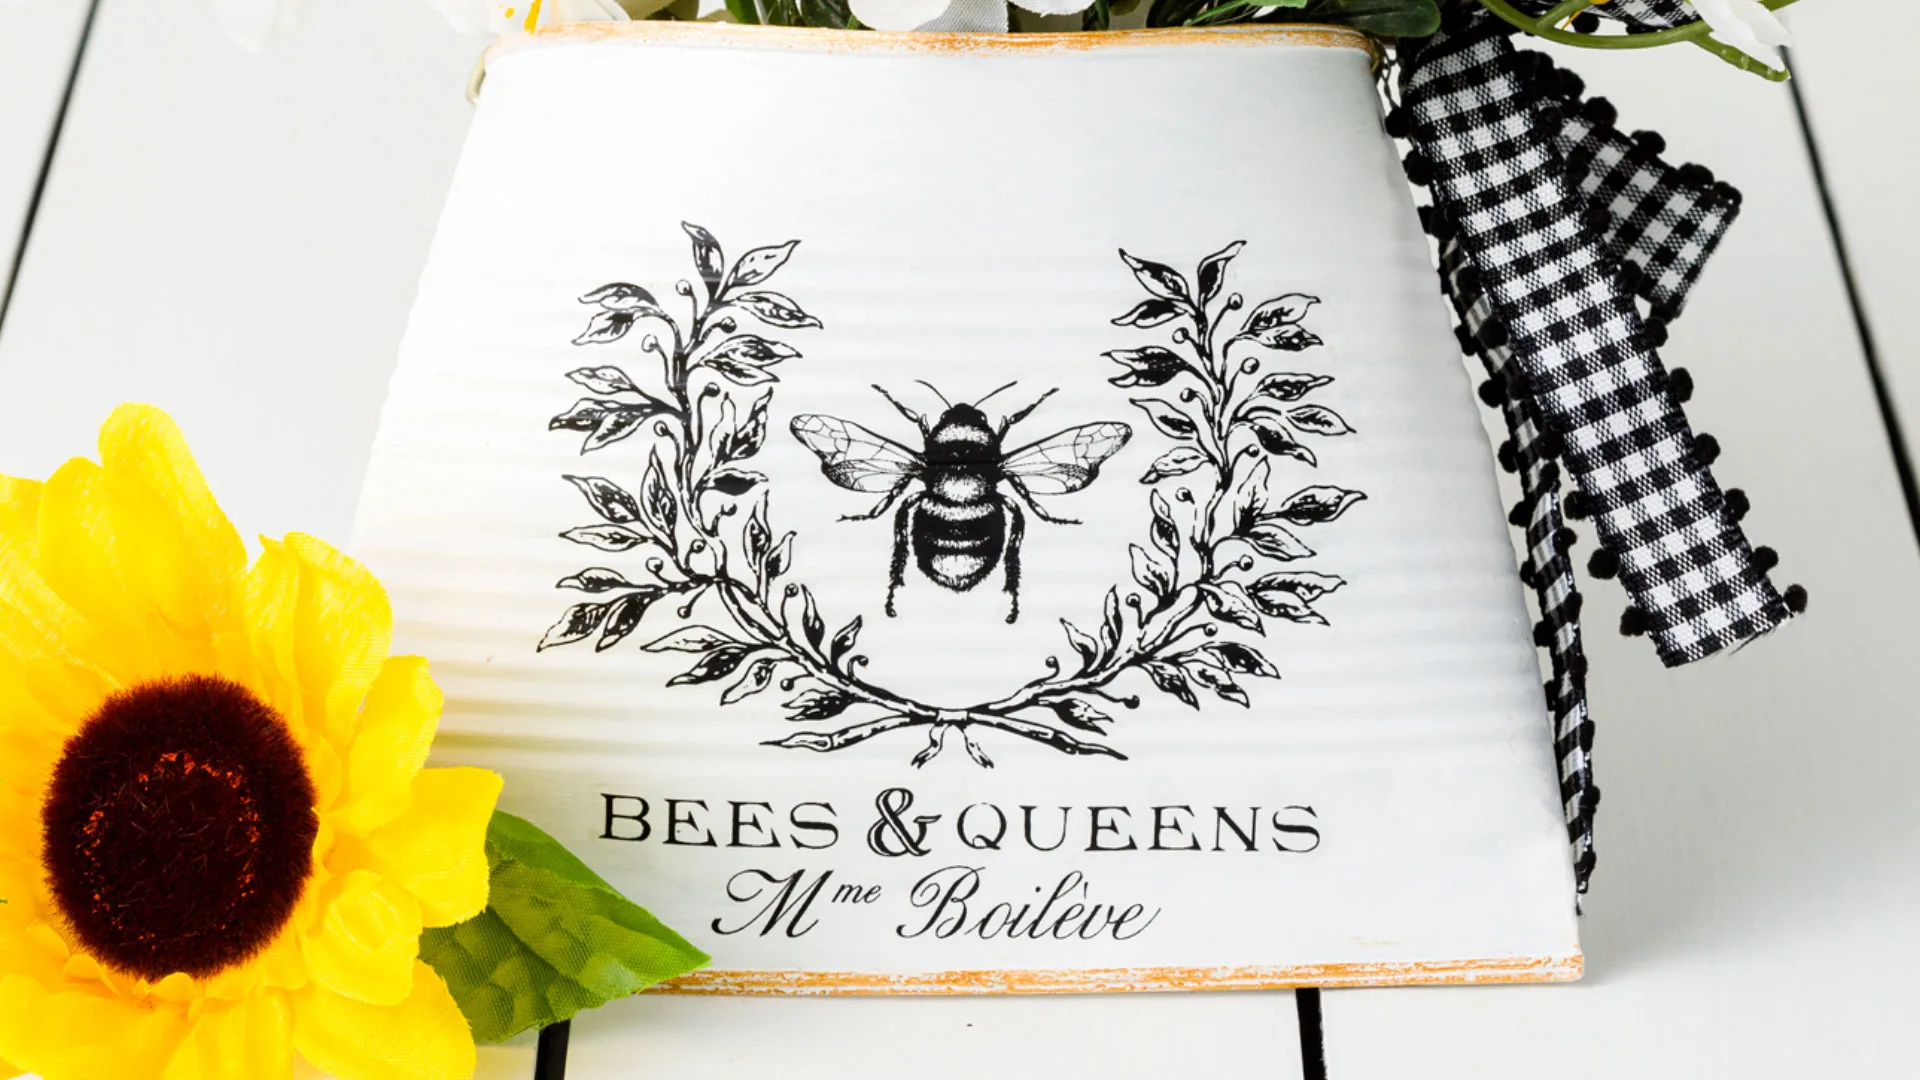
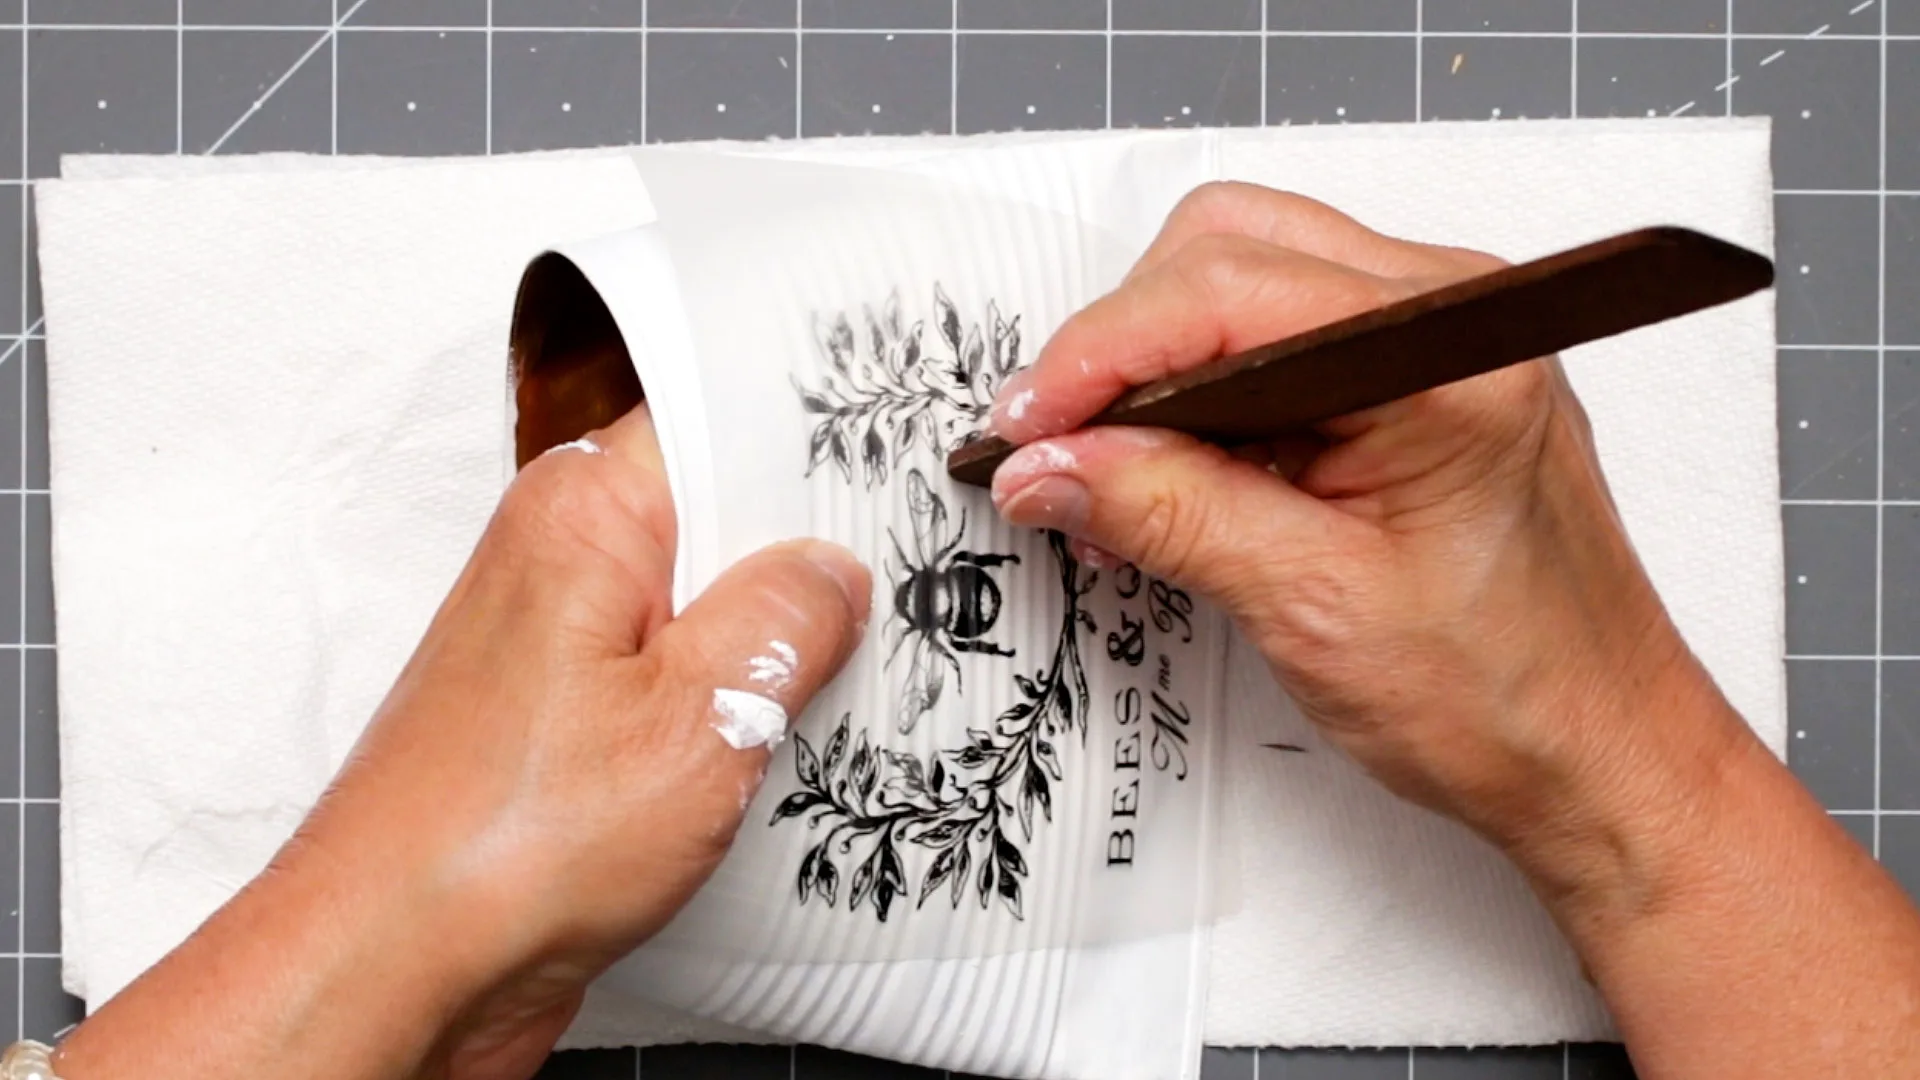
Then I position my transfer in the center front.
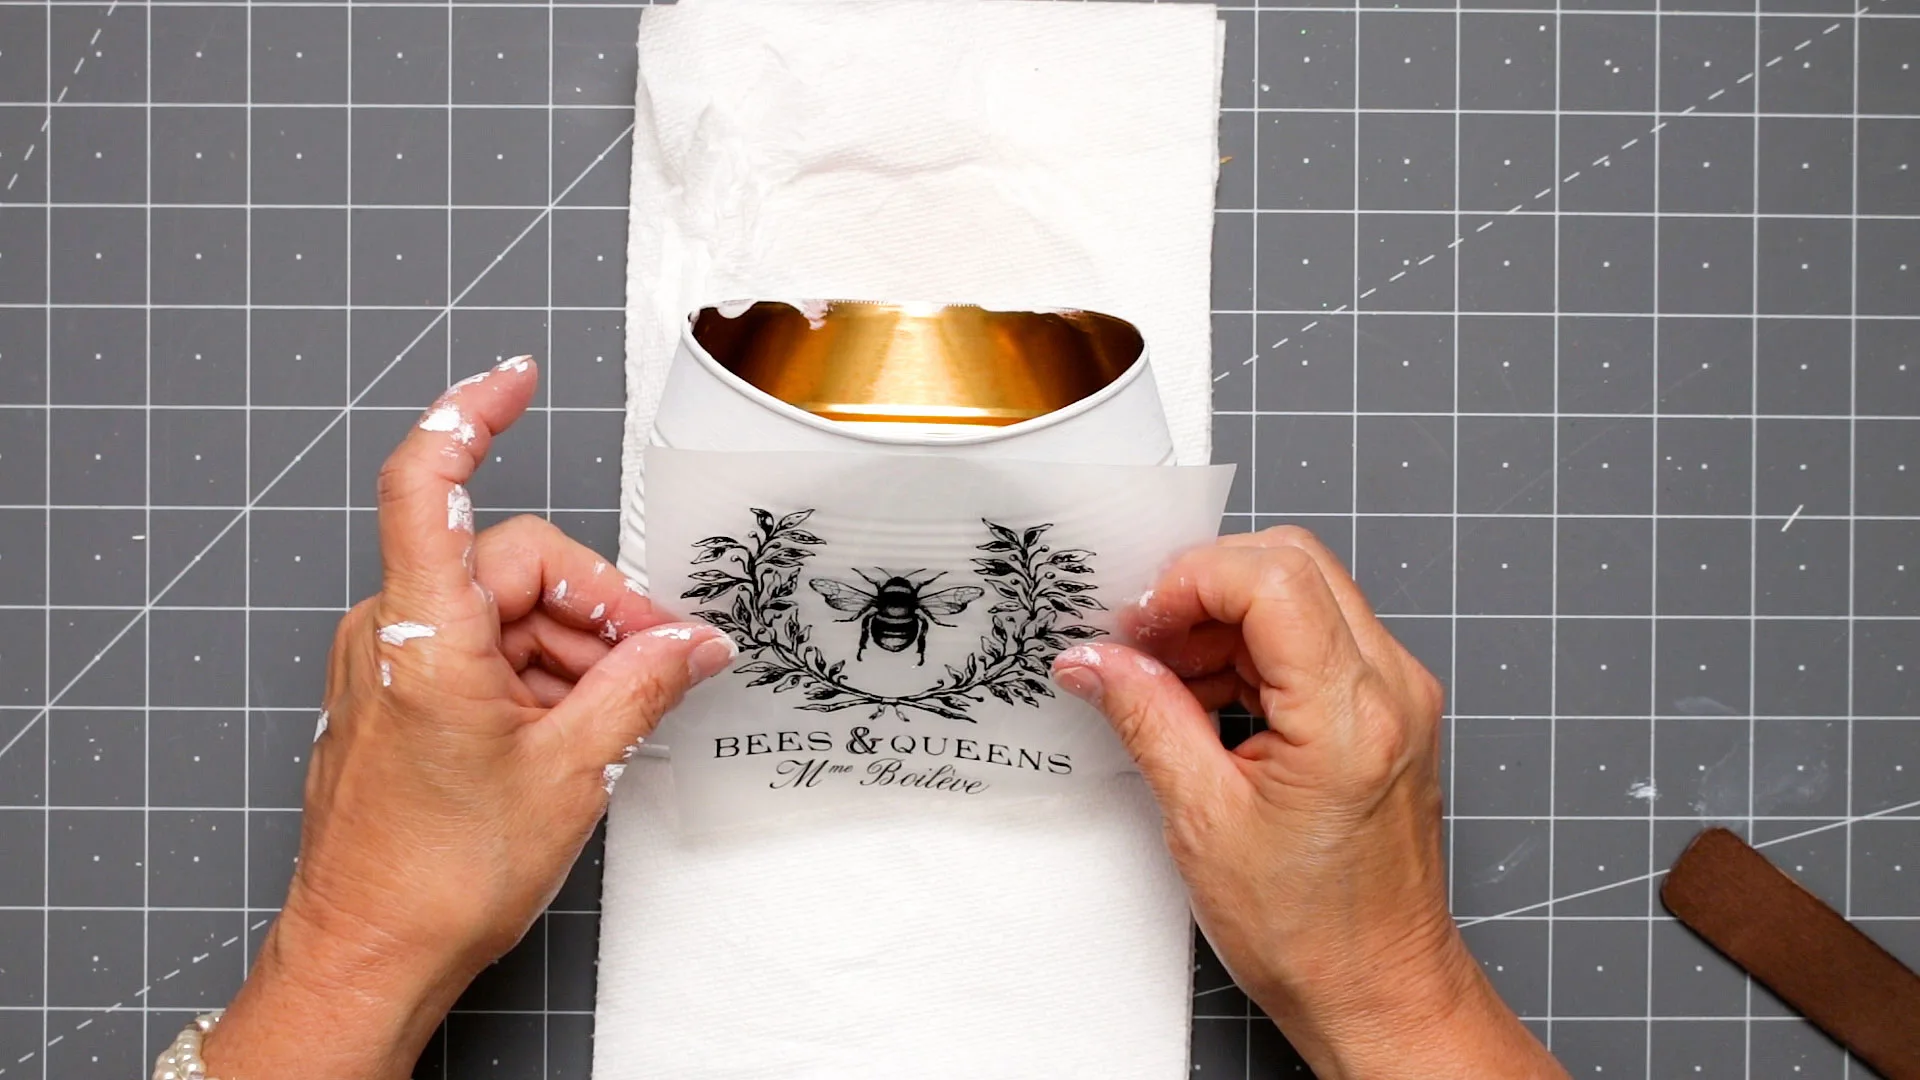
Next, I started rubbing the transfer using the wooden tool provided with the transfer.
Step 5. Filling and Adding a Handle
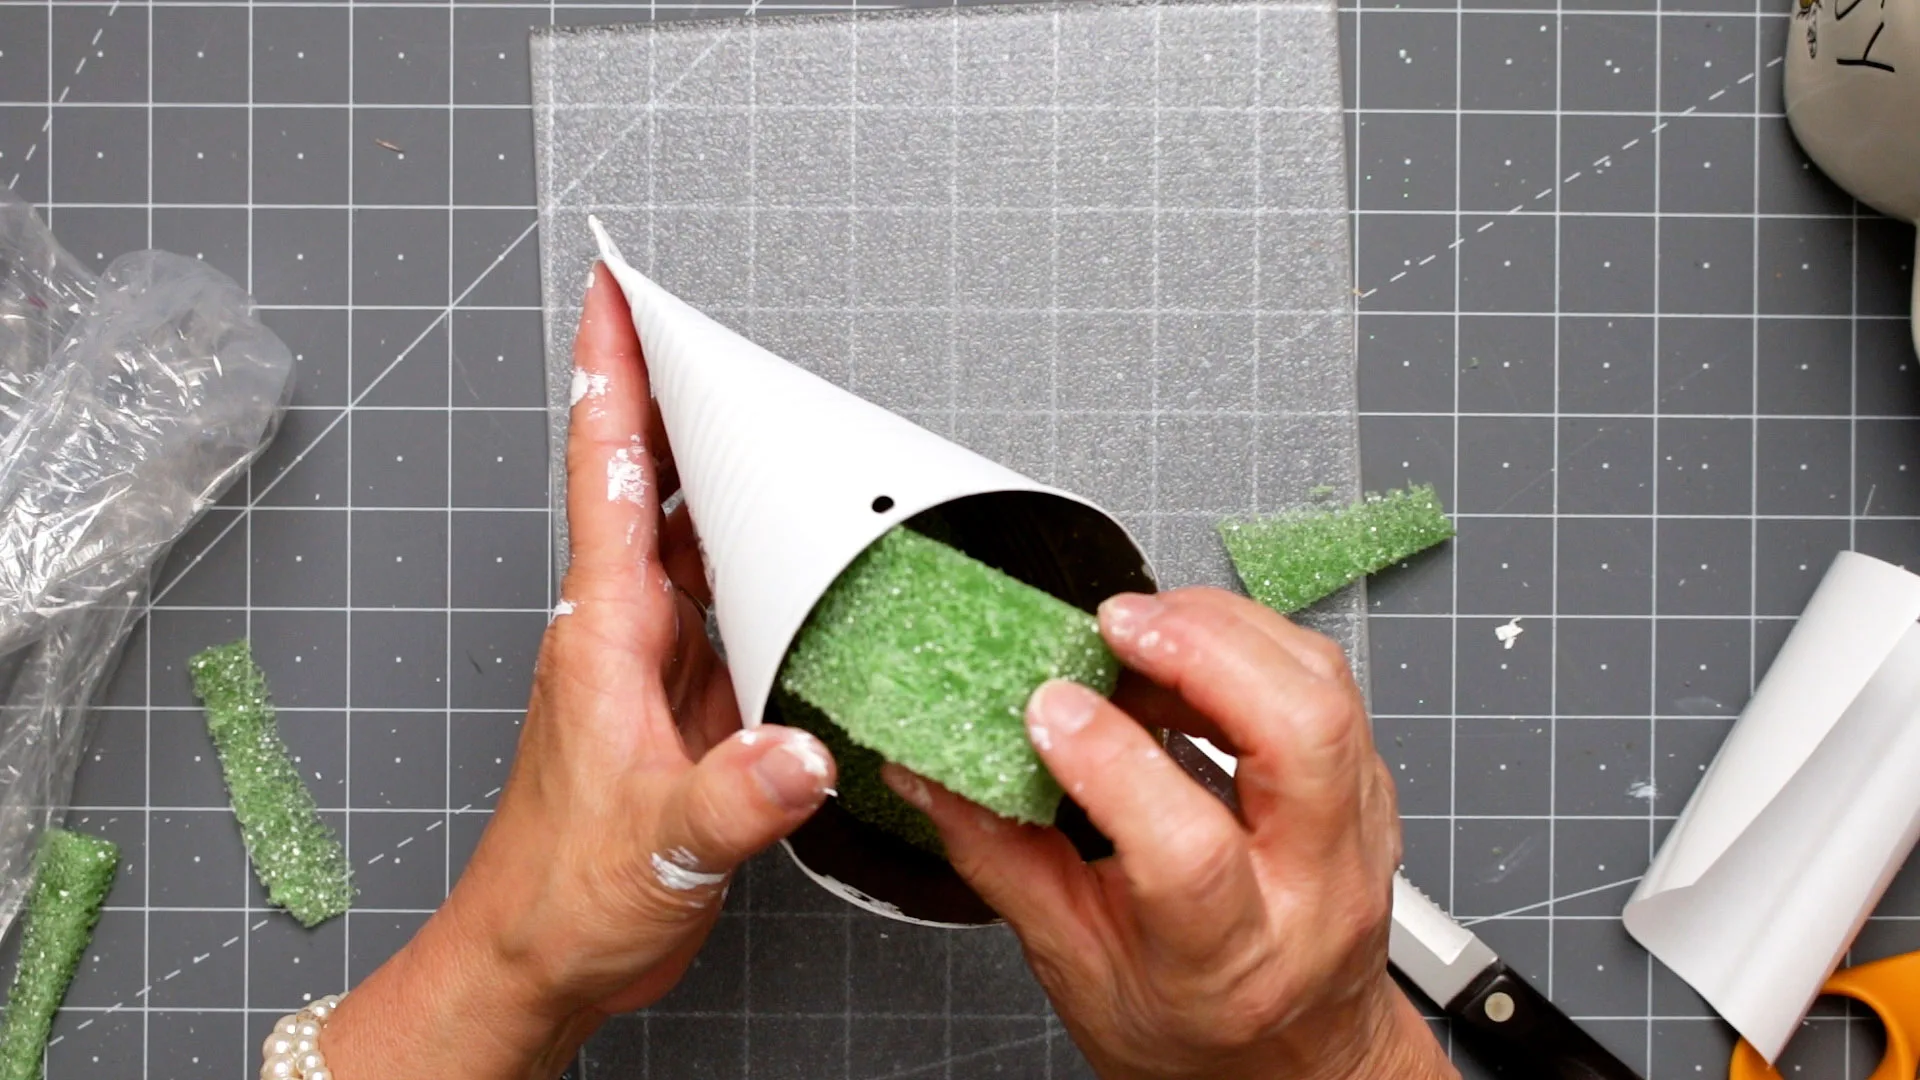
Then I fill the tin planter with craft foam.
Note: If you are planting real flowers, line your can with weed block or burlap to hold your soil. Then will with potting mix and your flowers or seeds. There will be small gaps or holes in the bottom for drainage.
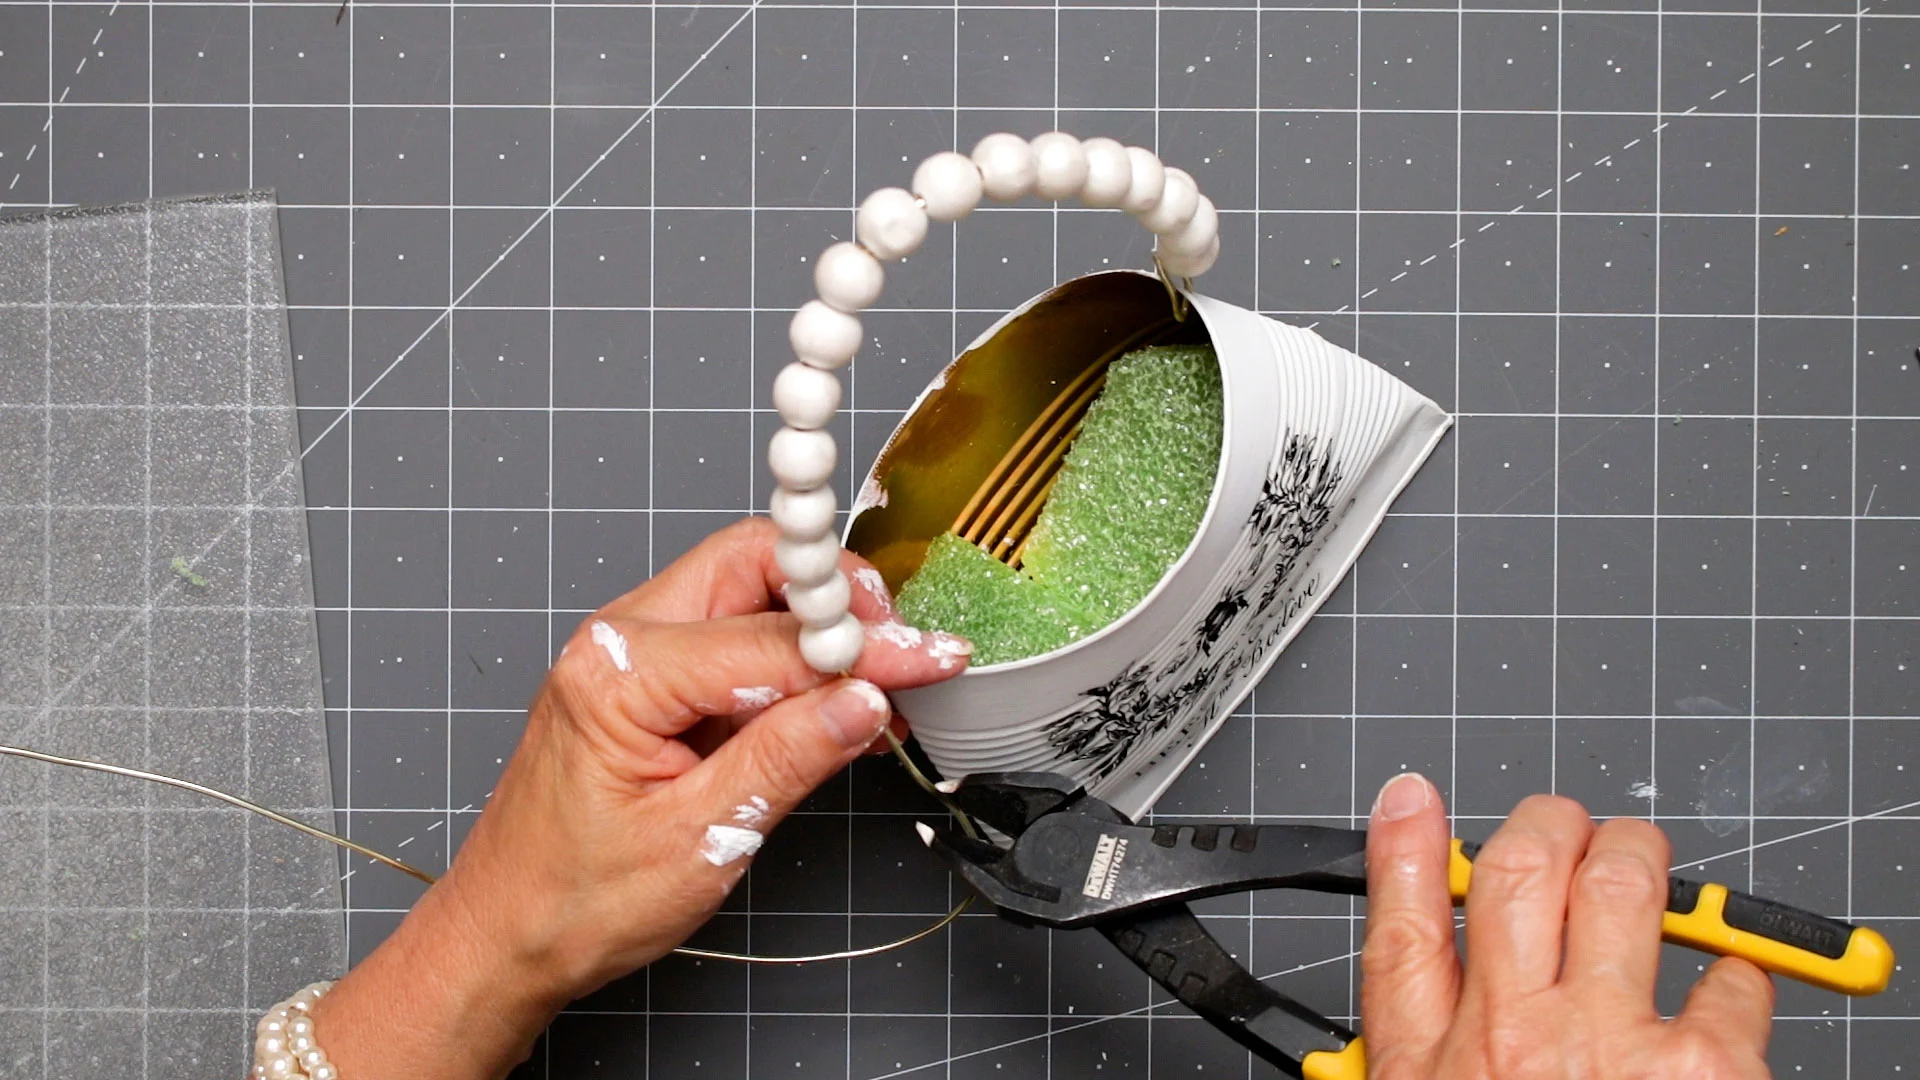
You can add painted wood beads or use plain wire for the handle.
Place the wire through the holes to form a hanger or handle.
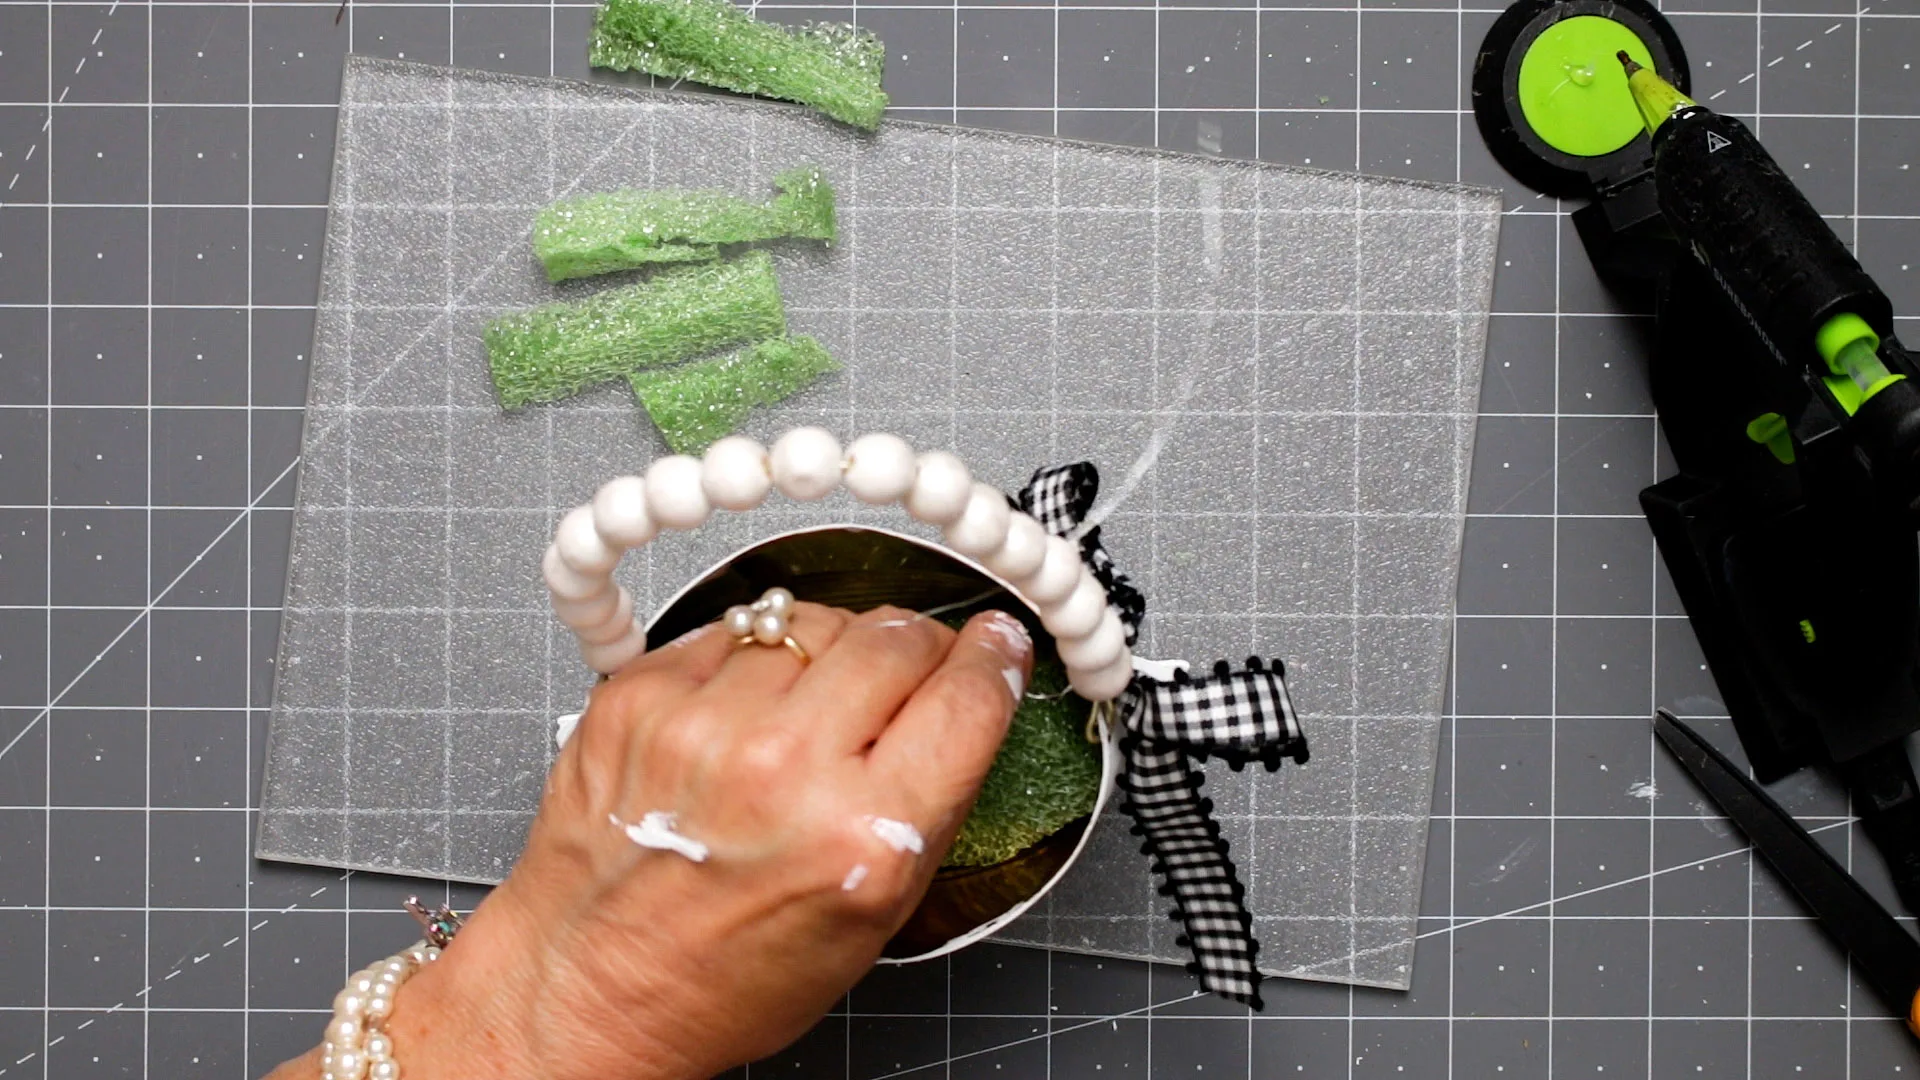
I like to add a simple ribbon or lace bow to the handle.
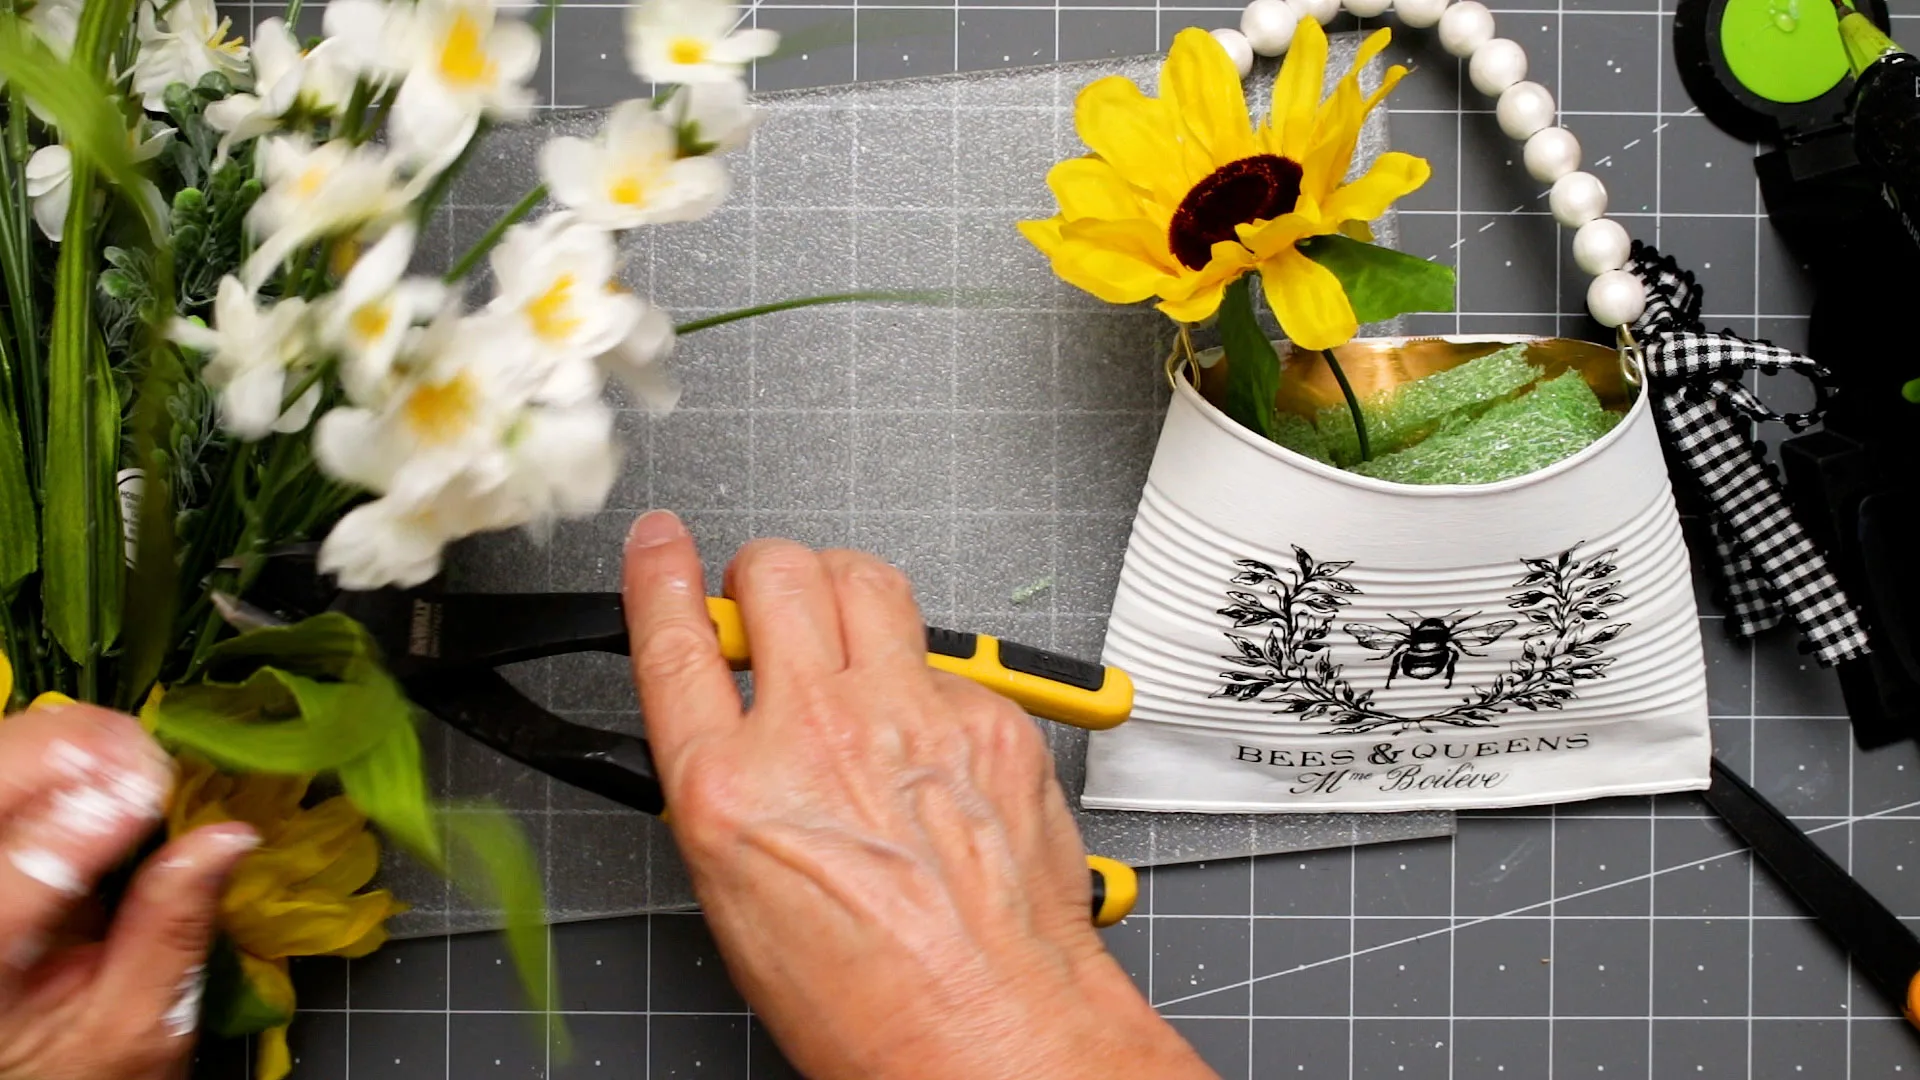
Next, I fill the basket with faux flowers using craft foam to hold the flowers in place.
Step 6. Rub on Gold
Lastly, I rub on some gold gilding wax to the top and bottom rims of the can.