Easy DIY Topiary Gnome — Step-by-Step Spring Garden Craft
Create a whimsical accent for your porch, patio or garden with this easy DIY Topiary Gnome. Using a foam cone, sheet moss, small faux flowers and a bit of faux fur for the beard, you can make a charming gnome topiary that’s perfect for spring and a fun group craft.
Materials for a Topiary Gnome
- 6–7 inch foam cone
- Sheet moss
- 2.75–3 inch clay pot
- Greenery and small faux flowers
- Faux fur (for the beard)
- Small wood flat back or bead (for the nose)
- Hot glue gun and glue sticks, scissors, craft knife
Quick overview: wrap the foam cone in sheet moss, glue in miniature flowers and greenery around the cone, set the cone in a small clay pot, then add a faux fur beard and a wood bead nose to complete your gnome.
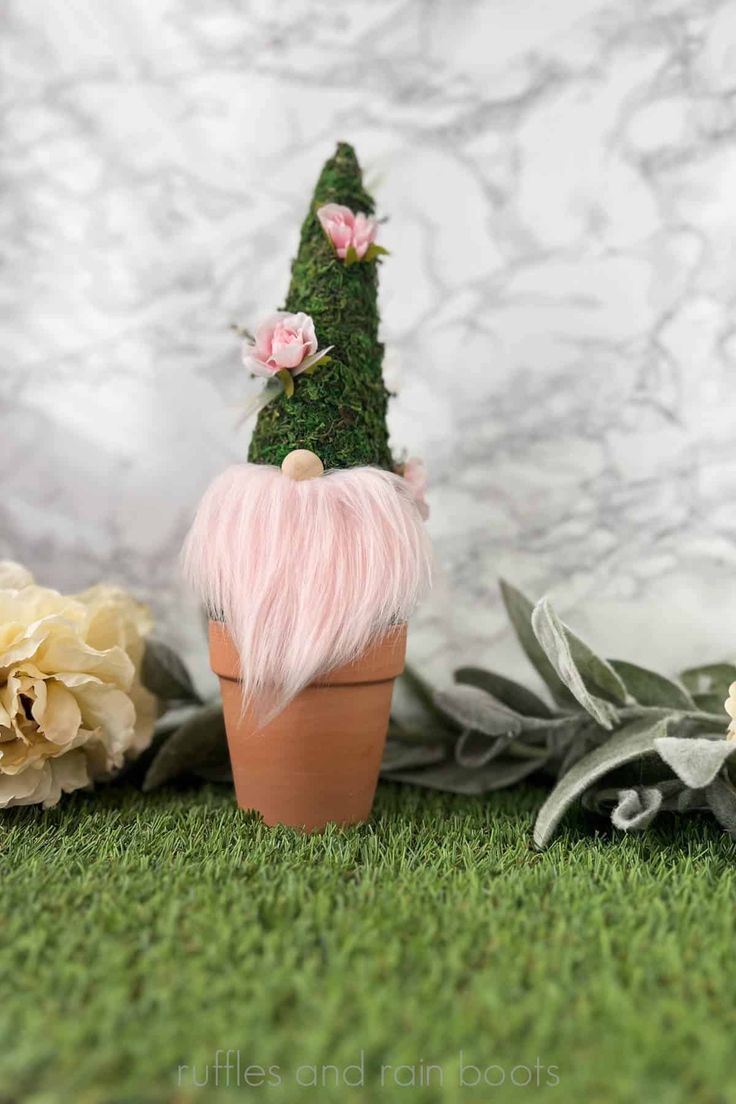
How to Make This Spring Gnome
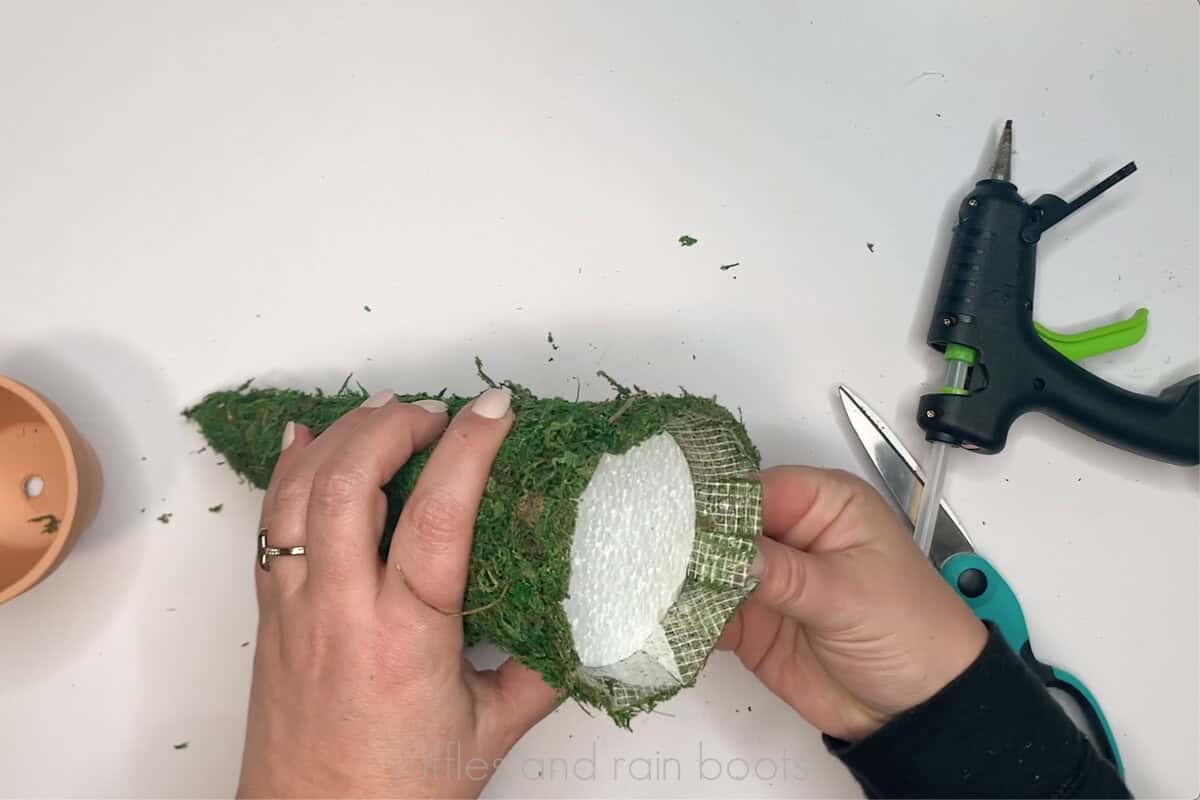
- Wrap the cone: Cut a piece of sheet moss to fit the cone and wrap it around. Use hot glue to secure the moss, leaving extra at the top so you can glue it up to form the pointed hat. At the bottom, cut 1/2 inch slits into the moss edge and glue them down so the base sits flat.
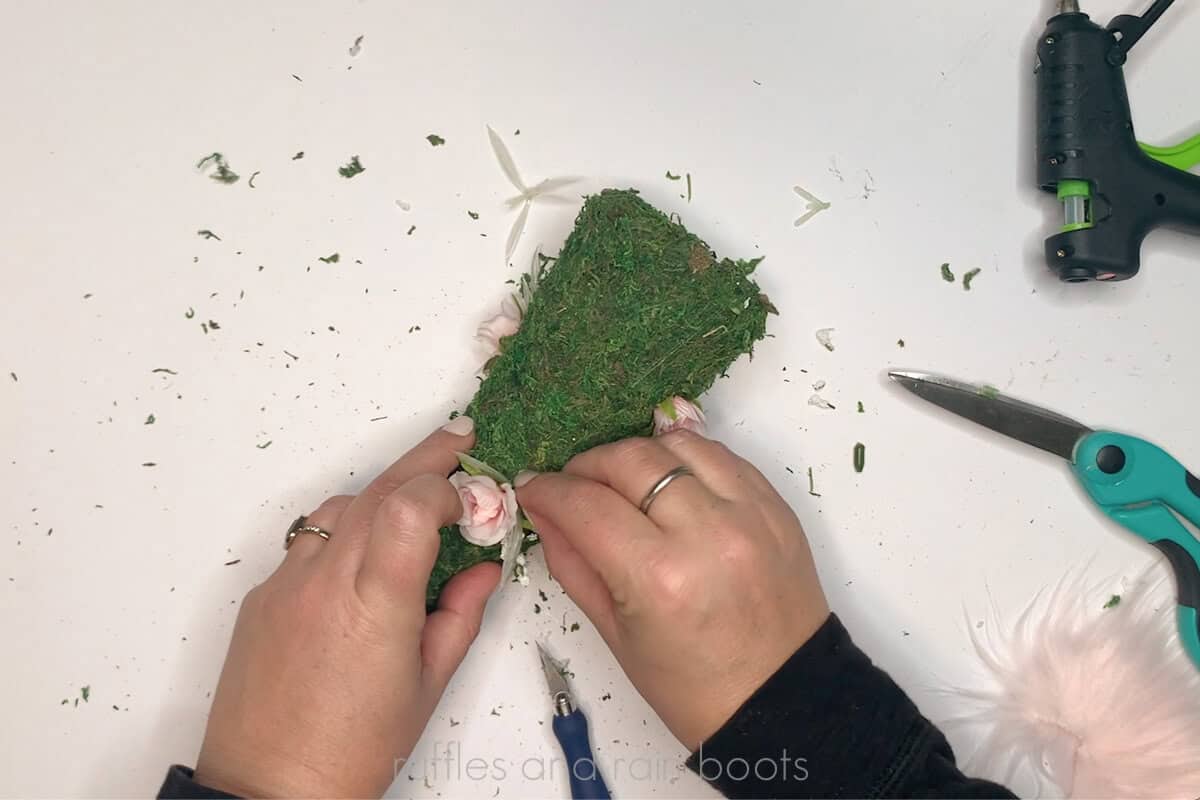
- Add flowers and greenery: Use scissors or a craft knife to make small holes in the moss and insert miniature flowers and sprigs of greenery. Glue each piece in place and be sure to decorate the back as well so the topiary looks full from every angle.
- Mount in a pot: Place the finished cone into a 2.75–3 inch clay pot. You can glue the cone into the pot for a permanent display or leave it unglued so you can store it easily between seasons.
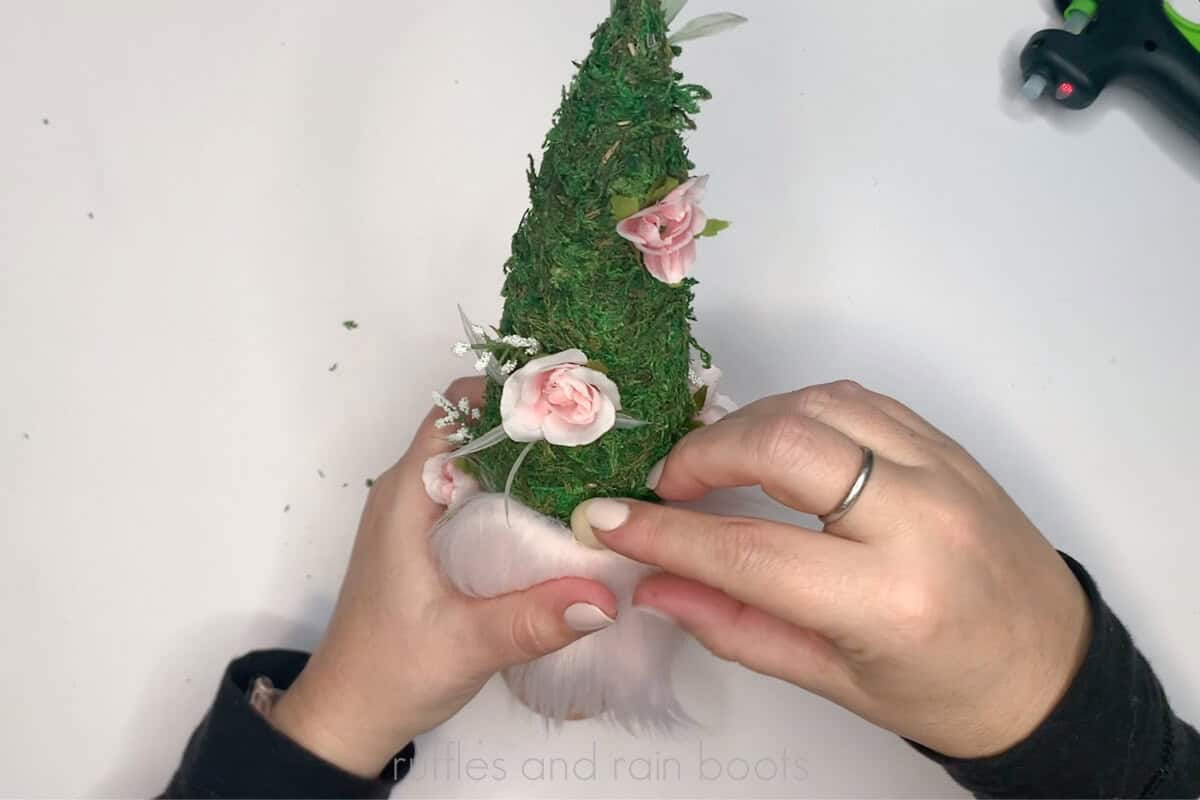
- Add the beard and nose: Cut a piece of faux fur for the beard. Glue down the top 1/4 edge of the fur to give the beard a tailored look, then glue the beard to the lower front of the topiary. Finish by gluing a small wood bead or flat-back as the gnome’s nose just above the beard.
Tips & Care
- Use caution with hot glue and a craft knife—work on a protected surface.
- This project is best for covered outdoor areas or indoor displays; if using outdoors, place in a sheltered spot to protect faux flowers and fur from moisture and wind.
- Swap out flowers seasonally for fresh looks throughout the year.
Enjoy your new topiary gnome as a playful focal point in your garden or entryway. It makes a great handmade gift or a cheerful DIY project to do with family and friends.
No comments
Write a comment