Make Cute DIY Bead Stitch Markers — Easy Step-by-Step Guide
Making your own bead stitch markers is a simple, affordable way to personalize your knitting or crochet projects. They keep track of pattern repeats and stitch locations while adding a bit of style. Use beads, thrifted baubles, or small charms — anything you can attach to a jump ring — to create markers that suit your taste.
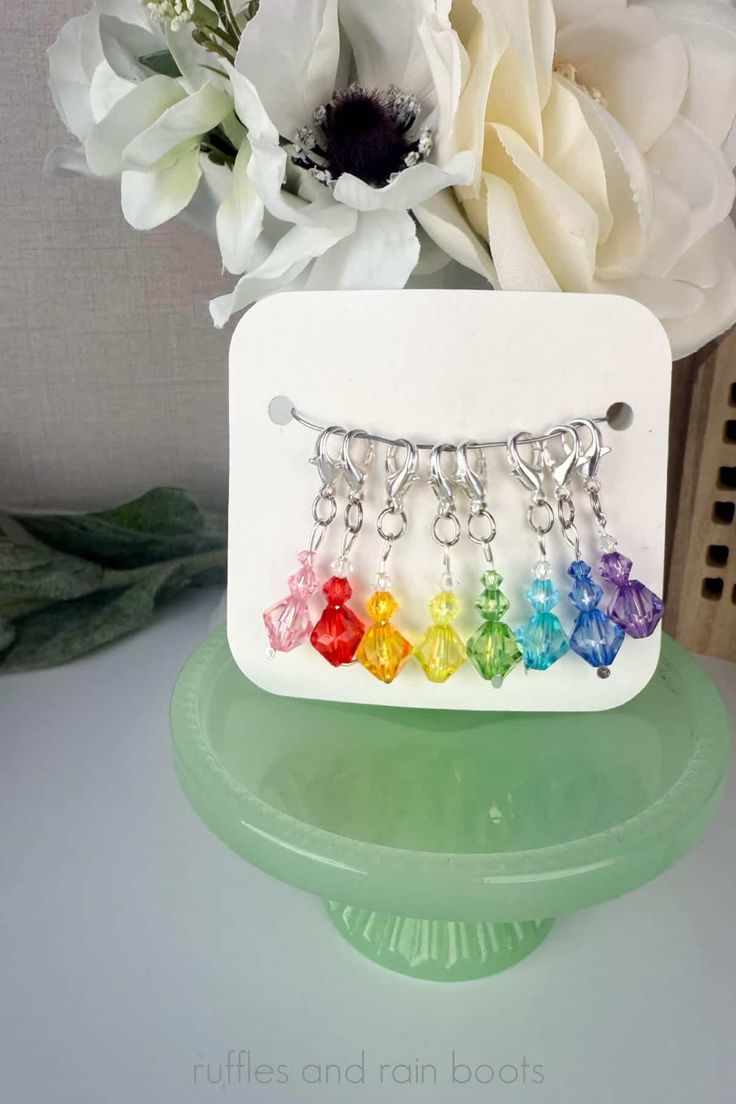
Materials
- Beads (various sizes; a set with three sizes works well)
- Lobster clasps
- Head pins (about 30–50 mm)
- Jump rings (6 mm recommended)
- Needle-nose pliers (one or two pairs)
- Optional: a jump-ring opener tool to speed up assembly
Tip: Thrift-store finds like buttons, vintage jewelry pieces, charms, or small trinkets will work if you can attach a jump ring to them.
How to Make Beaded Stitch Markers
- Sort the beads you want to use. Try combinations of three, two, or single beads for variety.
- Using needle-nose pliers, bend over the flat end of a head pin to create a stop so the beads won’t slip off.
- Slide beads onto the head pin in descending size order for a neat look.
- Bend over the remaining end of the head pin with the pliers so the end lies close to the pin just below the top bead, securing the beads in place.
- Open a jump ring (a jump-ring opener helps) and slide on the beaded head pin and a lobster clasp, then close the jump ring securely.
- Repeat to make as many markers as you like.
These markers are quick to assemble and easy to customize — swap beads, charms, or clasps to create sets for different projects or stitch counts.
No comments
Write a comment