DIY Crochet Lace Belt: Easy Step-by-Step Tutorial for a Vintage-Inspired Waistband
Add instant charm to dresses and high-waist outfits with a handmade Crochet Lace Belt. This simple, vintage-inspired accessory highlights a delicate lace pattern and can be customized to fit any waist. Follow the steps below using your preferred yarn and needle size to create a lightweight, flattering belt you can wear with skirts, dresses, or trousers.
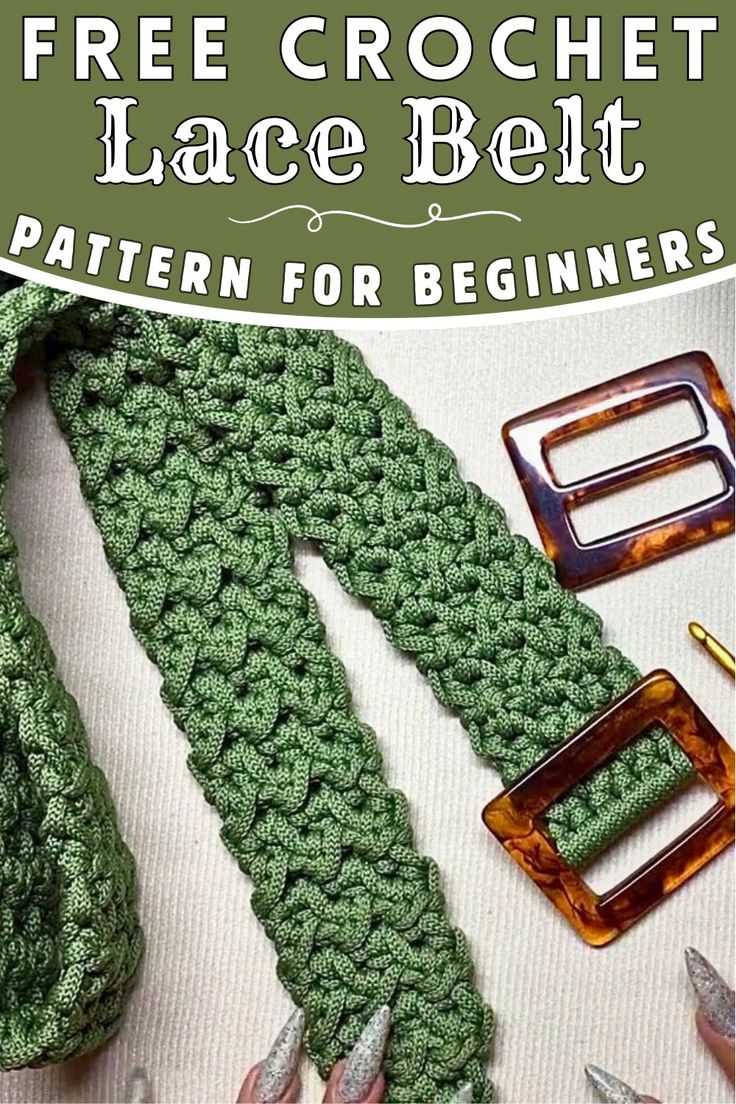
Materials Needed
Yarn Choice: The tutorial uses Anturium yarn from Vanessa Maia, but you may choose any yarn you like — lightweight or sport-weight yarns work well for a lacy look.
Needle Size: A size 5 (5 mm) hook is recommended for use with 5 mm Anturium yarn. Adjust the hook size to match your chosen yarn to get the desired drape and stitch definition.
Creating the Foundation Chain
Determine Length: Measure your waist where you want the belt to sit and add a few extra inches (for comfort and overlap). This final measurement should be the length of your foundation chain.
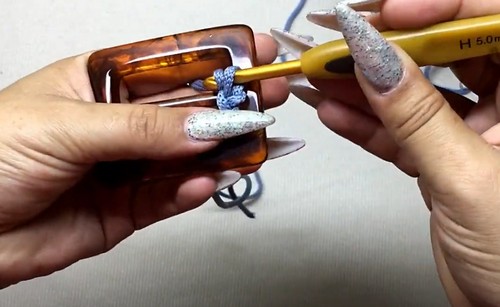
Crocheting the Rows
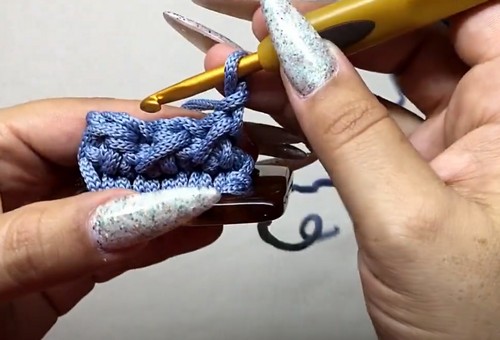
First Row (Half Double Crochets): Turn your work after making the foundation chain. Start half double crochet (hdc) in the second chain from the hook and continue with hdc across the row.
Second Row (Single Crochets and Half Double Crochets): Begin with a single crochet (sc) in the first stitch, then make a half double crochet in the next stitch. Continue with single crochets across the remainder of the row.
Repeat Pattern: Alternate the first and second row patterns — hdc row, then the mixed sc/hdc row — until the belt reaches your desired width and length.
Finishing Touches
Final Rows: End with a row of half double crochets, followed by a row of single crochets, and a final row of half double crochets for a neat edge. Cut the yarn and weave in the ends securely.
Optional Finishing Tip: Lightly block the belt if your yarn allows it to open up the lace pattern and even out the edges.
Attaching the Buckle
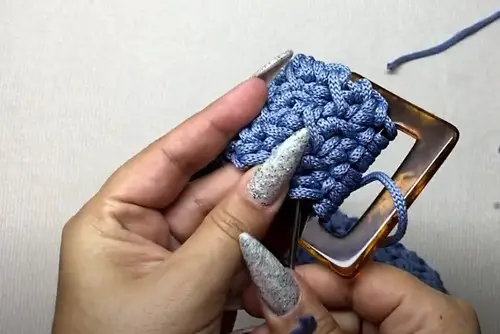
Buckle Attachment: Use your preferred method to fasten a buckle to the belt ends — you can sew it on securely, wrap the end and stitch it, or add hardware designed for fabric belts. Choose a buckle style that complements the lace look and the thickness of your finished belt.
Now your Crochet Lace Belt is ready to wear. Pair it with dresses or high-waisted trousers for an elegant, handmade accent.