Crochet Swirling Felted Flowers — Step-by-Step Felted Bloom Tutorial
Swirling felted flowers are a quick, colorful way to add handmade charm to accessories and home decor. This project combines two yarns twisted together and simple needle-felting to create a flat, swirled bloom with a soft, sturdy finish. The technique is easy to customize — change yarn lengths, colors, or the amount of felting to make a range of sizes and textures.
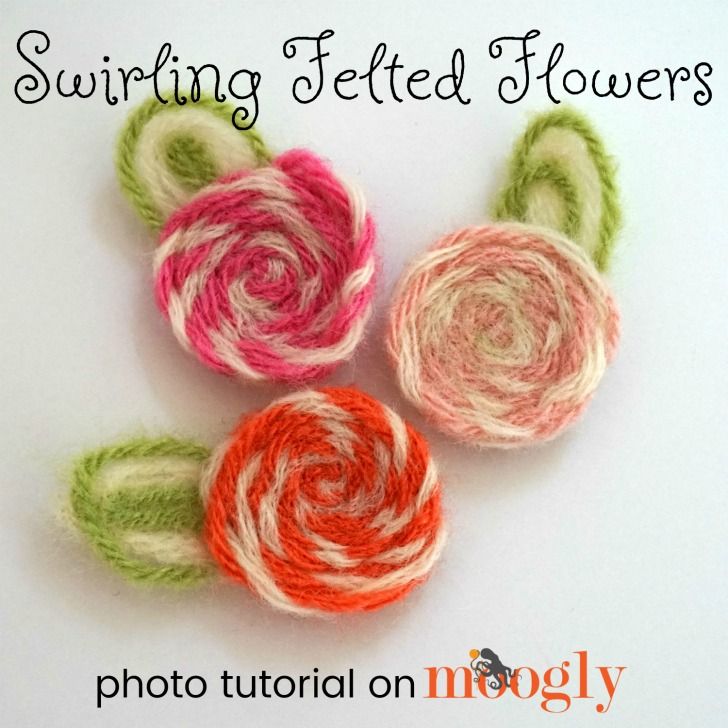
Tools and Supplies:
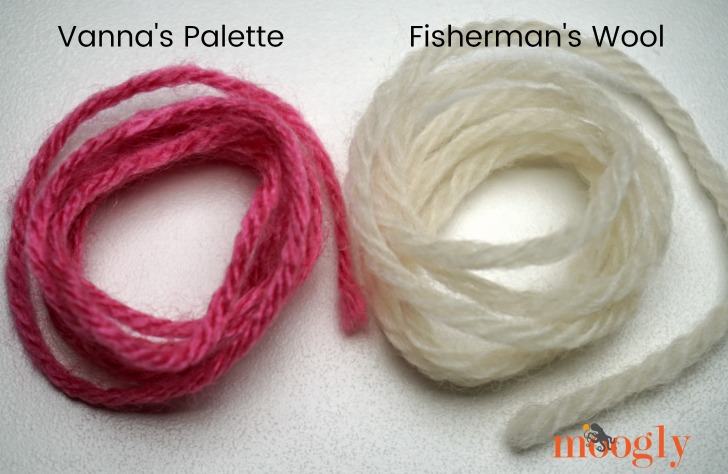
Lion Brand Fisherman's Wool, Natural
Lion Brand Vanna's Palette, Peaceful
Clover Needle Felting Tool
Clover Needle Felting Mat
Clover Needle Felting Claw
Scissors
Flower Instructions:
Step 1 - Cut a 30" length of Vanna's Palette (any color) and a 30" length of Fisherman's Wool. (For larger flowers cut longer lengths, for smaller flowers cut shorter lengths, just make sure they are the same length).
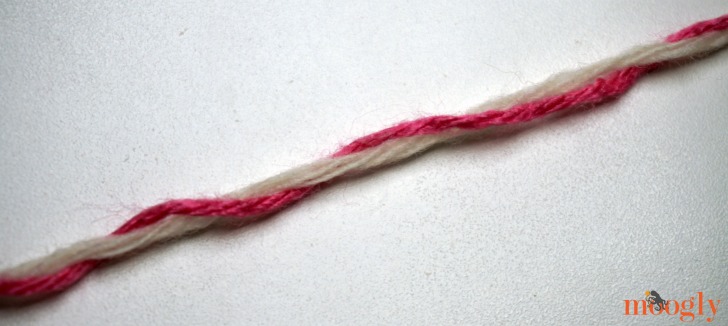
Step 2 - Twist the yarns together. They will want to untwist as you work—keep them twisted as you continue to the next steps.
Step 3 - Start swirling the twisted yarns at one end until you have a small circle. Aim to keep the ends tucked underneath as you coil.
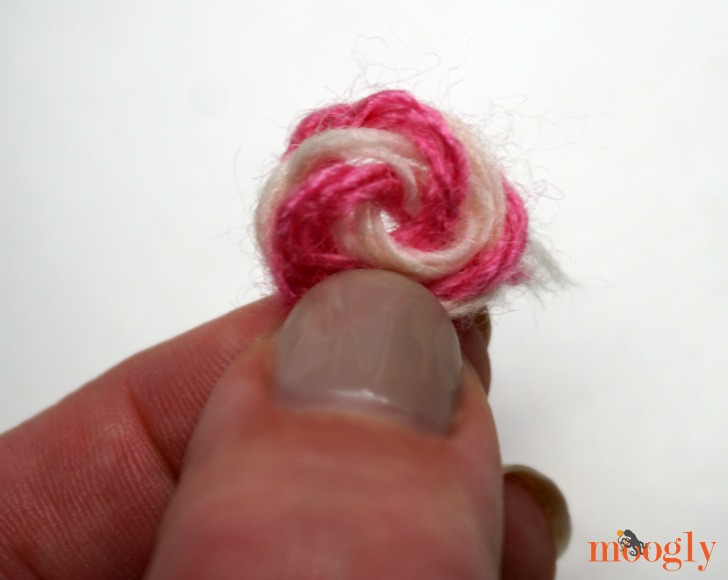
Step 4 - Place the swirled portion on the felting mat and use the needle felting tool to join the yarns. The claw helps hold the piece and protects your fingers—stab evenly until the yarns bind together.
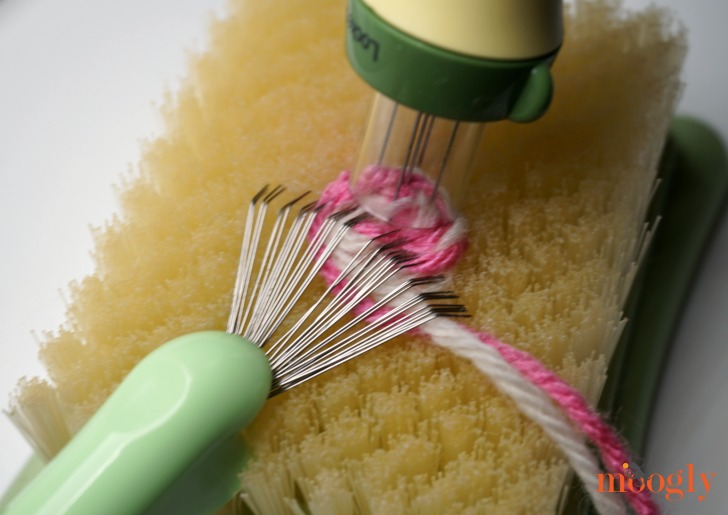
Step 5 - Continue swirling more yarn around the center and felting as you go, creating a flat disk. Keep twisting so the acrylic yarn stays wrapped inside the wool; the wool fibers will felt around it to hold everything in place.
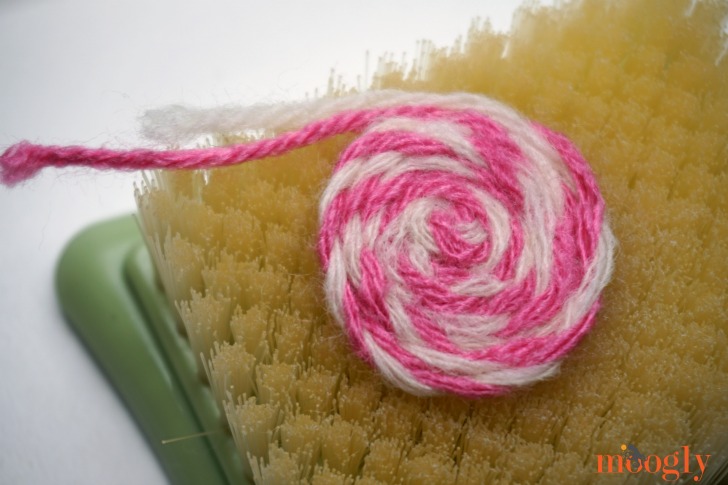
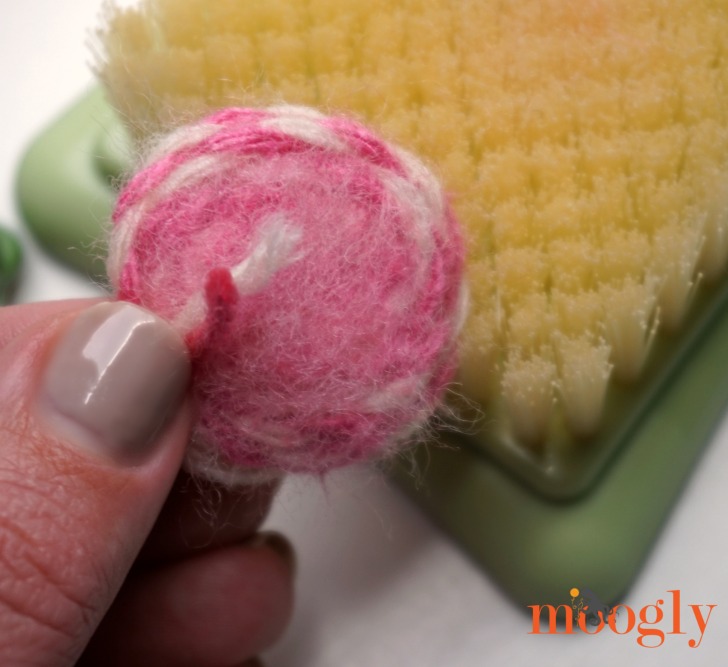
Step 6 - When the flower reaches the size you want, trim excess yarn and tuck the ends underneath. Felt those ends securely so the disk won’t unravel. Set the finished flower aside.
Leaf Instructions:
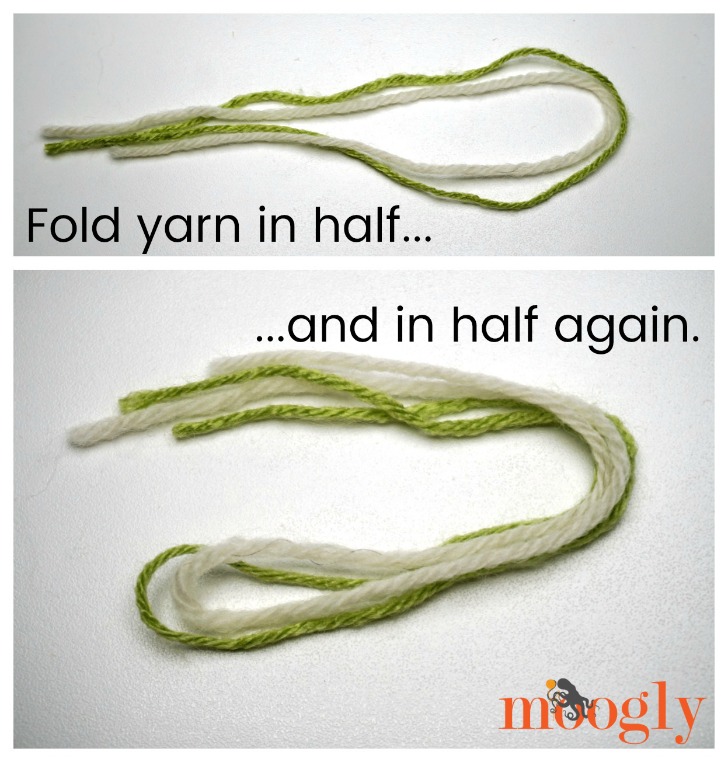
Step 1 - Cut a 10" length of Vanna's Palette (any leafy color) and a 10" length of Fisherman's Wool. Fold the paired yarns in half lengthwise, then in half again to concentrate the fibers for a leaf shape.
Step 2 - Pinch the folded yarn in the middle to form a leaf outline and use the needle felting tool to stab and shape it into a compact leaf—watch your fingers!
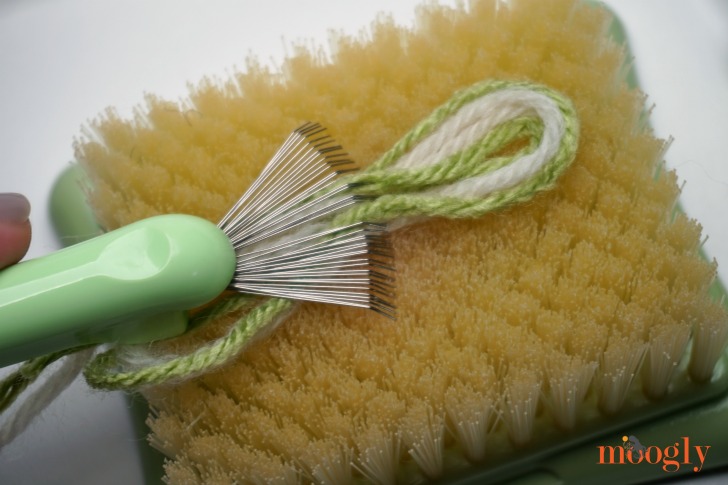
Step 3 - Trim away extra yarn, leaving some unfelted ends. These loose ends will be used to attach the leaf to the flower.
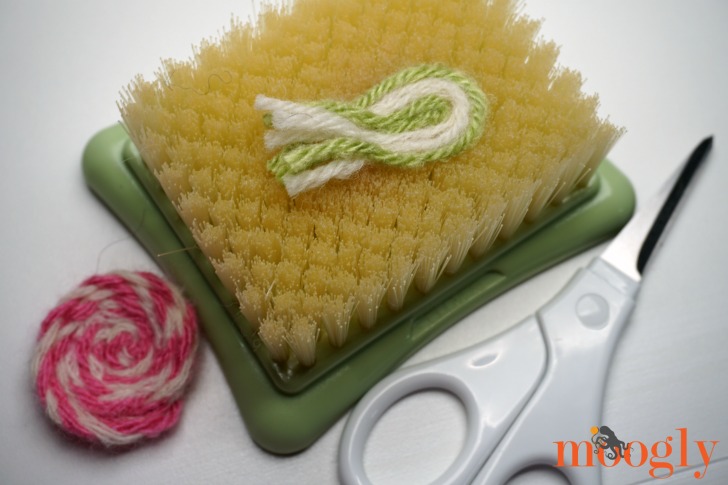
Step 4 - Place the flower right side up on top of the unfelted leaf ends and needle-felt them together until the leaves feel secure.
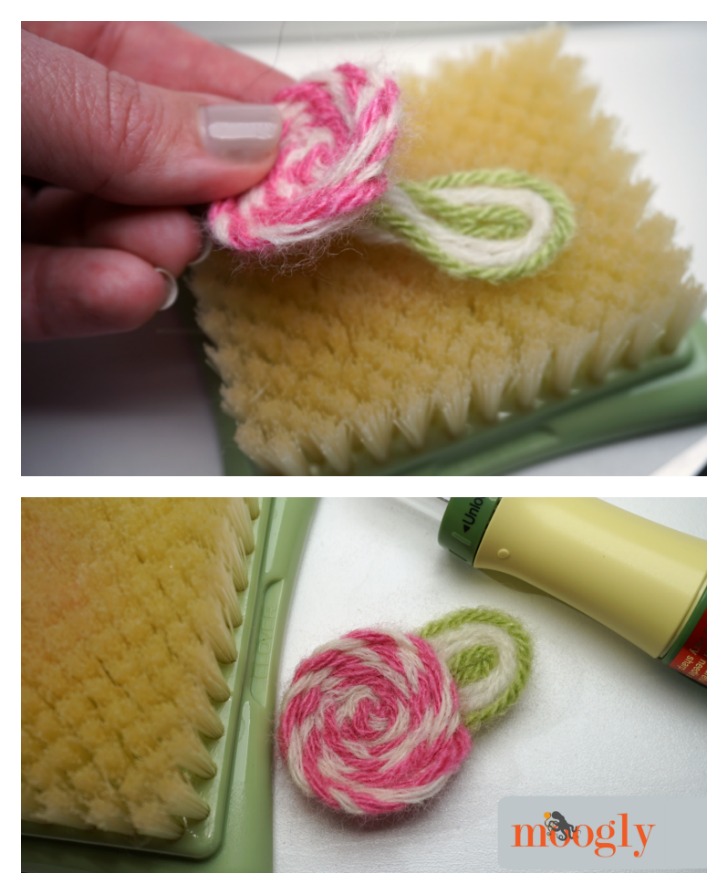
That's it — your swirling felted flower is finished. Use it as a brooch, hair accessory, embellishment for a bag, or glue it onto a wreath or garland for instant handmade flair.