DIY Whale Clay Planter: Easy Step-by-Step Tutorial
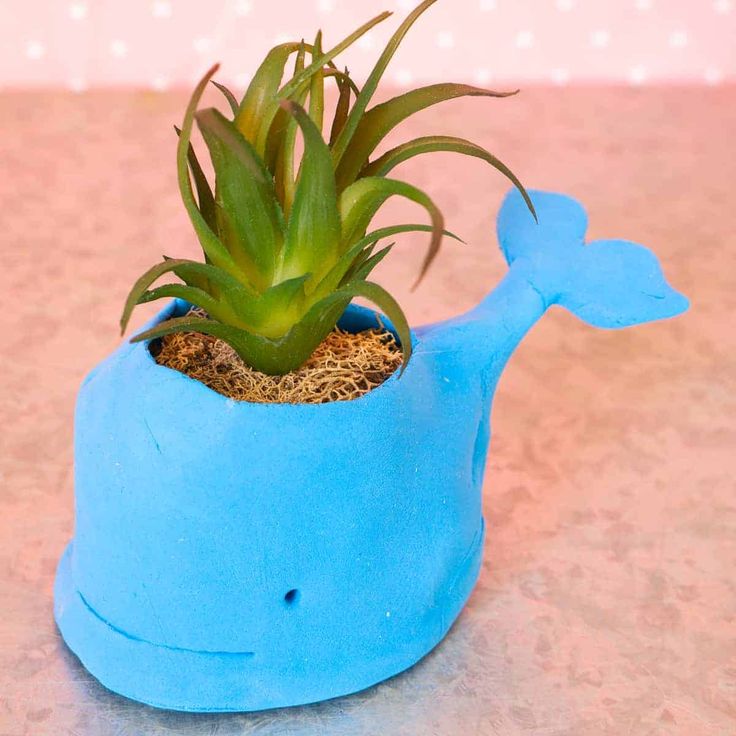
This handmade whale clay pot is an adorable and whimsical addition to any home decor. Crafted from blue modeling clay and finished with a small artificial succulent, it makes a sweet tabletop accent or gift. The project uses simple supplies and straightforward shaping techniques — follow the step-by-step photos and instructions below to create your own whale planter.
Supplies:
- 1 artificial succulent
- 1 pkg Crayola Model Magic blue
- 1 2" Styrofoam Ball
Instructions:
Grab a portion of the clay and roll out flat. To make a mini whale planter like mine, cut a 3" sized oval from the flattened clay.
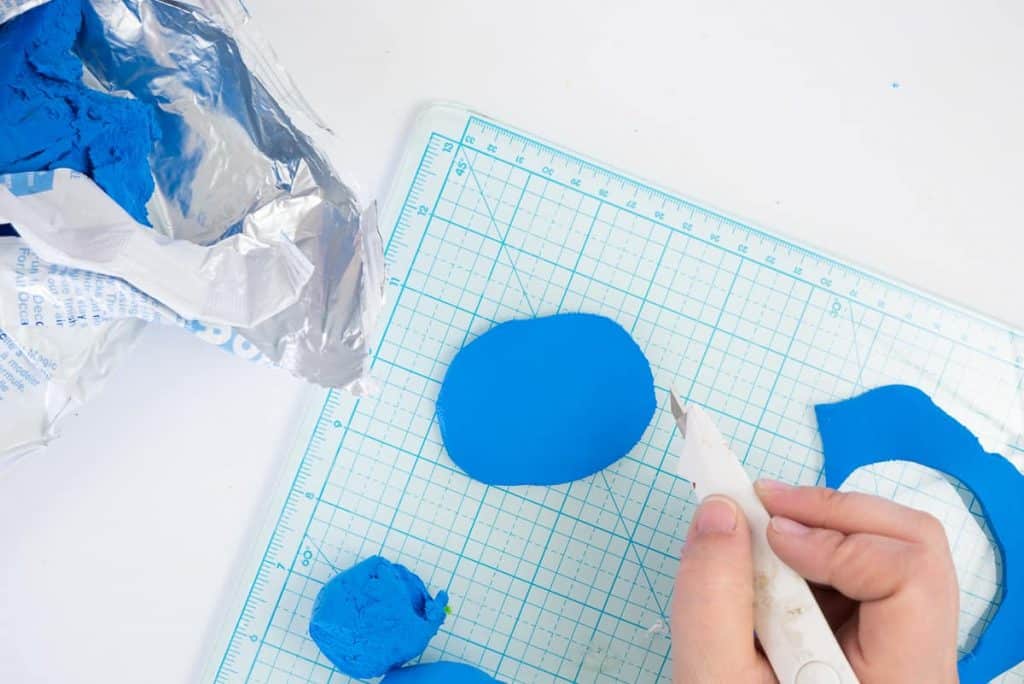
Roll out another section of clay and cut to create a tail shape. Place at the end of the oval and support from underneath so it holds its shape while drying.

Form a long strip of rolled clay approximately 2" tall and 12" wide (you may need to press two strips together to achieve the length). Position the strip onto the side of the oval base, trimming and pressing it around the tail to form the whale's body.
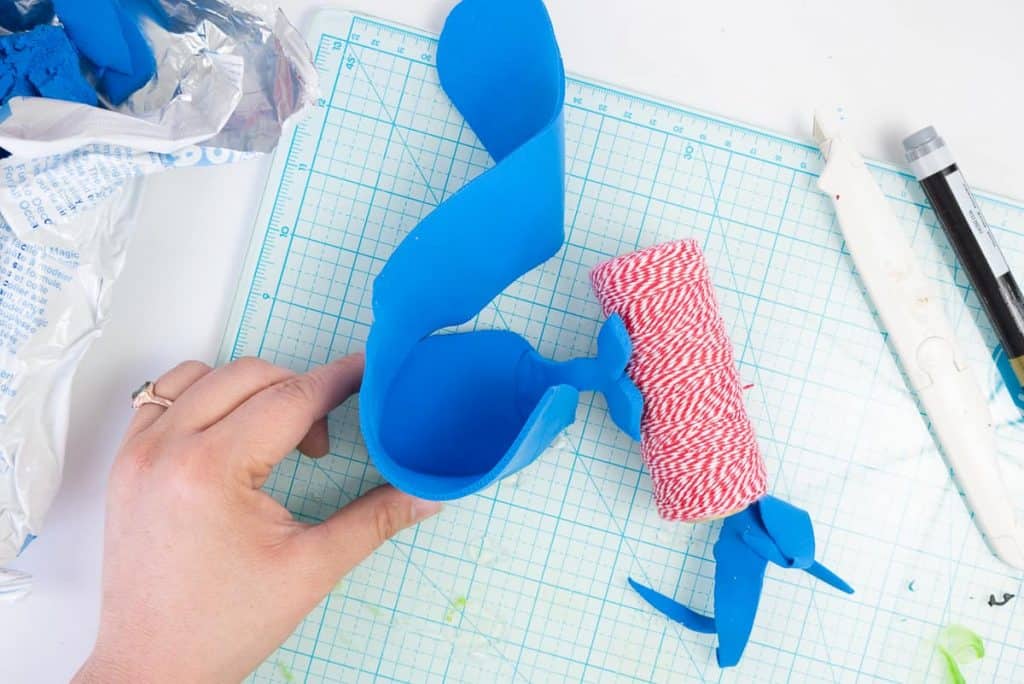
Crease the top edge and press to smooth to create the whale's back and overall body shape.

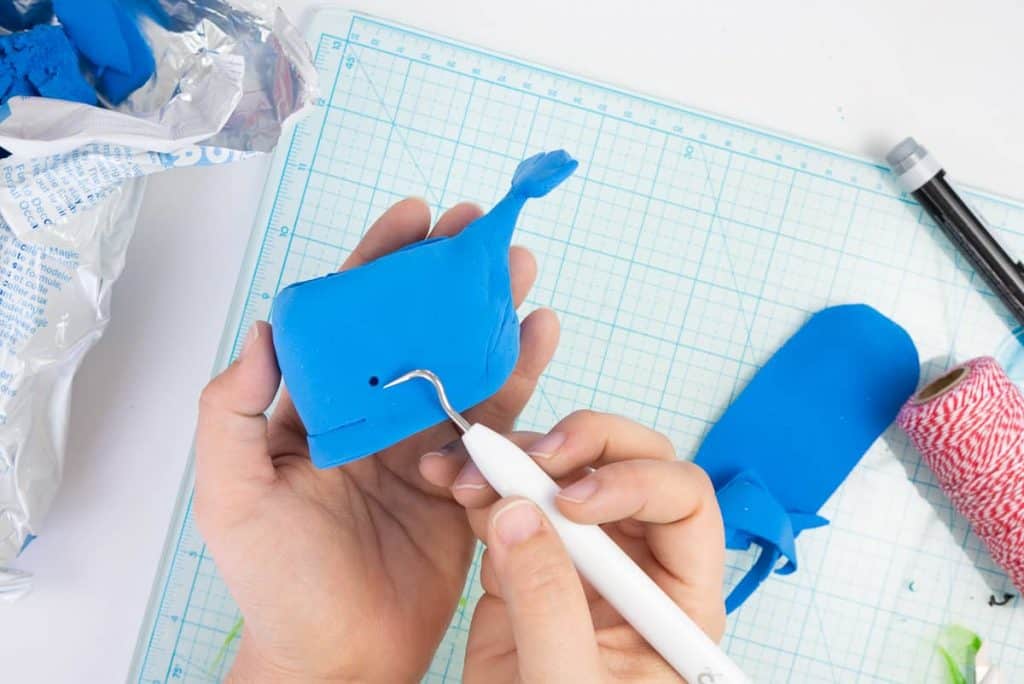
Use a sharp craft knife to carefully cut a mouth at the base of the whale and use a pointed tool to create an eye. Follow manufacturer instructions to dry the clay completely. (Don't forget to prop up the tail so it dries in place!)
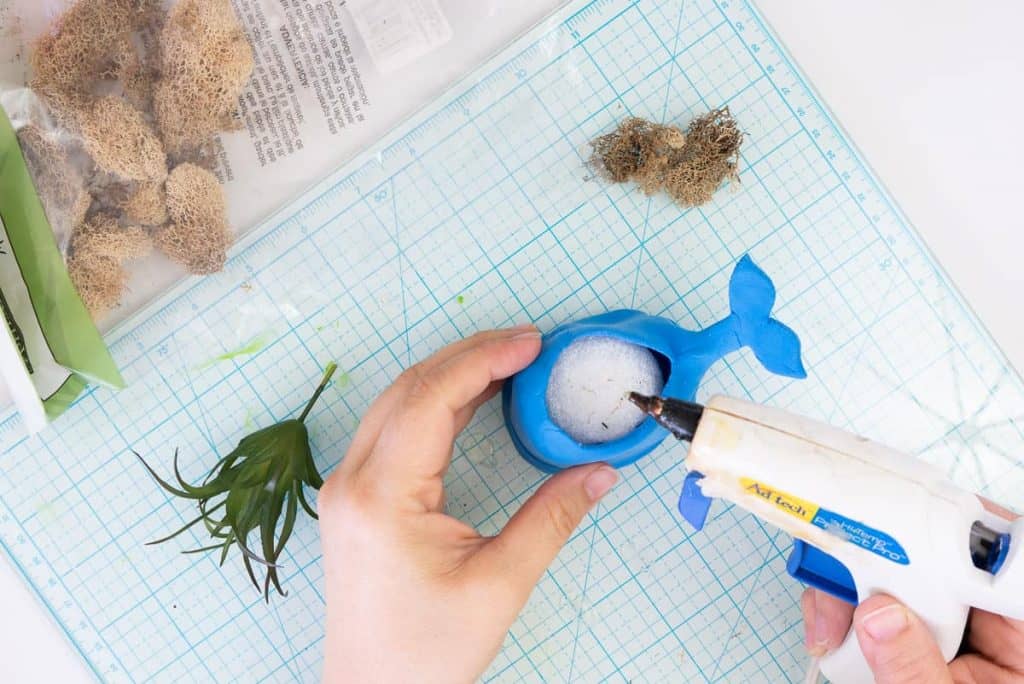
Now that your whale has hardened completely, cut your styrofoam ball in half and carefully press it into the whale clay pot cavity. Apply hot glue to the top of the ball and press moss in place to create a base for the succulent.
Push the artificial succulent into the moss and enjoy your adorable whale clay planter!
