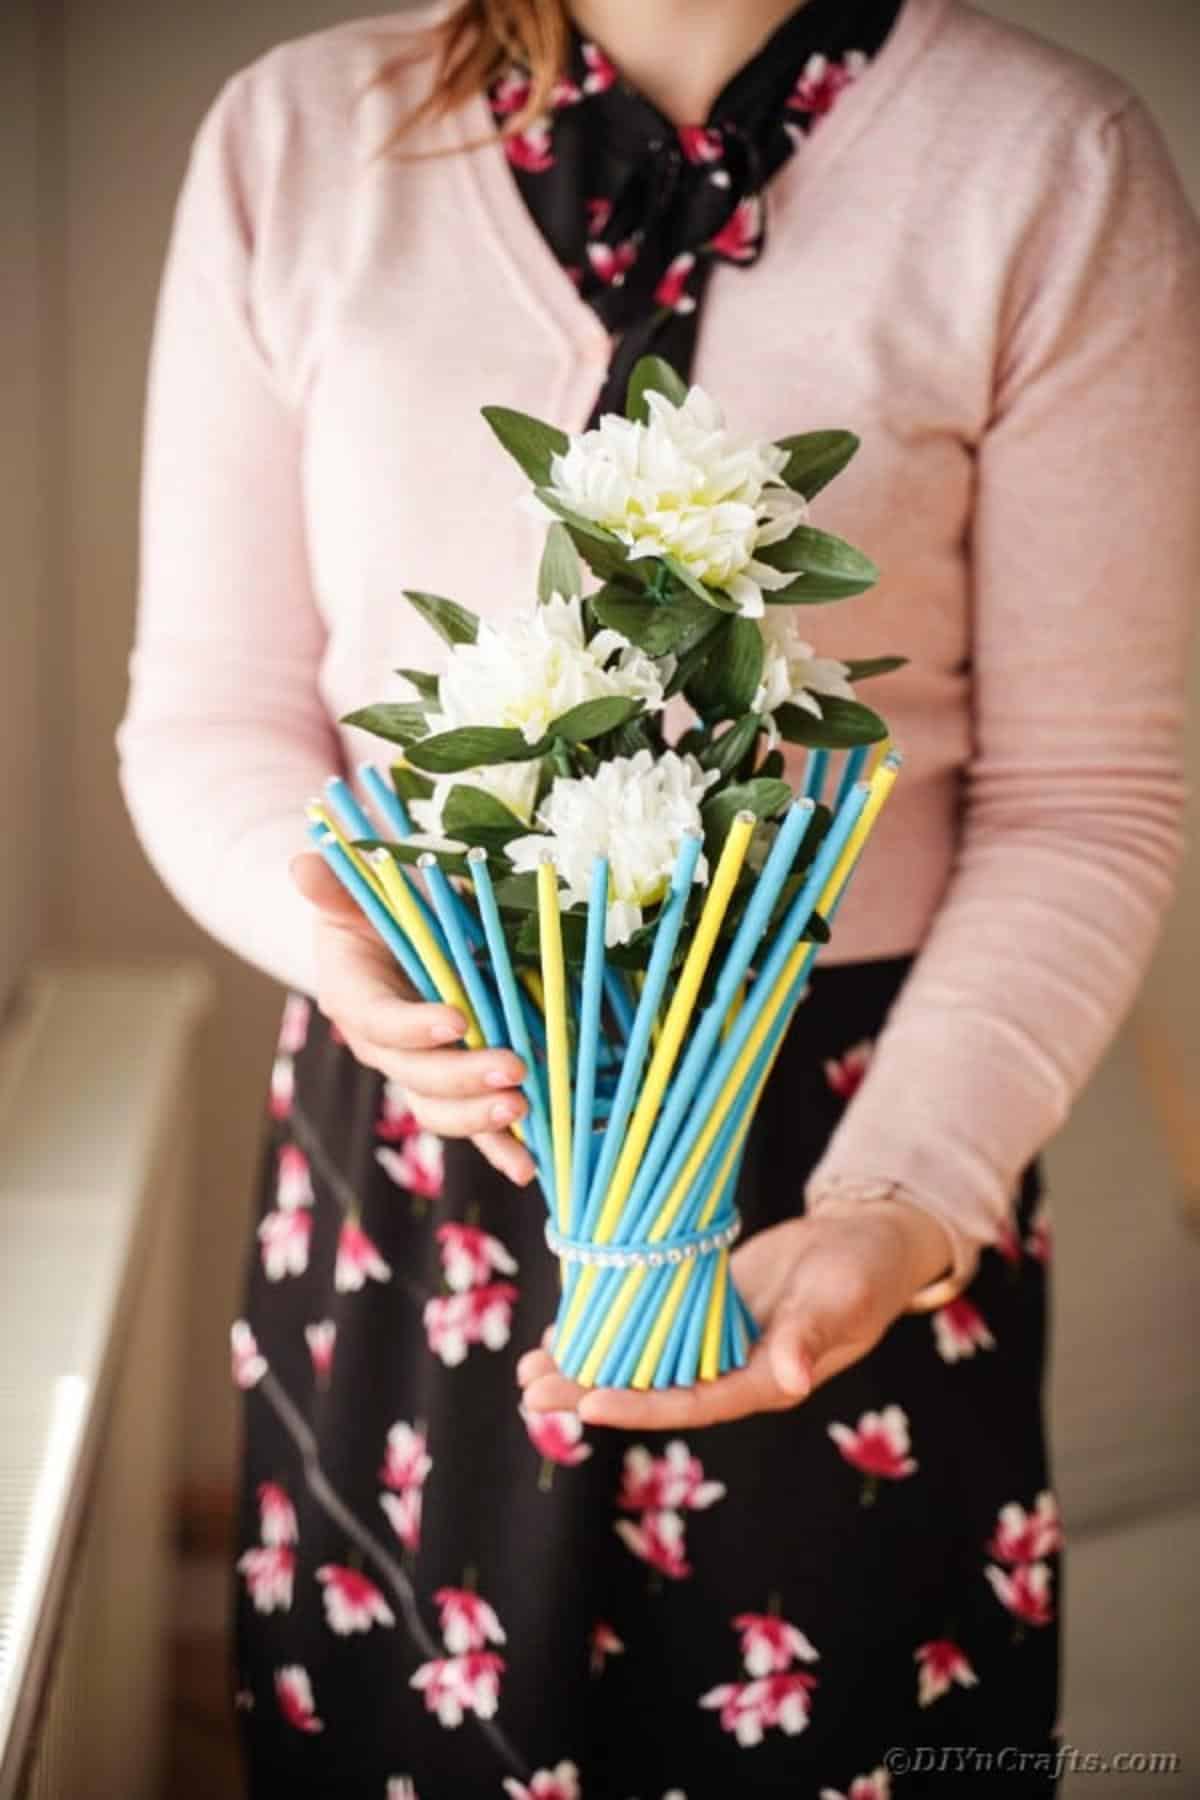
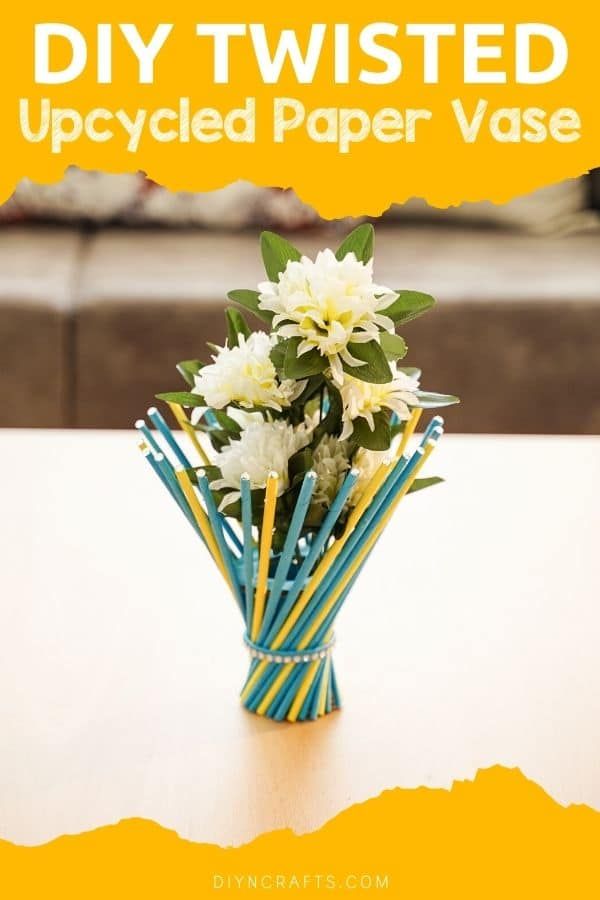
DIY Twisted Paper Straw Vase — Easy Step-by-Step Tutorial
Give an ordinary vase a colorful, budget-friendly makeover with rolled paper "straws". This simple craft turns craft paper, a cardboard tube and a few embellishments into a twisted, decorative vase perfect for artificial flowers or as a bright accent piece. Follow the photo steps below to measure, roll, assemble and decorate your own version — customize colors to match your decor or season.
If you're looking to add a touch of charm to your home decor, why not try creating a DIY Paper Straw Twisted Vase? This simple yet lovely craft project involves twisting colorful paper straws around a glass vase to give it a unique and playful look. It's a fun way to get creative and add a pop of color to any room in your home. Plus, you can customize it to match your style or the season by choosing different colored straws. Get your craft supplies ready and let your imagination run wild as you transform an ordinary vase into a one-of-a-kind piece that will surely brighten up your space!
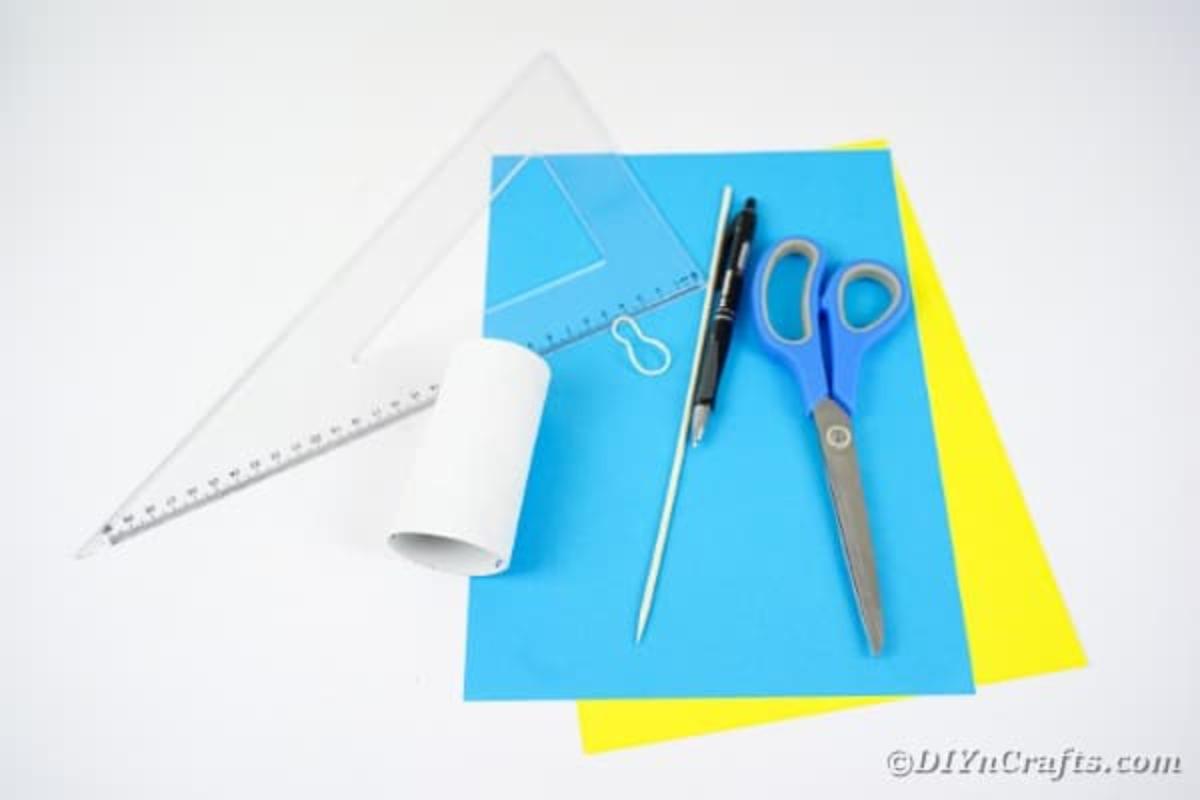
Supplies Needed
Craft paper in the desired colors
Empty toilet paper roll
Dowel or skewer
Beaded ribbon
Rhinestones or beads
Rubber band
Scissors
Craft knife
Ruler
Pen
Hot glue gun
Hot glue sticks or hot glue rope
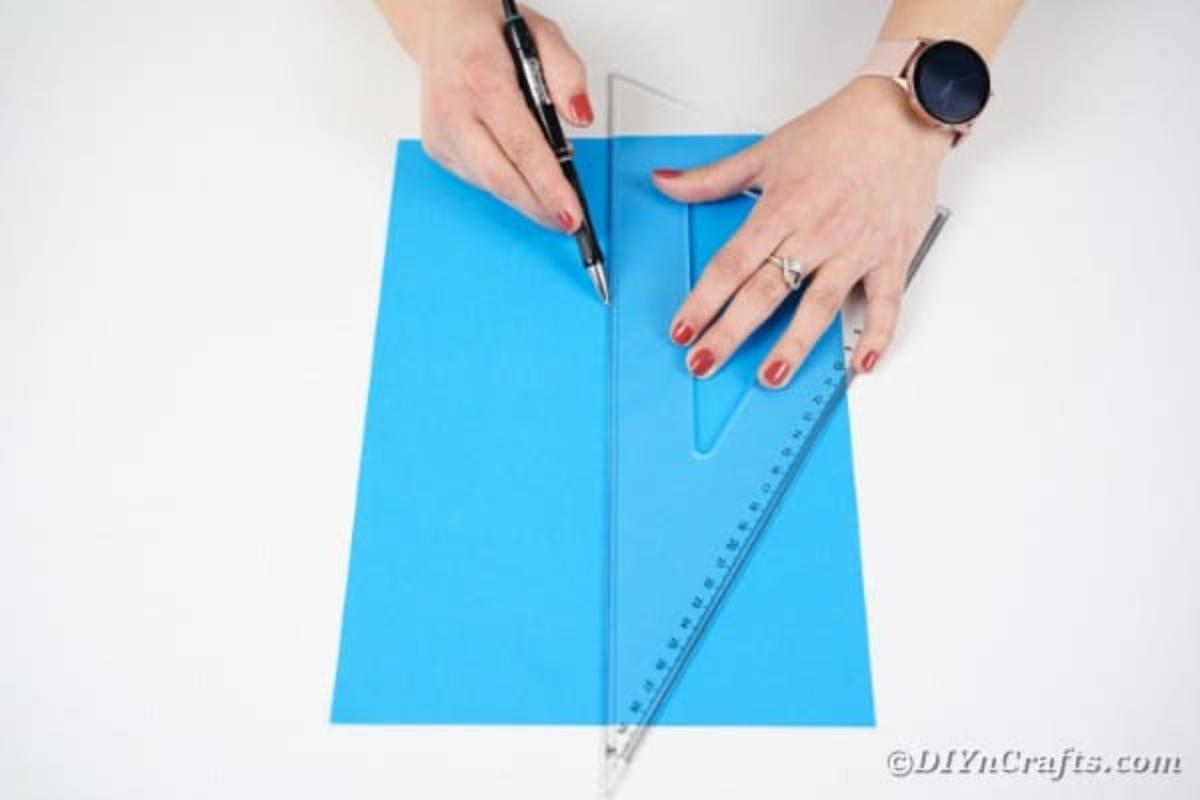
Measure a 10" long and 4" wide strip of paper.
Cut out the paper.
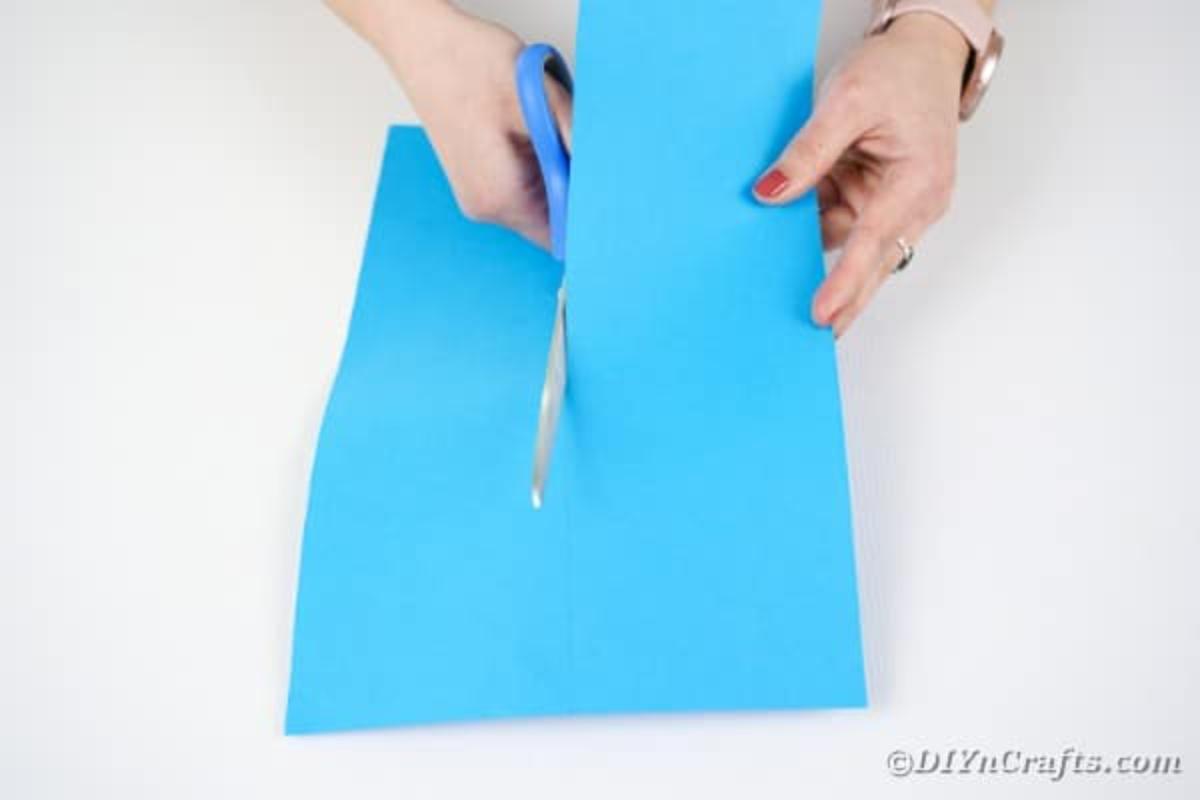
Use this as a template to cut out 10 more in both blue and yellow. You may need more, but it will depend on the size of your vase.
Starting at the bottom of the skewer or dowel, begin wrapping the paper around, moving upward in a spiral to cover the entire stick. Secure periodically with a dot of glue or tape as you move upward.
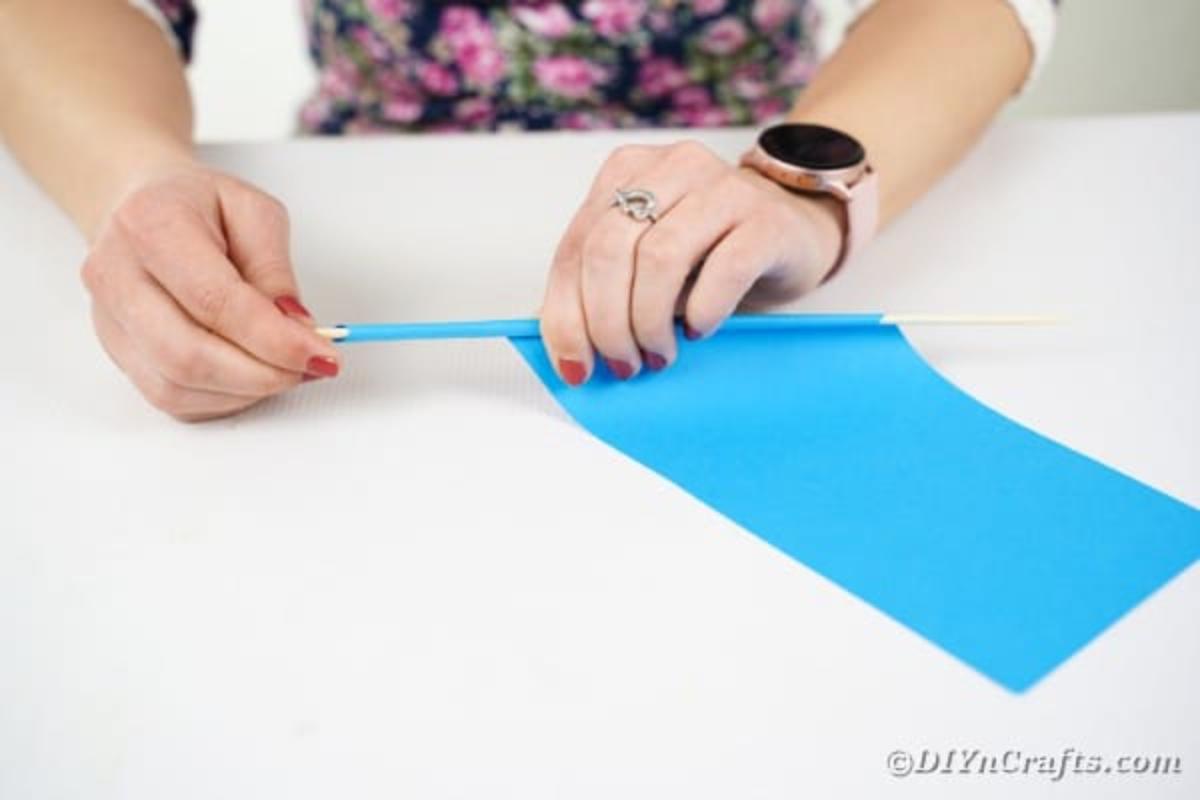
Glue the edges down when you reach the end.
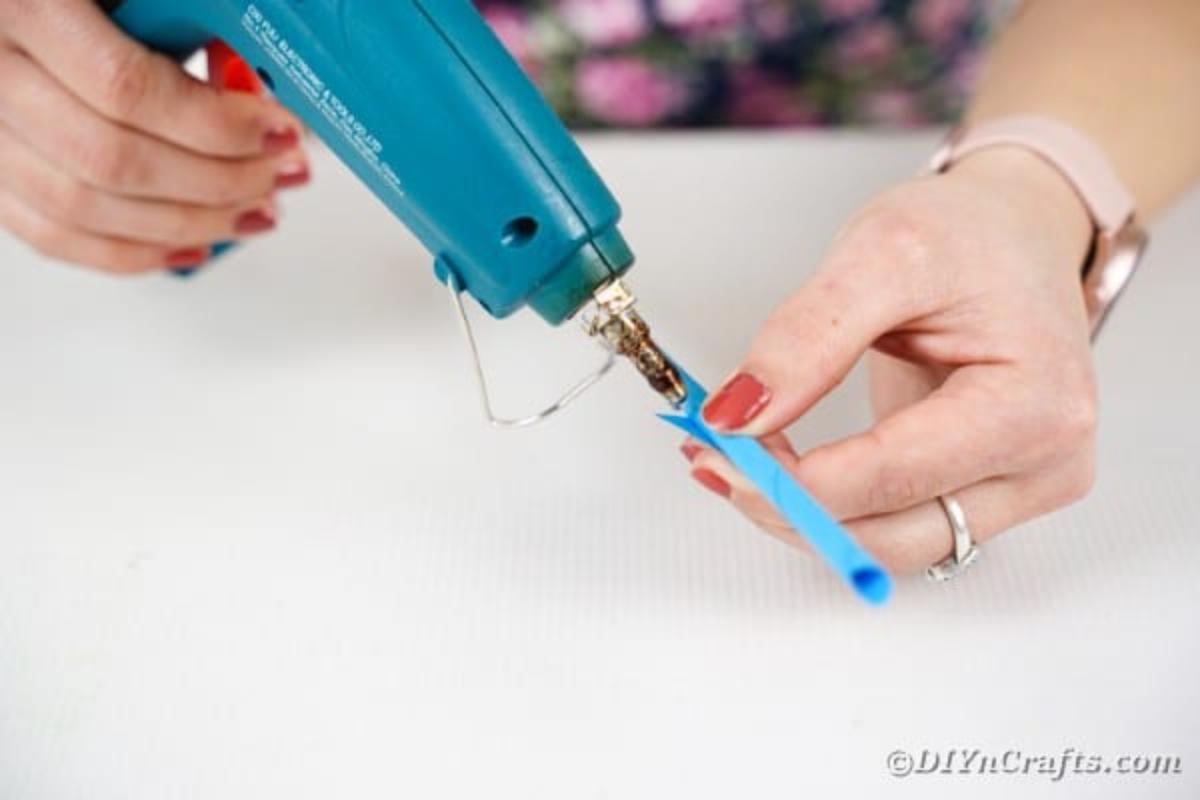
Pull the paper off the dowel, so you have a DIY paper straw.
Continue this process until you have created 10 of each color straw.
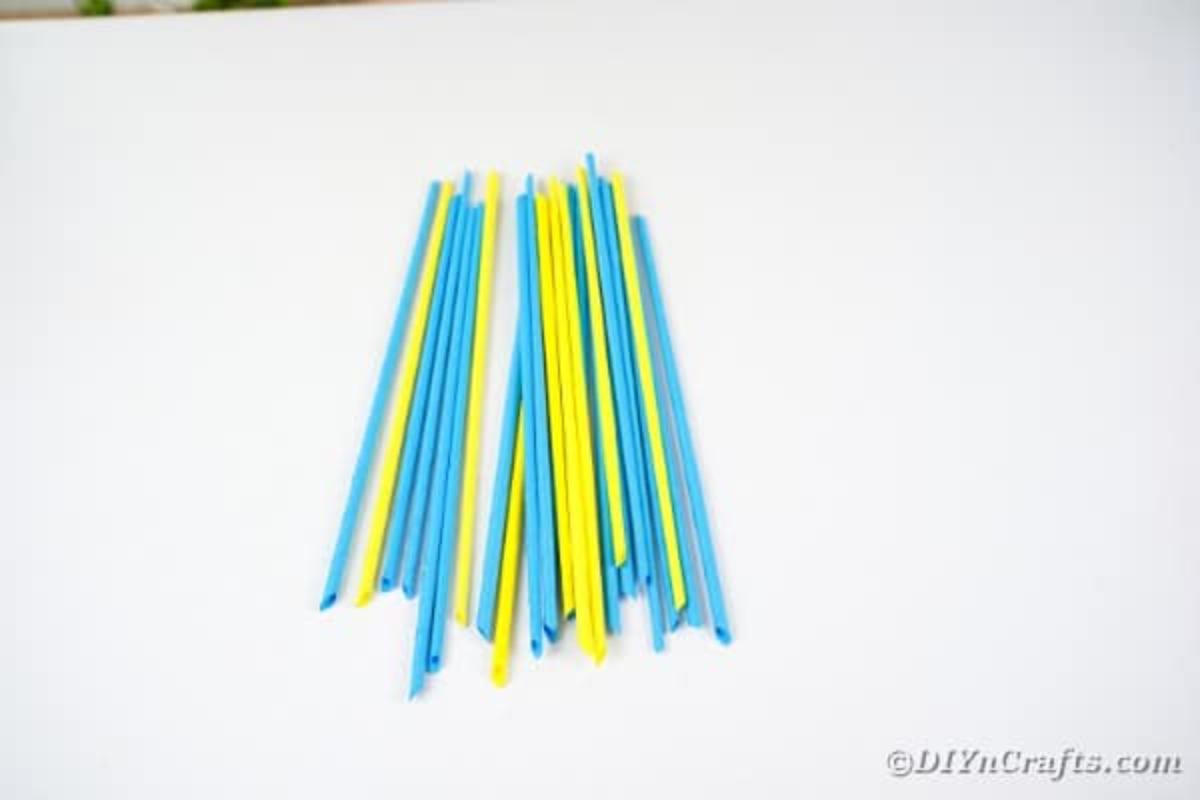
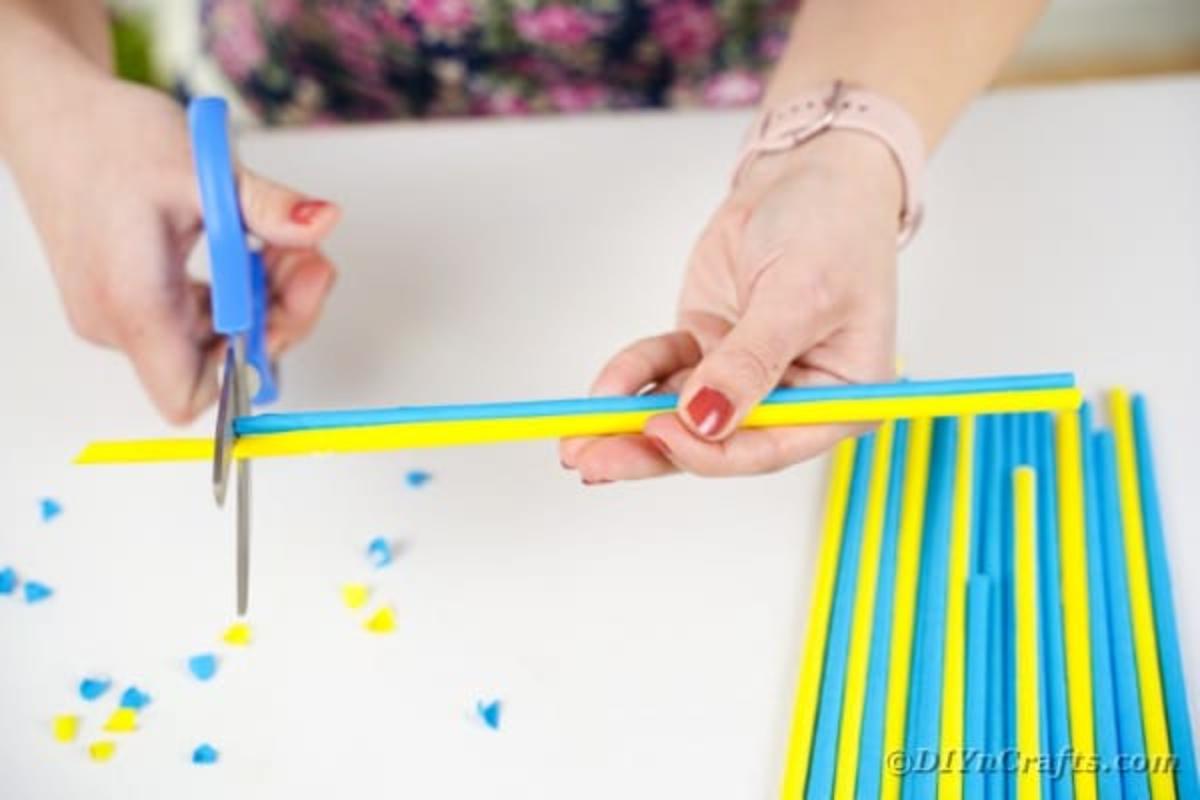
Trim the ends of the straws so they are flat and even.
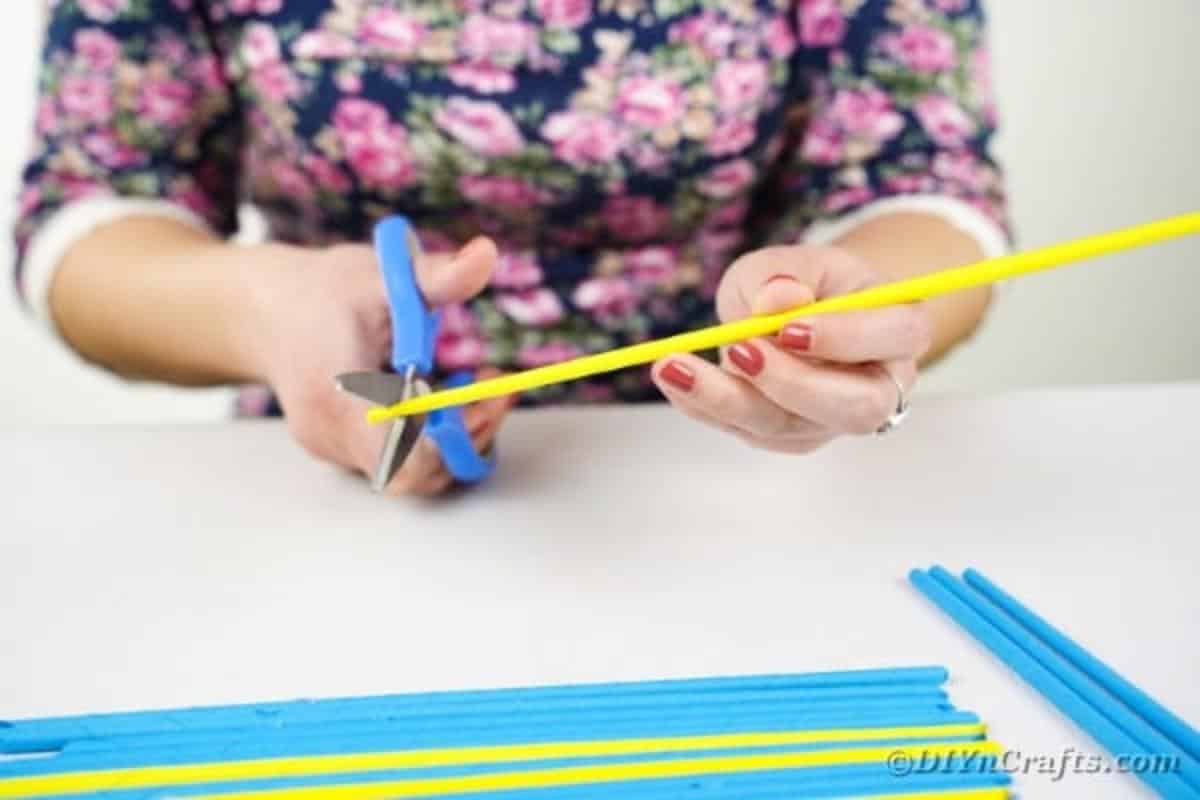
Do this with all of the paper straws using the first as a template and guide, then set them aside.
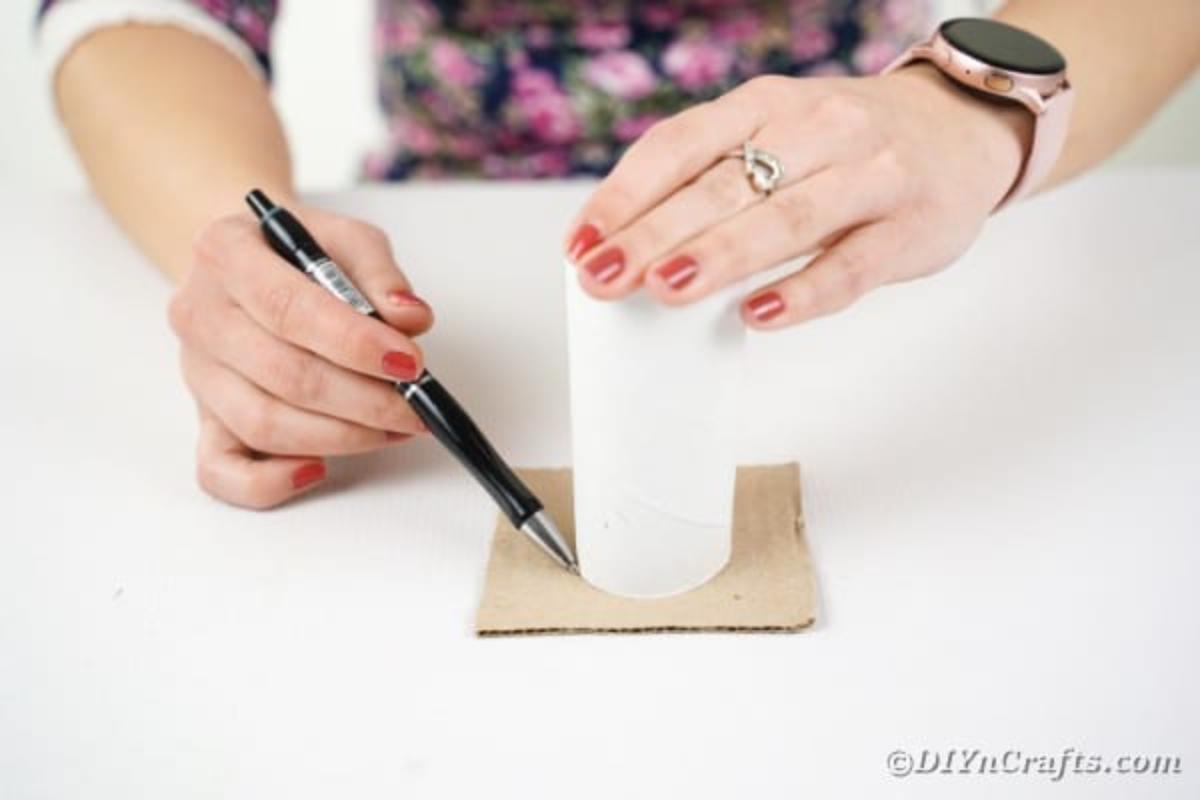
On a piece of cardboard, trace a circle using the empty toilet paper roll as the template.
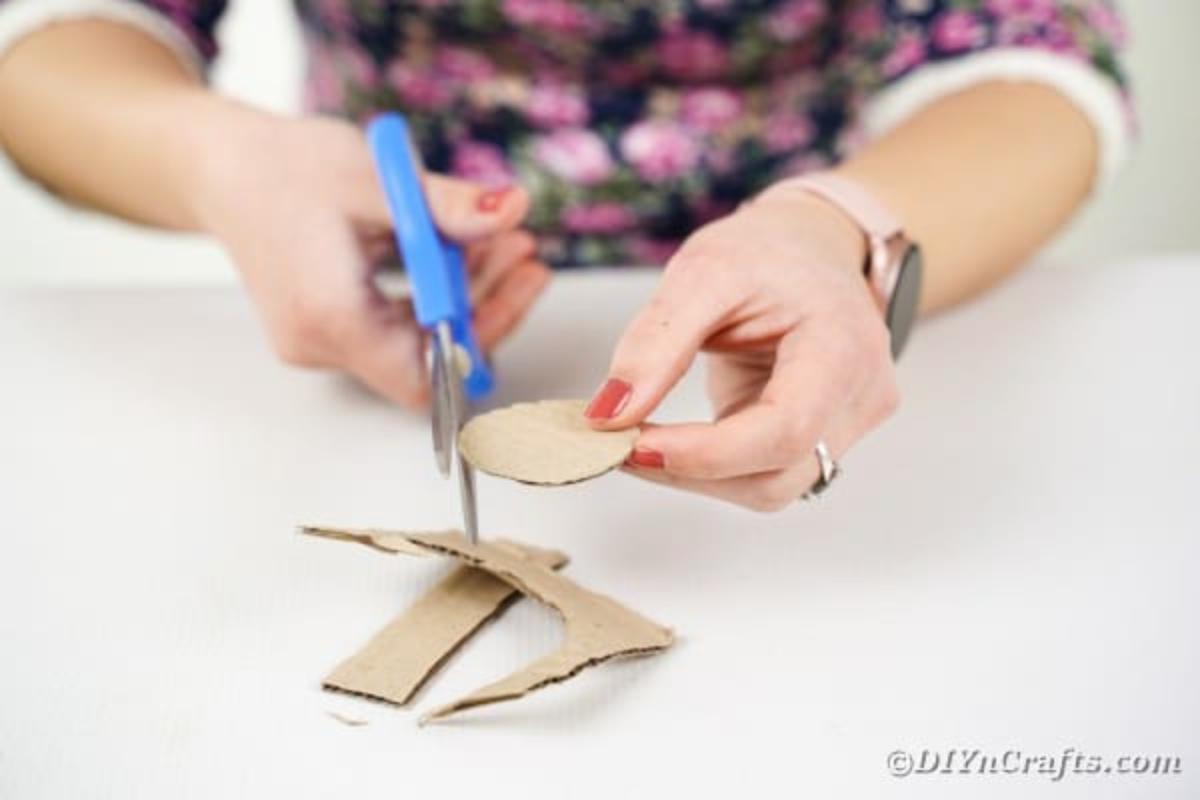
Cut out the circle.
Use this circle as a template to trace the same-sized circle on the blue paper and cut it out.
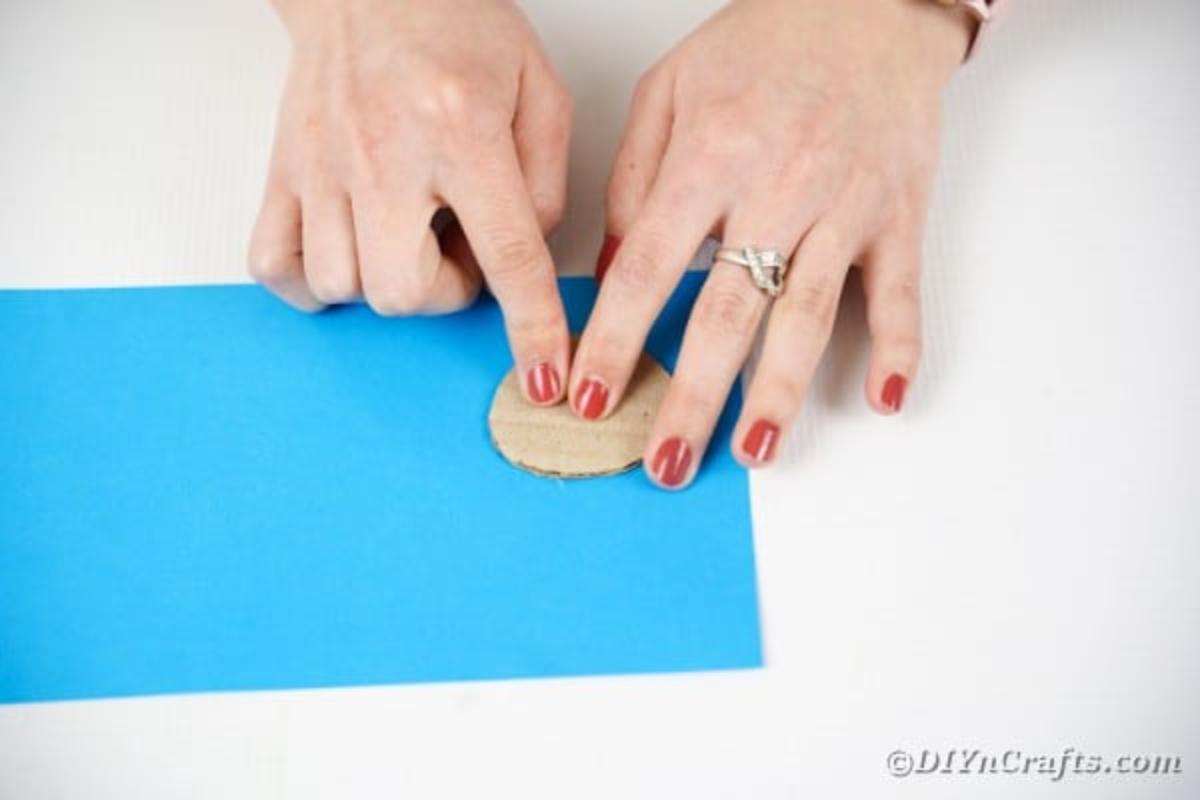
Glue the circle of paper to the bottom of the cardboard circle.
Next, glue the cardboard side of the circle to the bottom of the empty toilet paper roll.
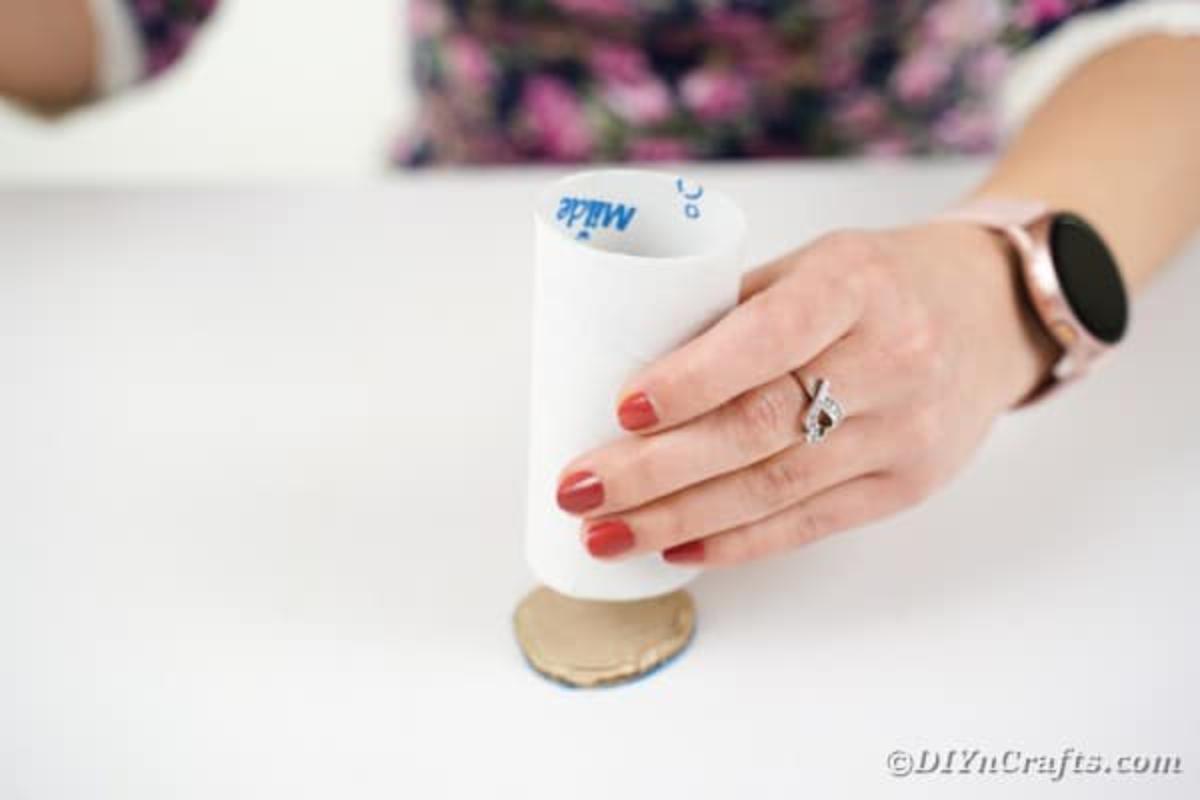
Lay the toilet paper roll on the blue paper and trace then cut out a length to cover the paper roll. Glue the blue paper in place on the paper roll.
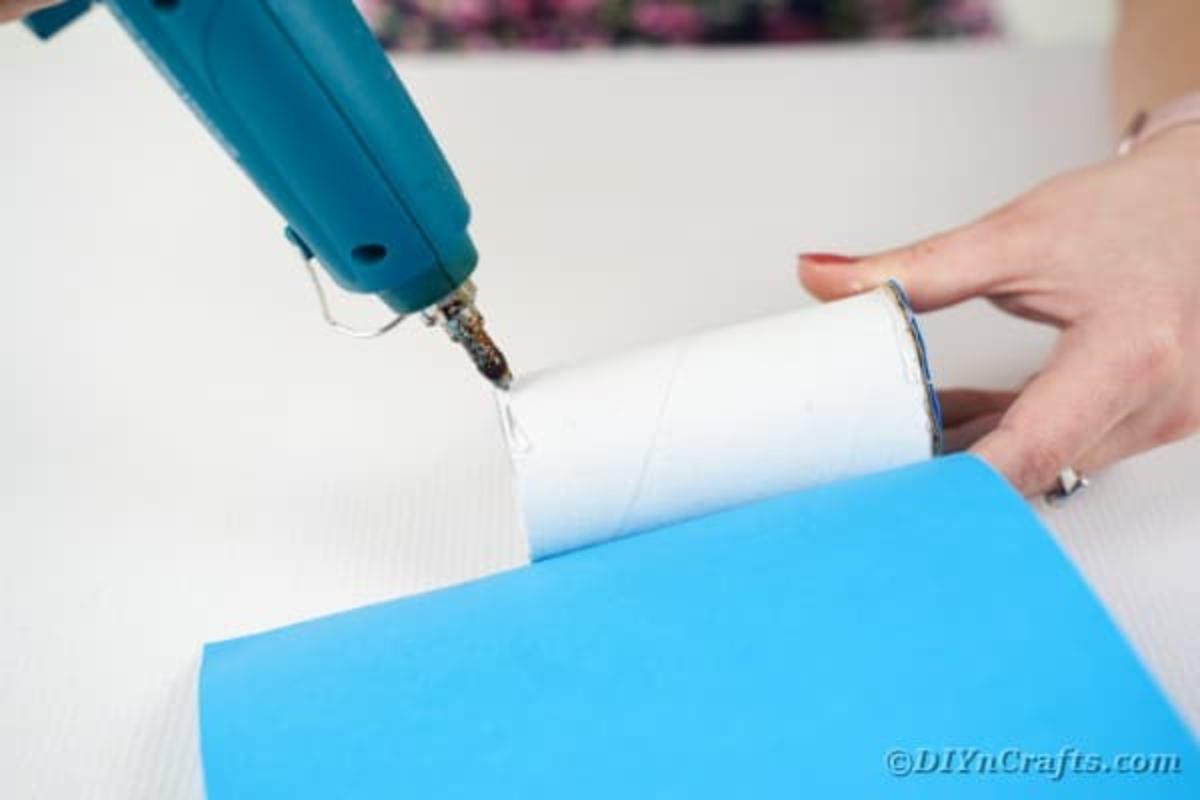
Trim off any excess paper on either end of the roll.
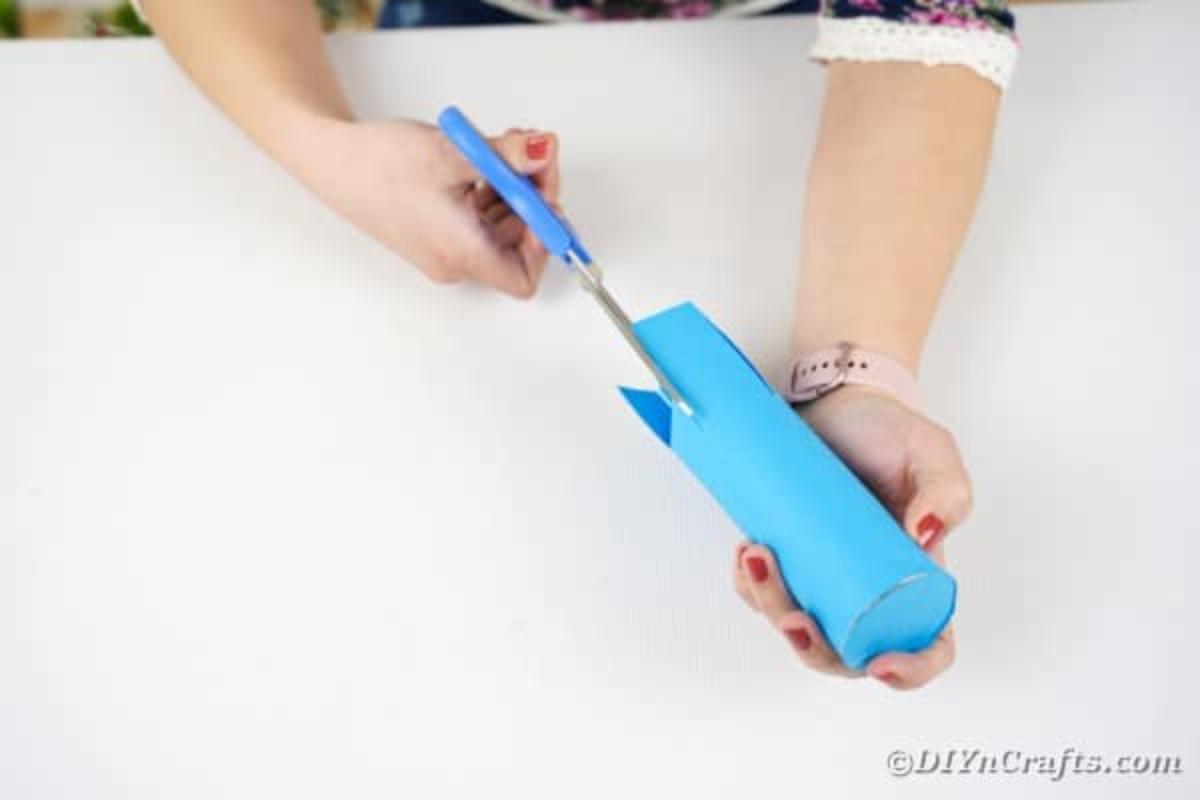
Tuck in any extra paper and fold down into the inside of the roll if desired.
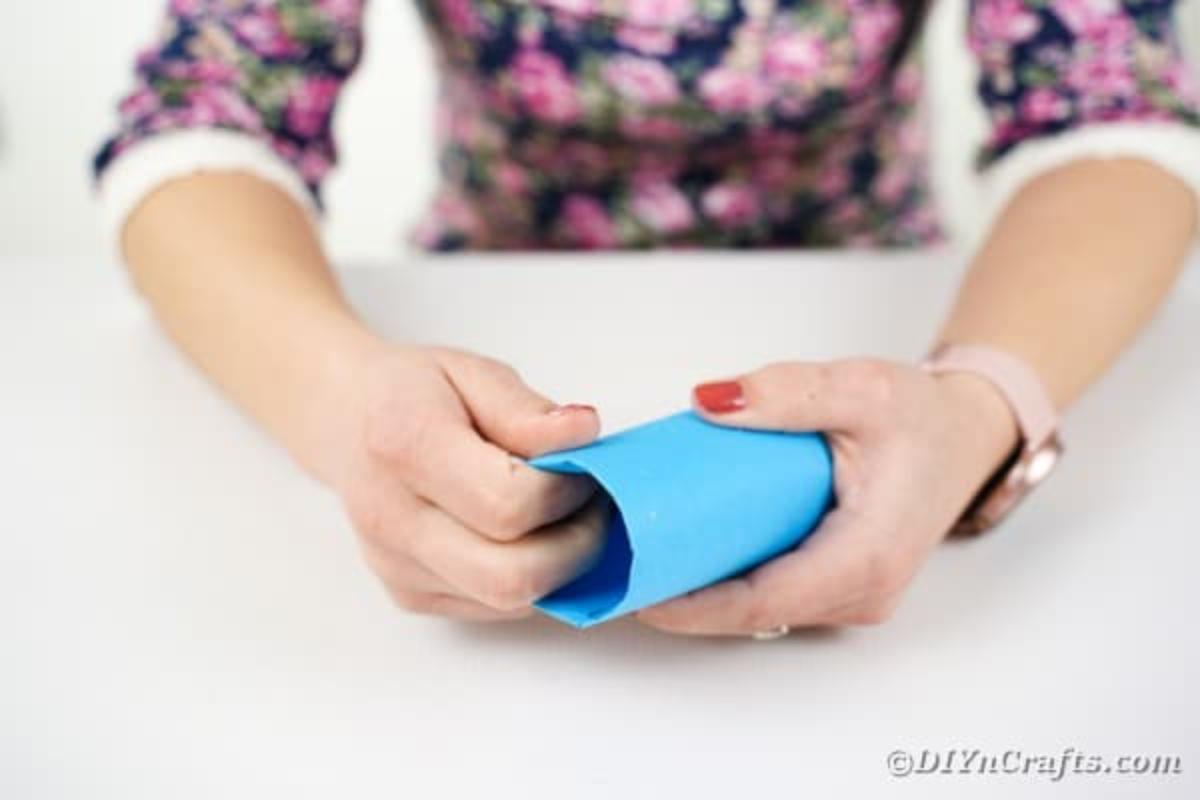
Start placing the paper straws around the outside of the tube, alternating colors.
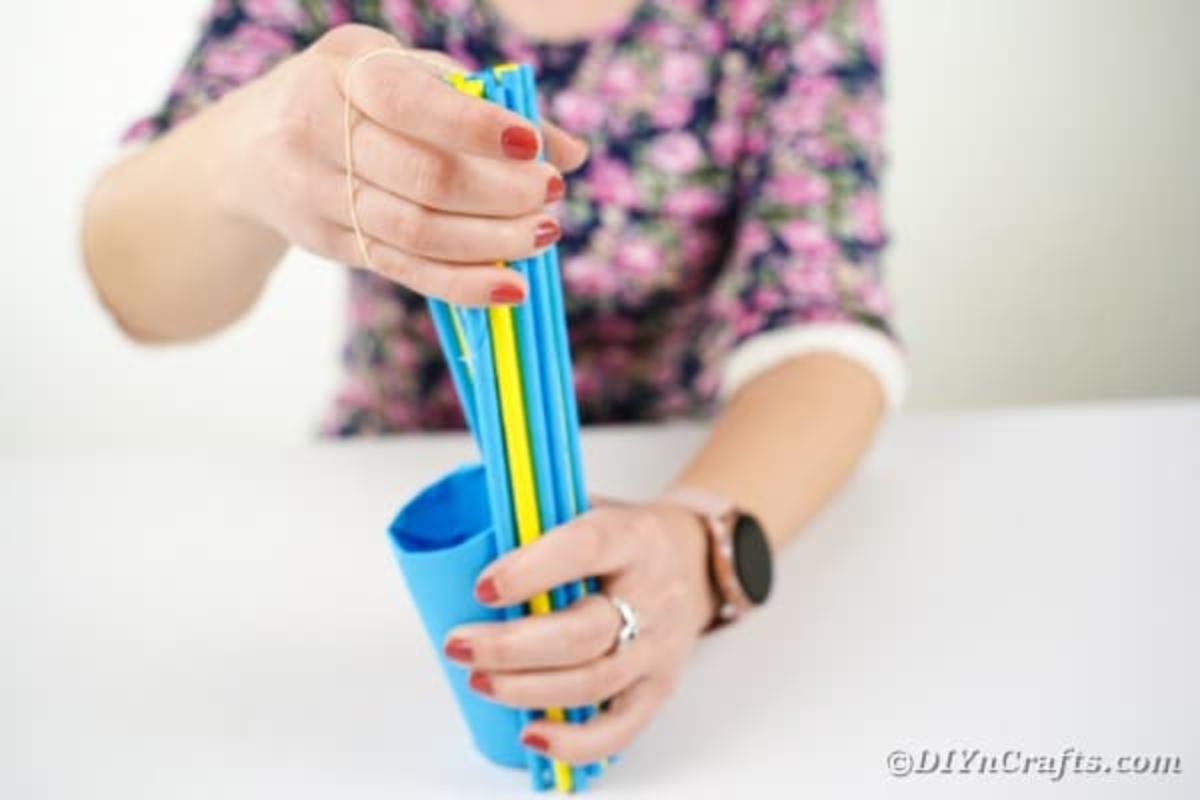
Once you have about half of the straws in place, place a rubber band around them at the center to help hold them as you add more around the roll.
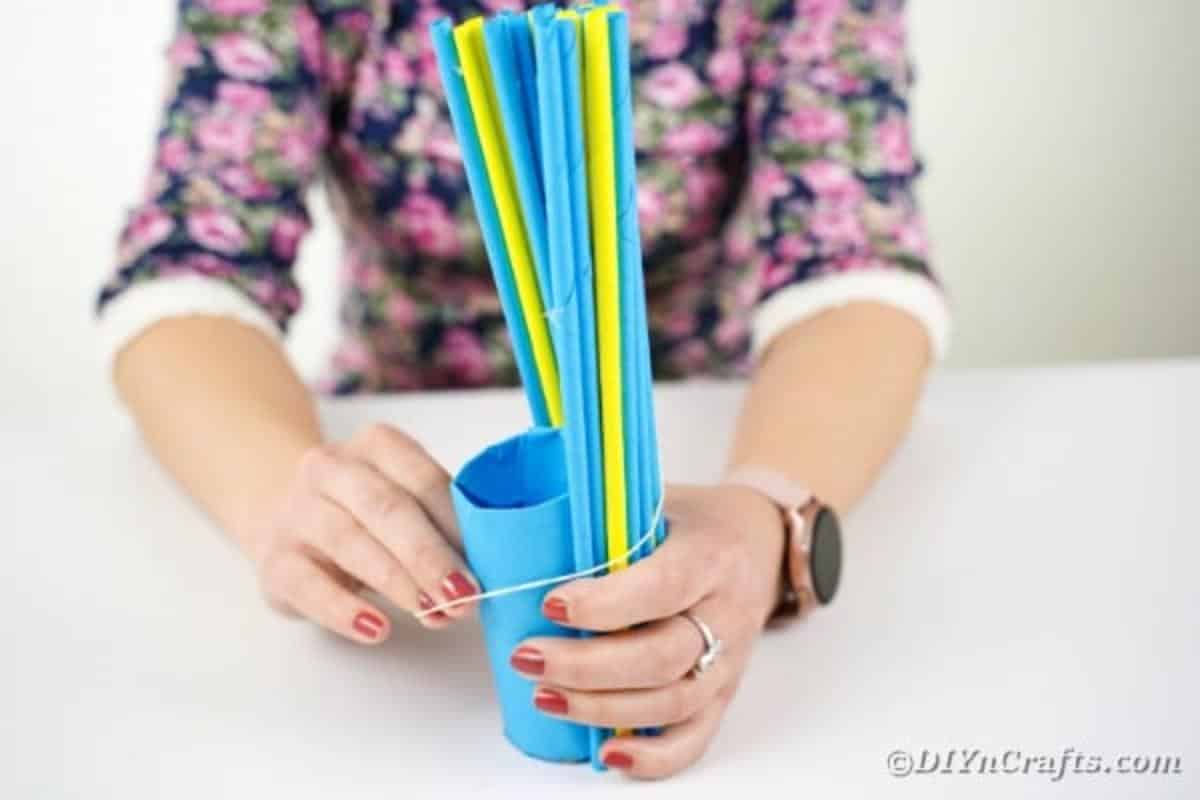
When you have all of the straws around the outside of the roll, spread them out at an angle to create a twisted look.
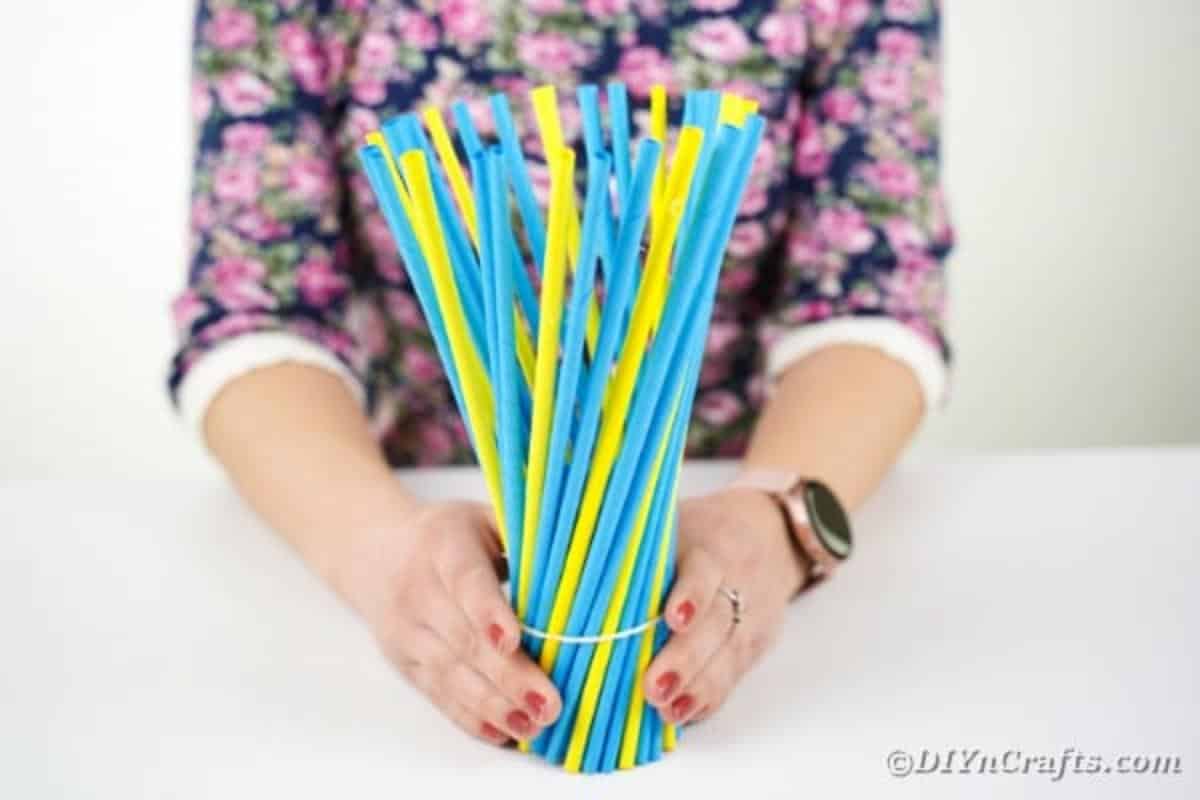
Add dabs of glue on each straw to hold it into place once you have them arranged how you like.
Cut another strip of paper and fold it to create a thin tube or strip, and cut to fit around the middle of the vase.
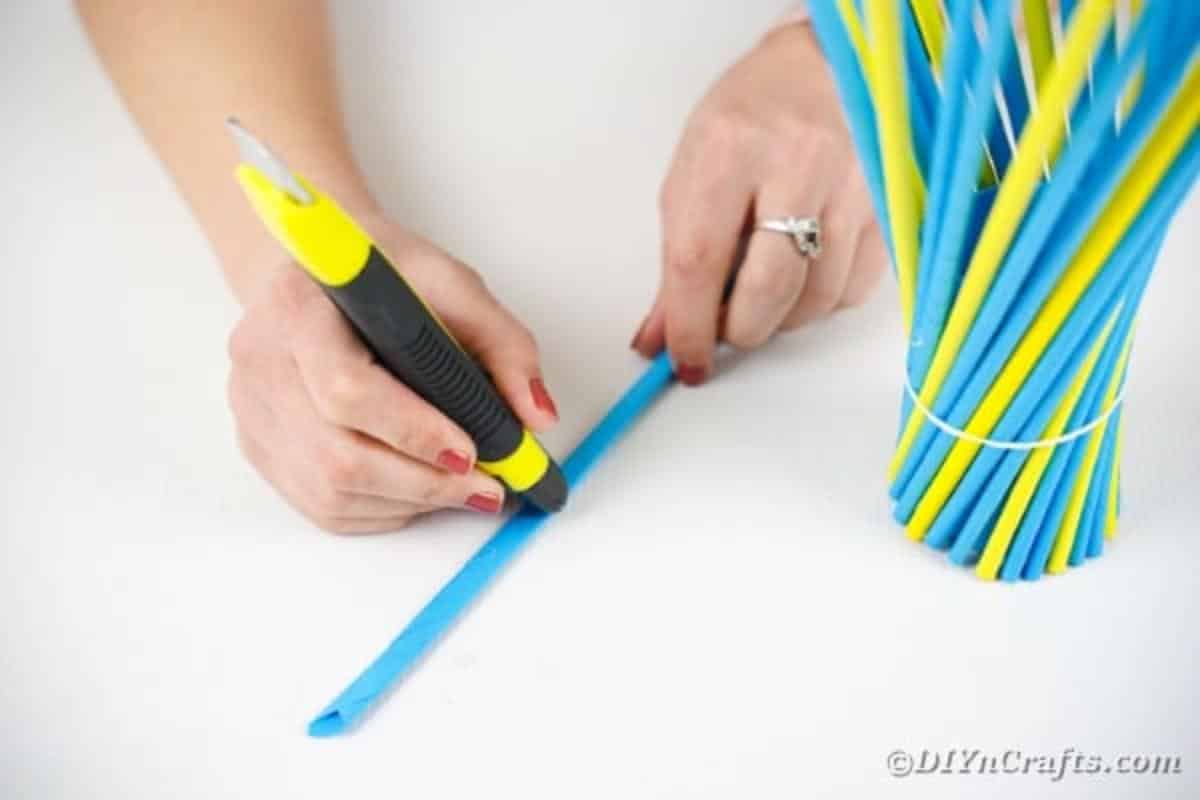
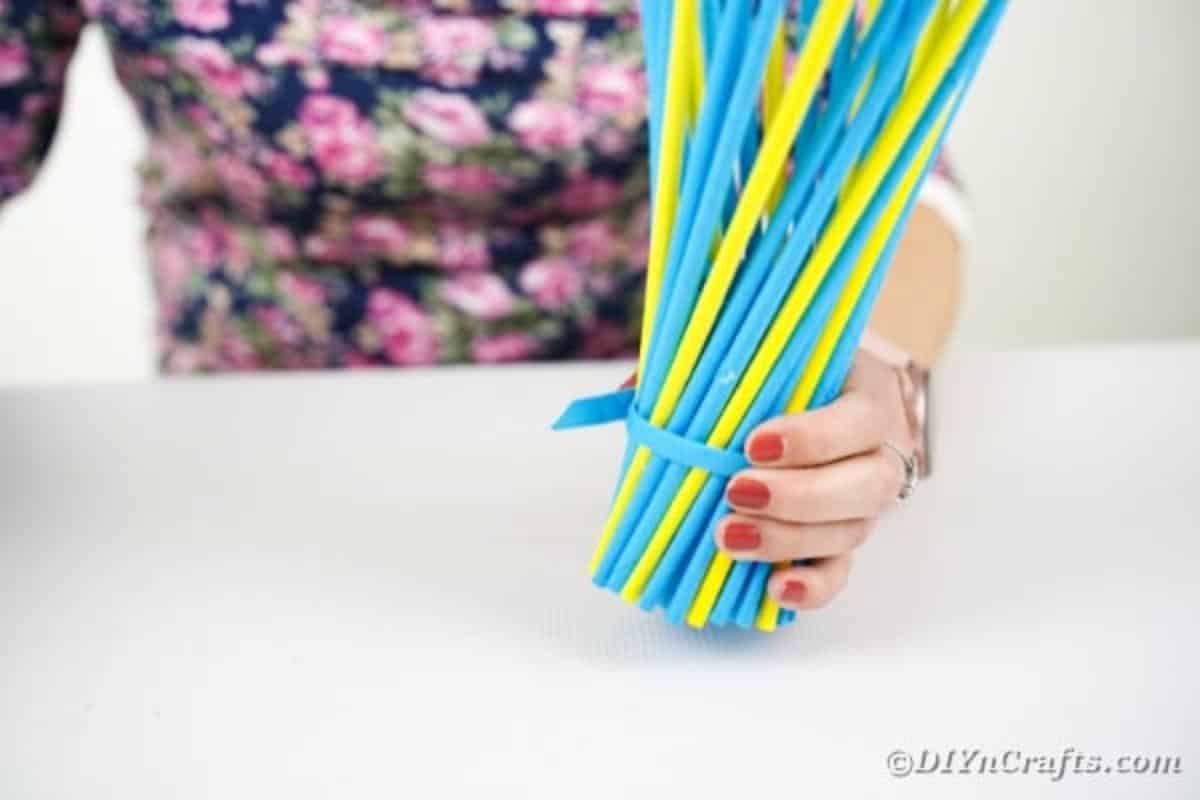
Wrap this piece around the middle of the vase where you have the rubber band and glue in place.
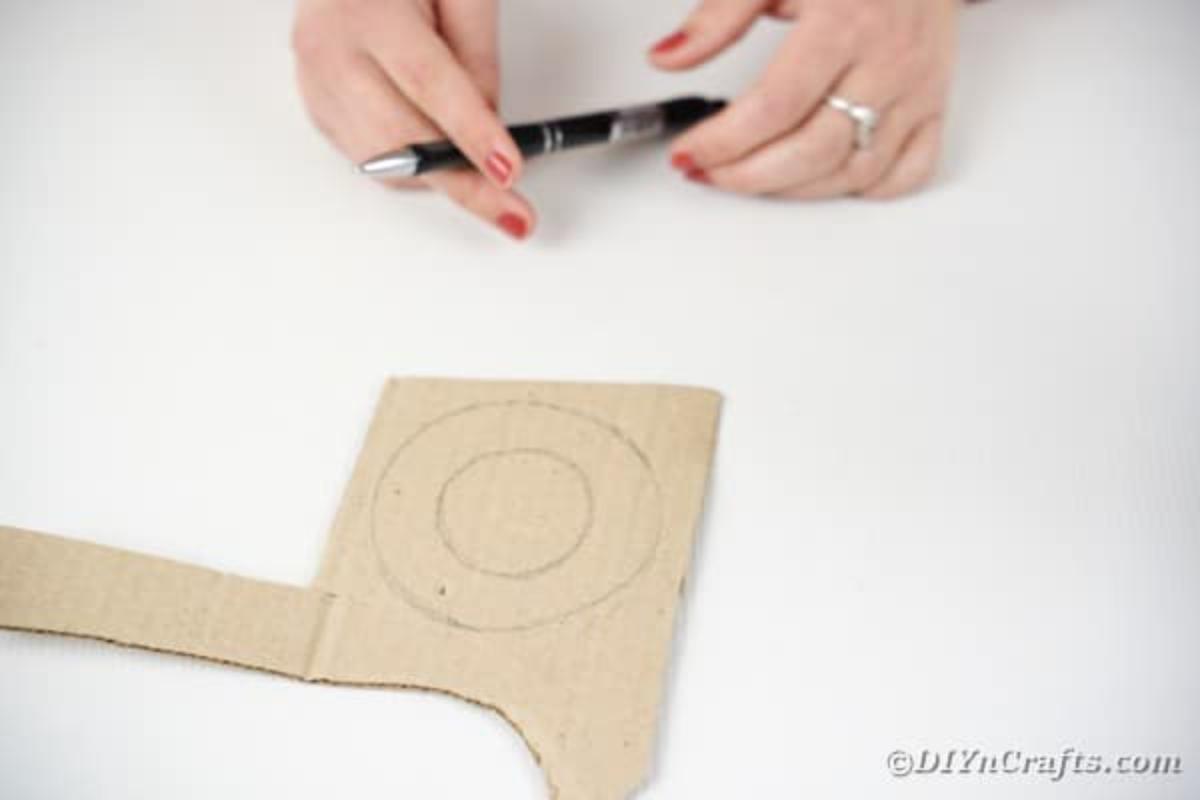
Draw a circle on cardboard with a smaller circle in the middle.
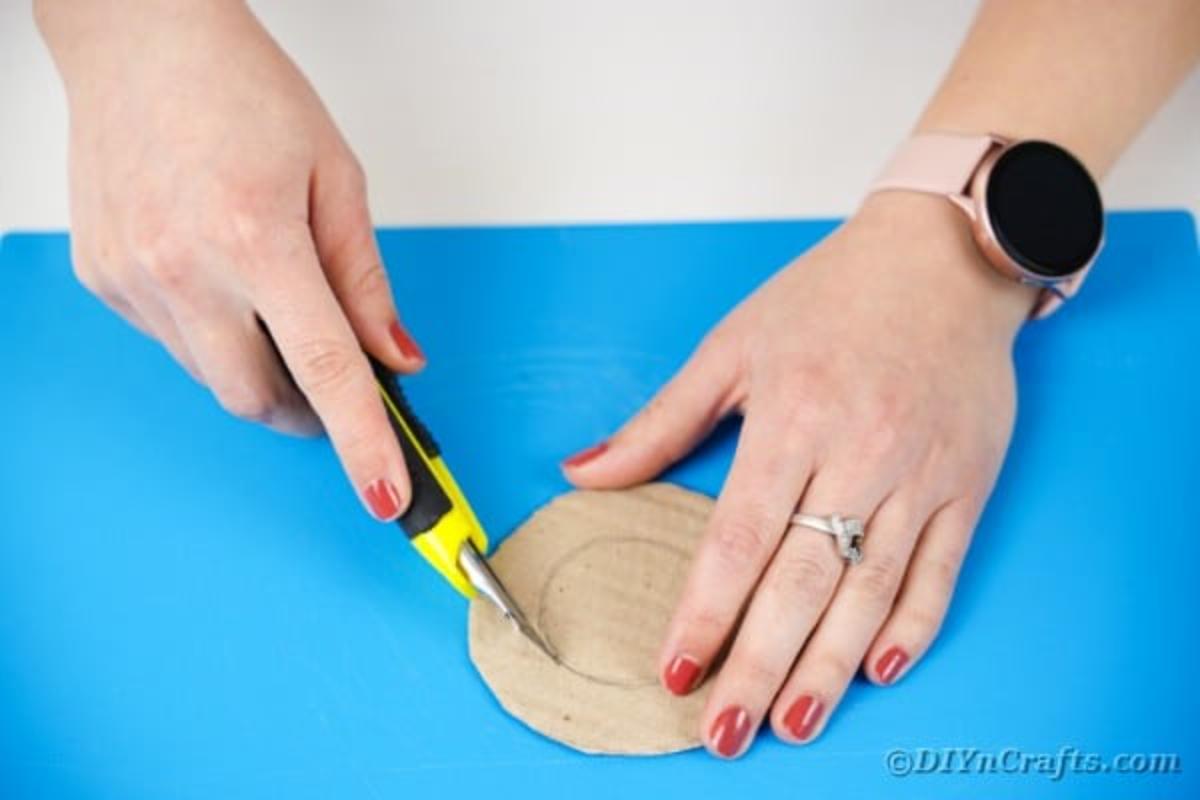
Cut the circle out.
Trim the center out with a craft knife to create a donut-like shape.
Use this as a template to trace and cut out a piece of blue paper slightly larger than the circle.
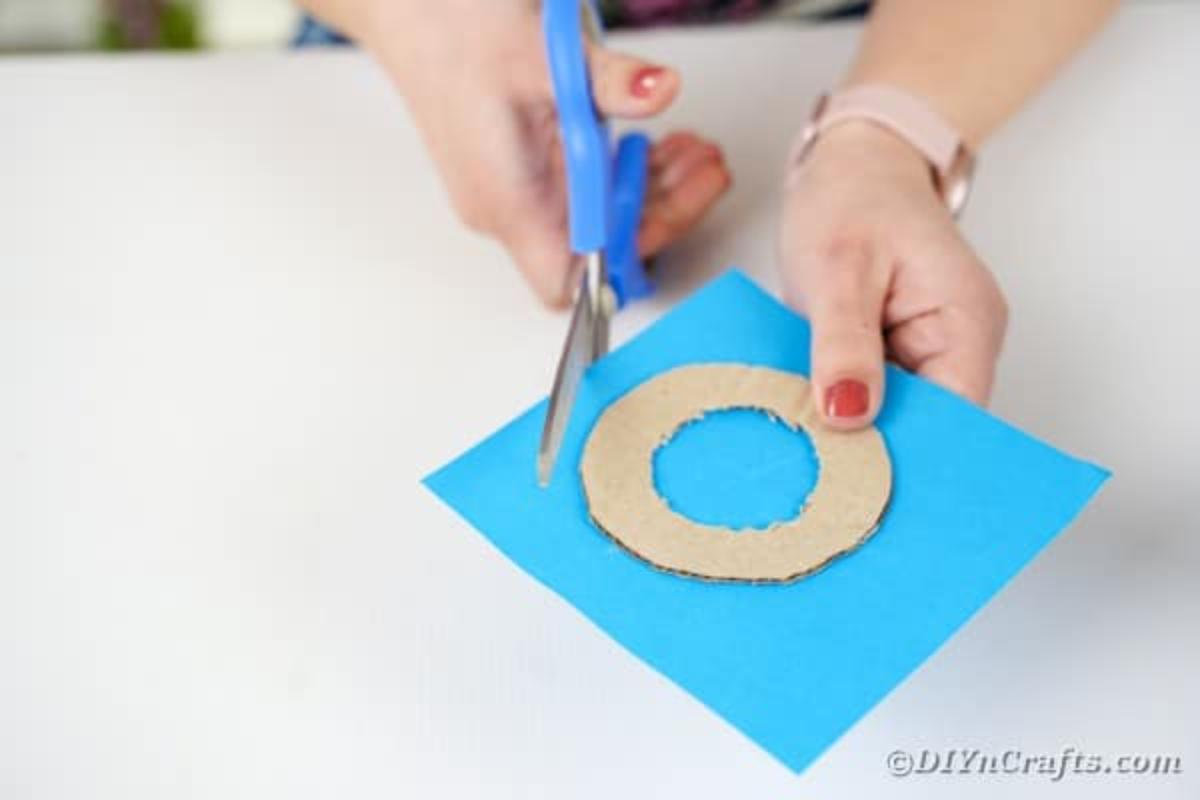
Cut the paper in the center, then fold it down around the circle and glue it in place so it covers the circle, leaving the center open.
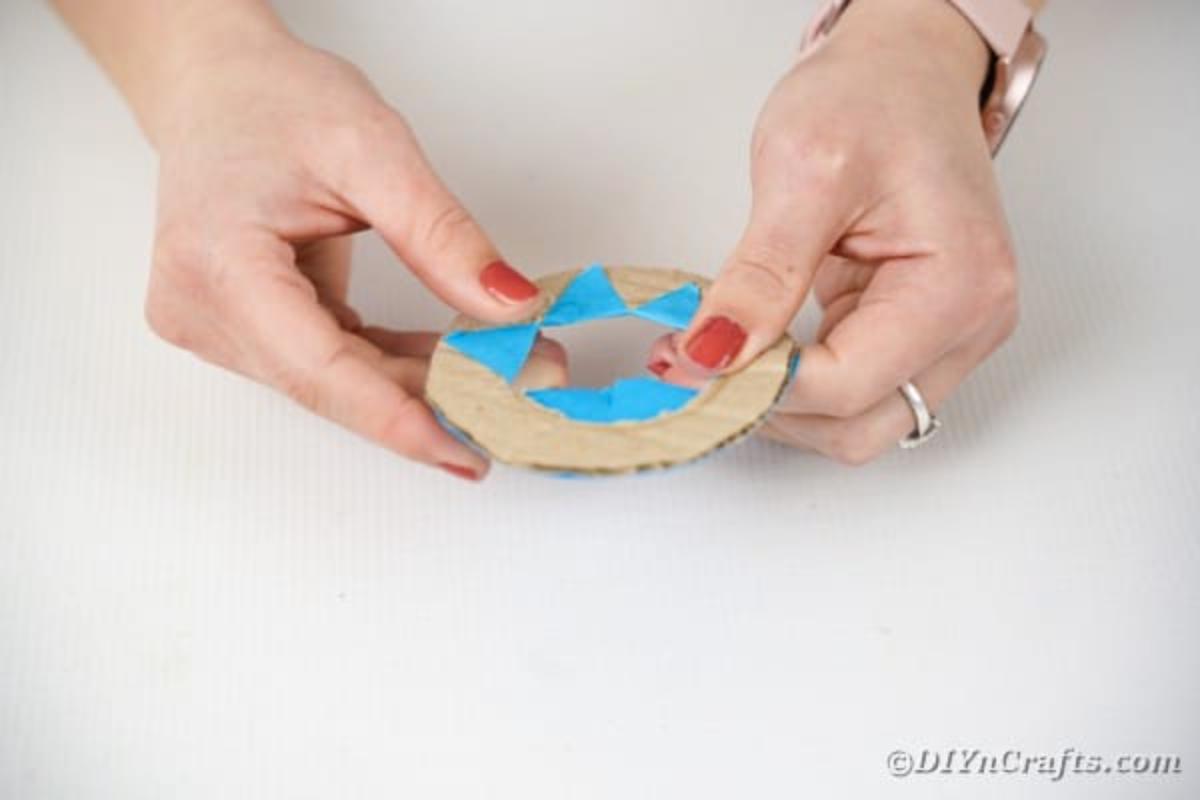
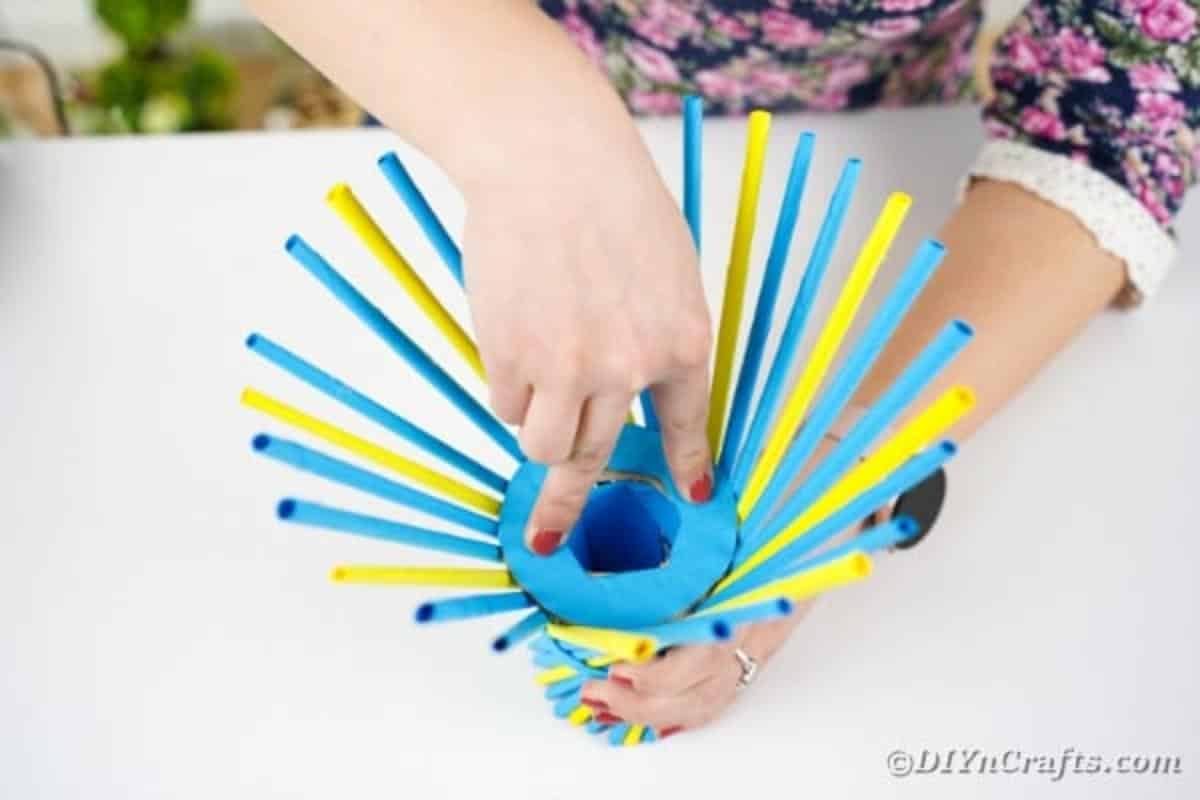
Put this paper side up into the center of the vase to hold the paper straws out at an angle.
Add a strip of beaded ribbon around the middle of the base over the blue strip of paper covering the rubber band.
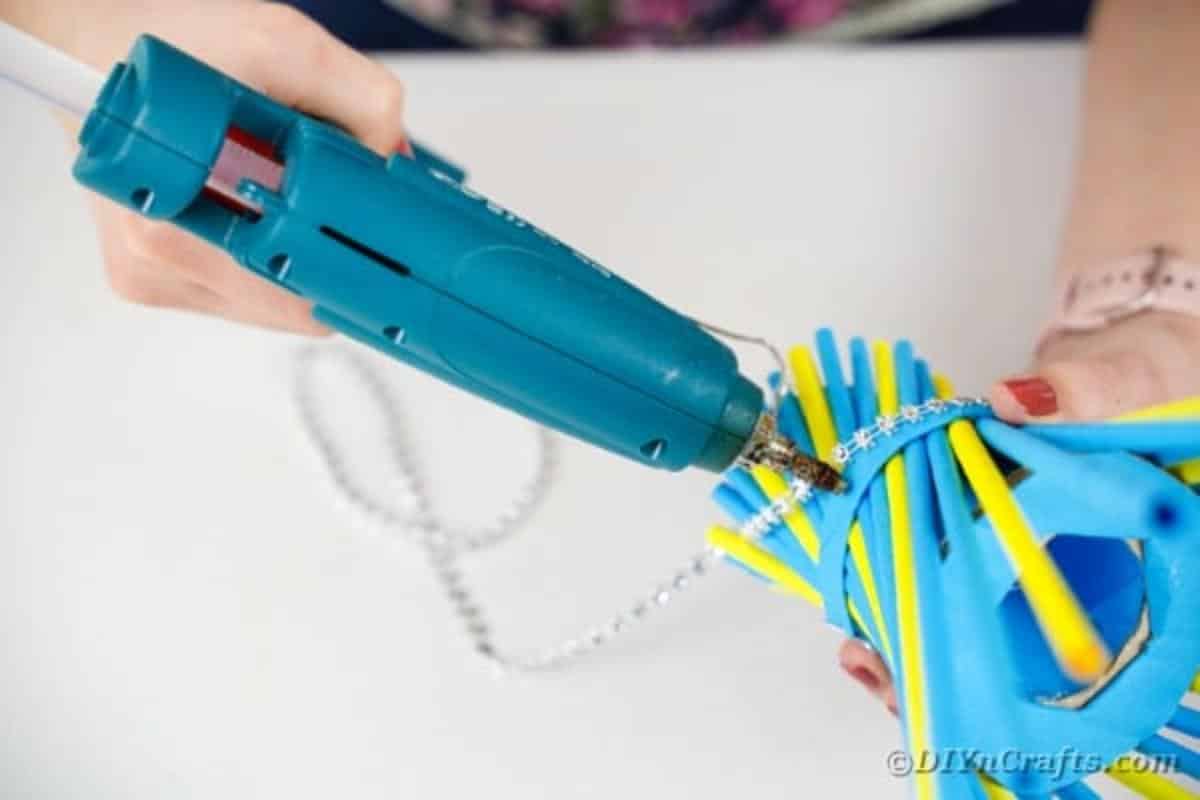
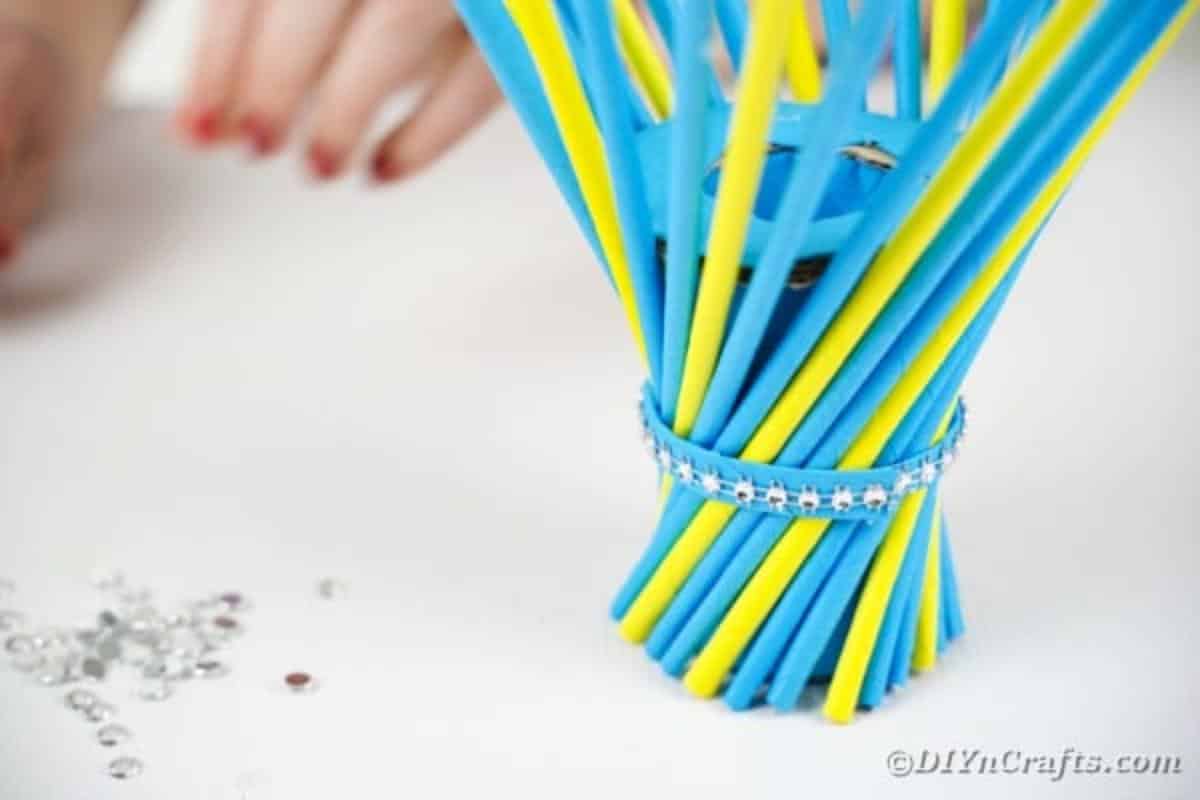
Glue individual rhinestones or beads on top of each paper straw.
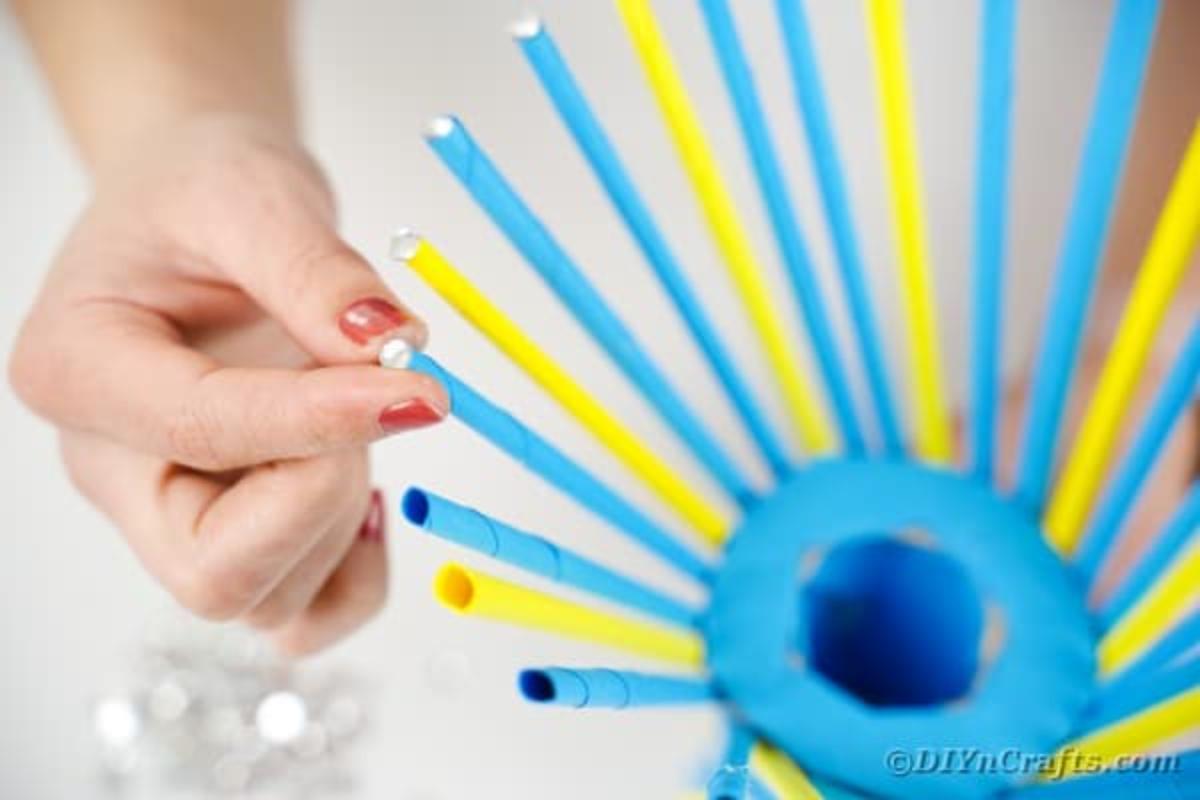
Now add artificial flowers to the middle and display.