Make Adorable DIY Easter Bunny Eggs — Easy Step-by-Step Family Craft
Add a whimsical touch to your Easter décor with these simple DIY Easter Bunny Eggs. This quick, kid-friendly craft turns faux eggs into charming bunnies using just a few supplies. Below you'll find materials, step-by-step instructions, and handy tips to make a set of decorative bunny eggs for your table, centerpiece, or basket.
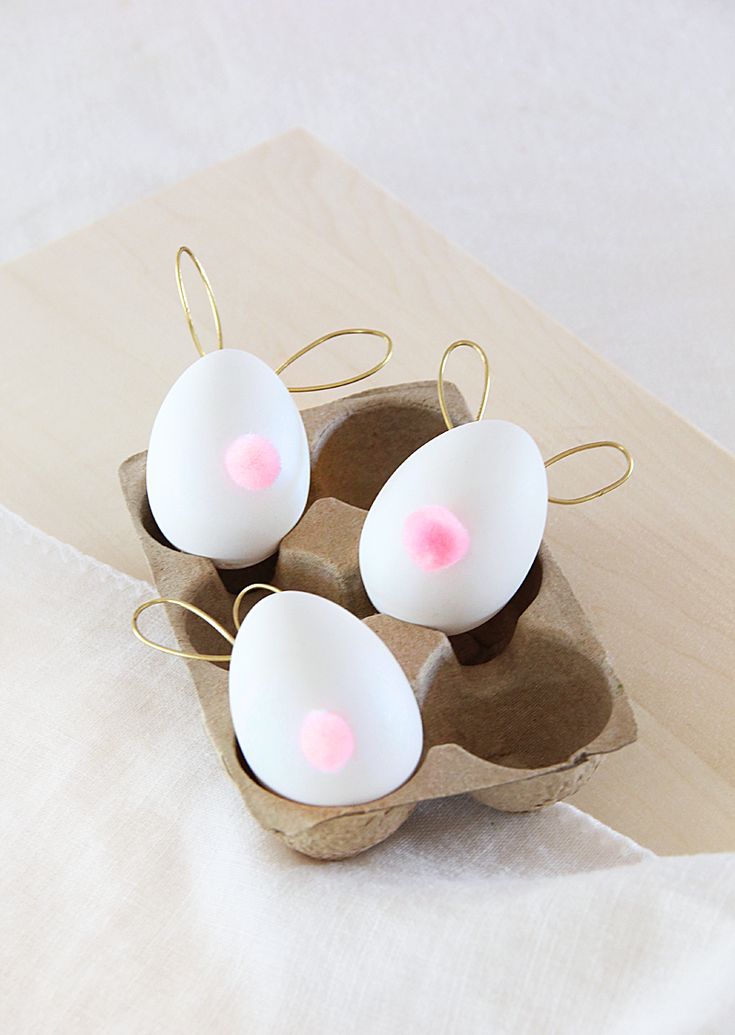
Materials:
Faux White Eggs (I picked up mine for $3 at Target dollar spot)
Glue
Pom Poms
Pliers
Jewelry Wire
(If you want to do the entire craft with the kiddos, use pipe cleaners for the bunny ears instead!)
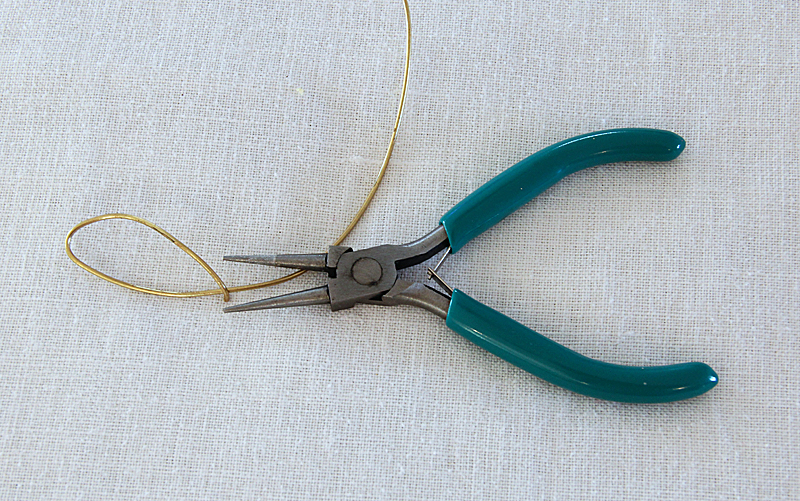
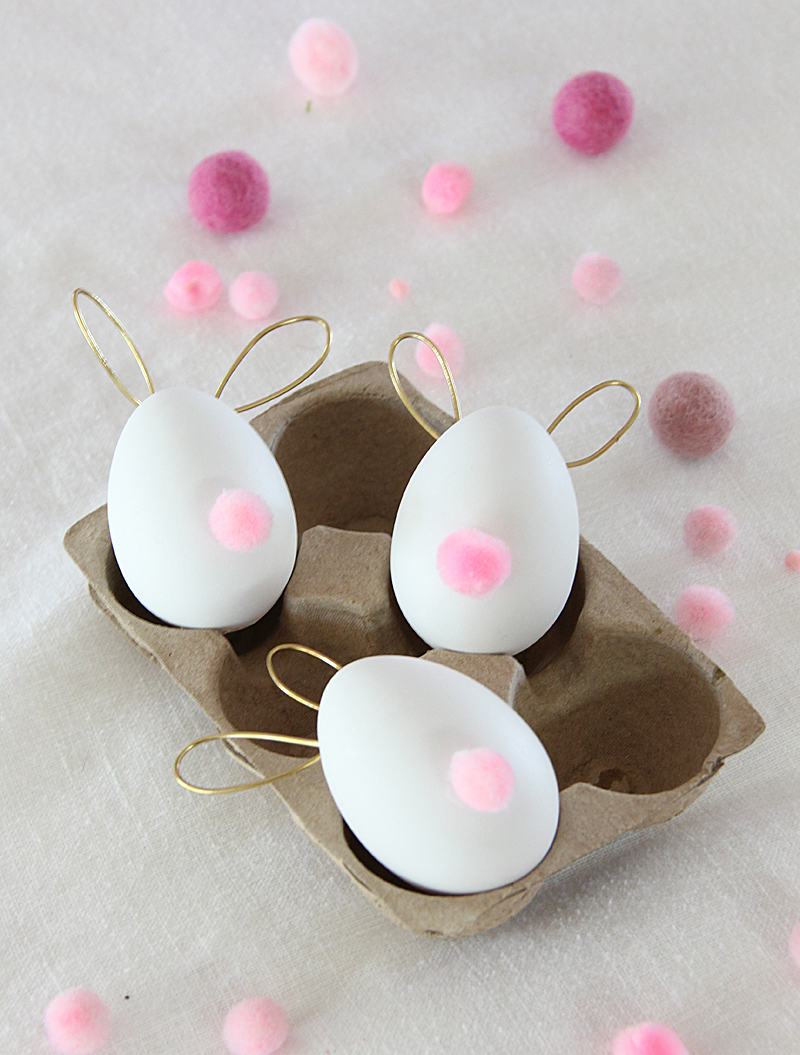
- Shape the ears: Take a short length of jewelry wire and use pliers to bend it into two connected bunny-ear shapes. They don't need to be perfectly symmetrical — slightly different ears give each bunny character.
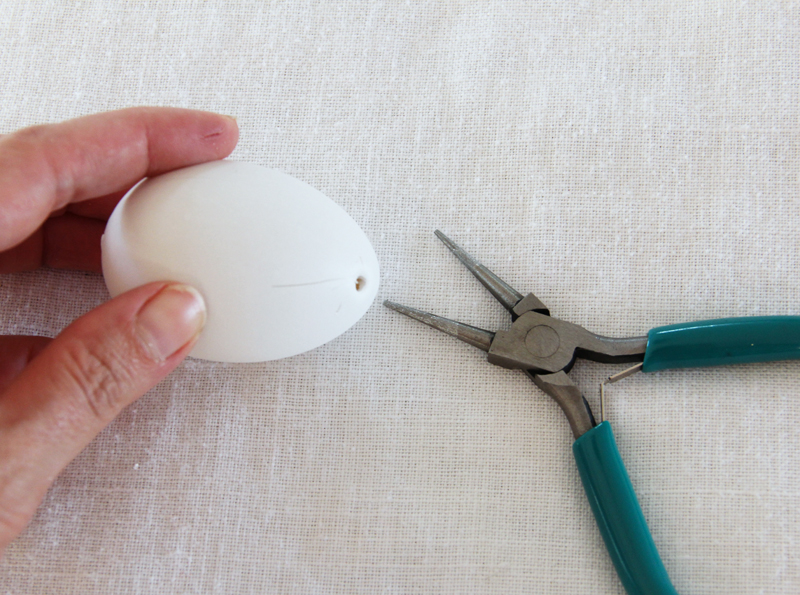
- Make holes for the ears: Carefully poke two small holes into the back/top of the faux egg where you want the ears to sit. I used the pliers to pierce the shell; any sharp, pointed tool will work if used safely.
- Insert the ears: Gently push the wire ear assembly into the two holes so the ears stand up. Adjust the angle and spacing until you like the look.
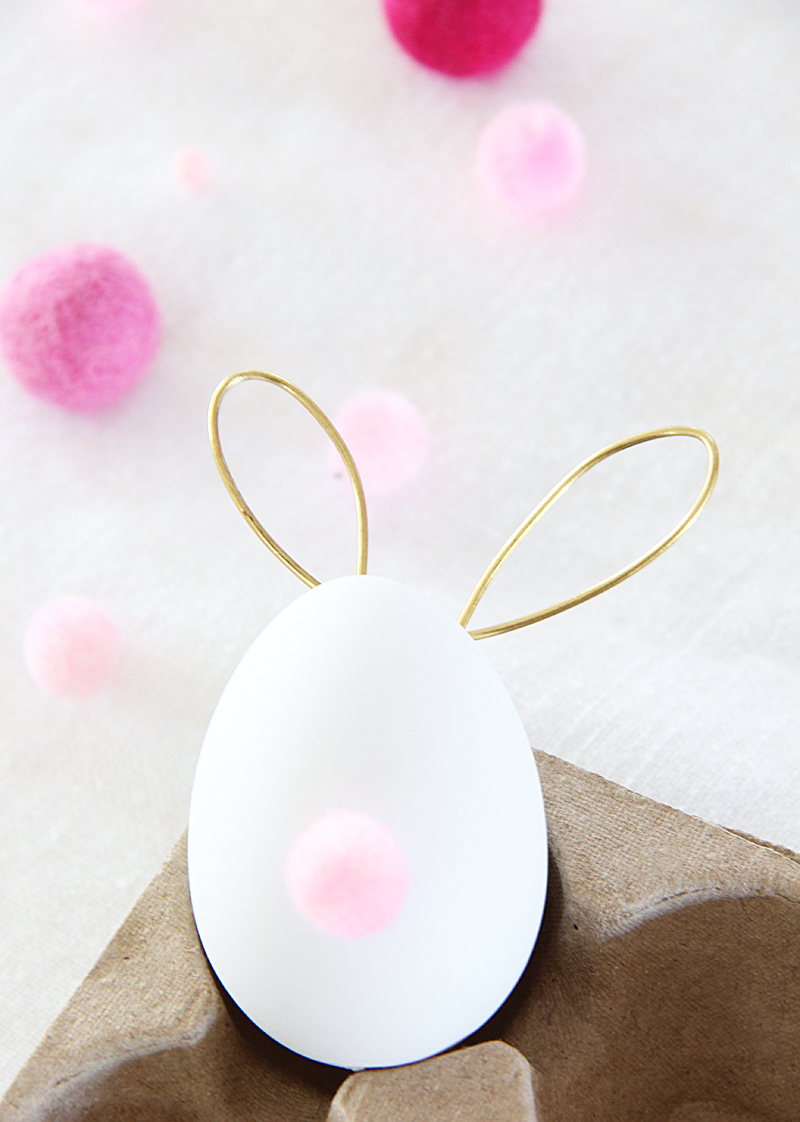
- Add the tail: Apply a dab of glue to the back of the egg and press a small pom-pom in place to form the bunny's tail. (Glue after adding the ears to avoid knocking them loose.)
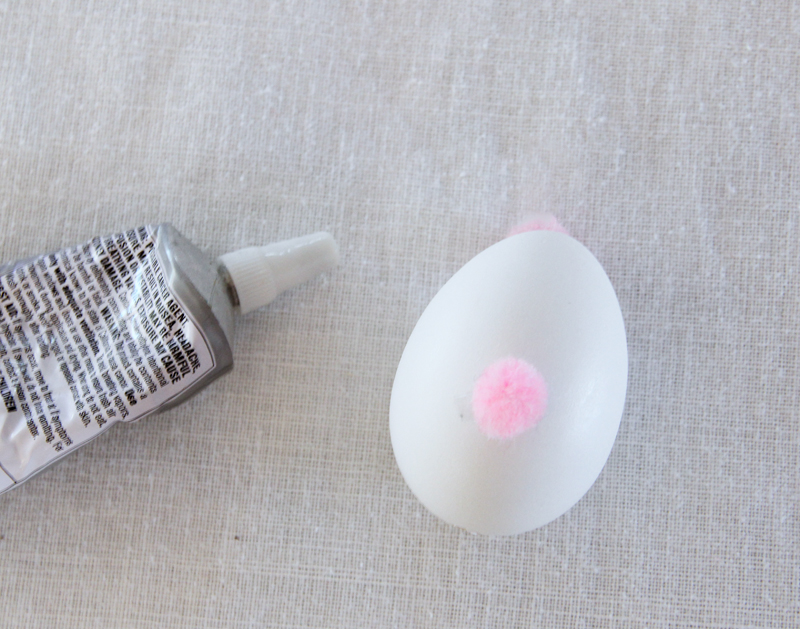
- Let dry: Allow the glue to set completely before handling. Once dry, you can display your bunny eggs in nests, bowls, or as part of a centerpiece.
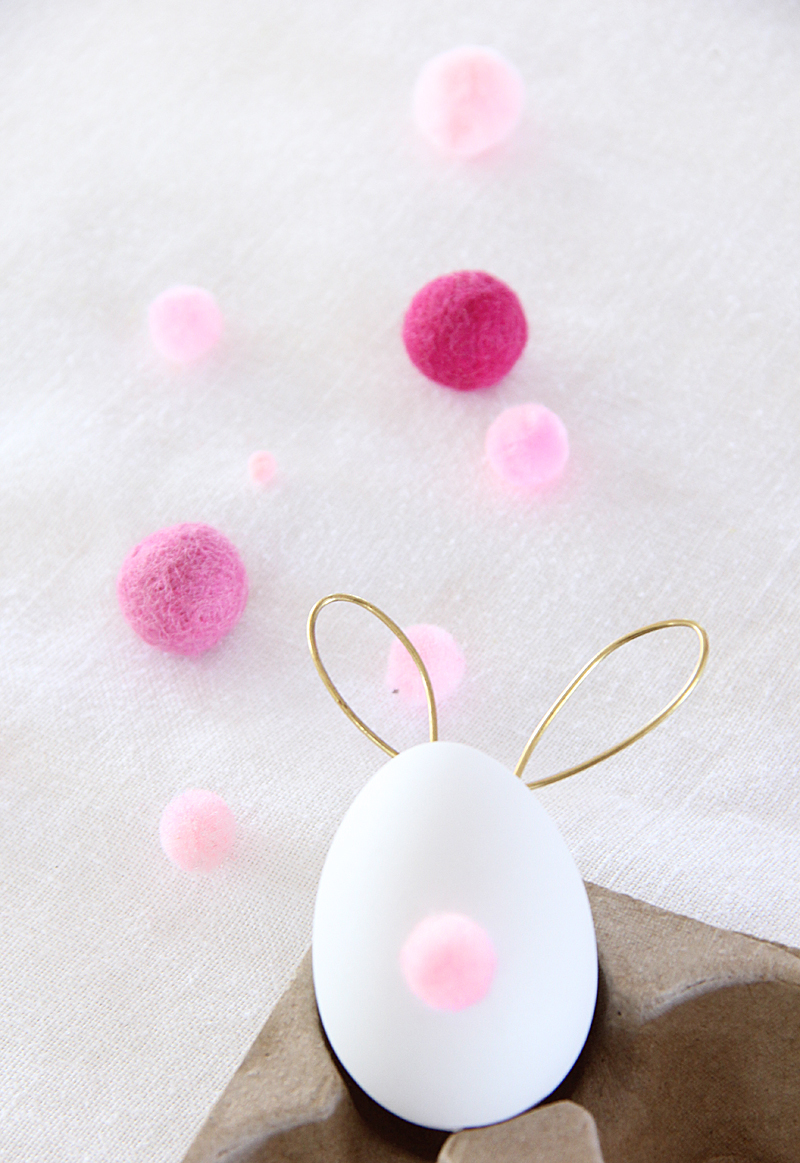
Variations and tips: Try pipe cleaners for softer, kid-friendly ears; use colorful pom-poms for a playful look; or pair the bunny eggs with faux grass in a decorative bowl for an instant Easter vignette.
No comments
Write a comment