DIY Bunny Bobble-Head Spool Dolls — Easy Step-by-Step Tutorial
Make charming Bunny Bobble-Head Spool Dolls using simple, inexpensive supplies. This beginner-friendly craft is perfect for Easter decorations, gifts, or a playful shelf accent. The instructions below walk you through printing and coloring ear templates, forming and covering the head, and creating a springy bobble mechanism with a pipe cleaner and spool.
Bunny Bobble-Head Spool Dolls are absolutely adorable and perfect for adding a touch of whimsy to any space! These dolls are sure to bring a smile to your face. They make wonderful decorations for Easter or any time of the year. Handcrafted with love and attention to detail, Bunny Bobble-Head Spool Dolls are a delightful addition to any collection or a thoughtful gift for a friend who adores all things cute and cuddly.
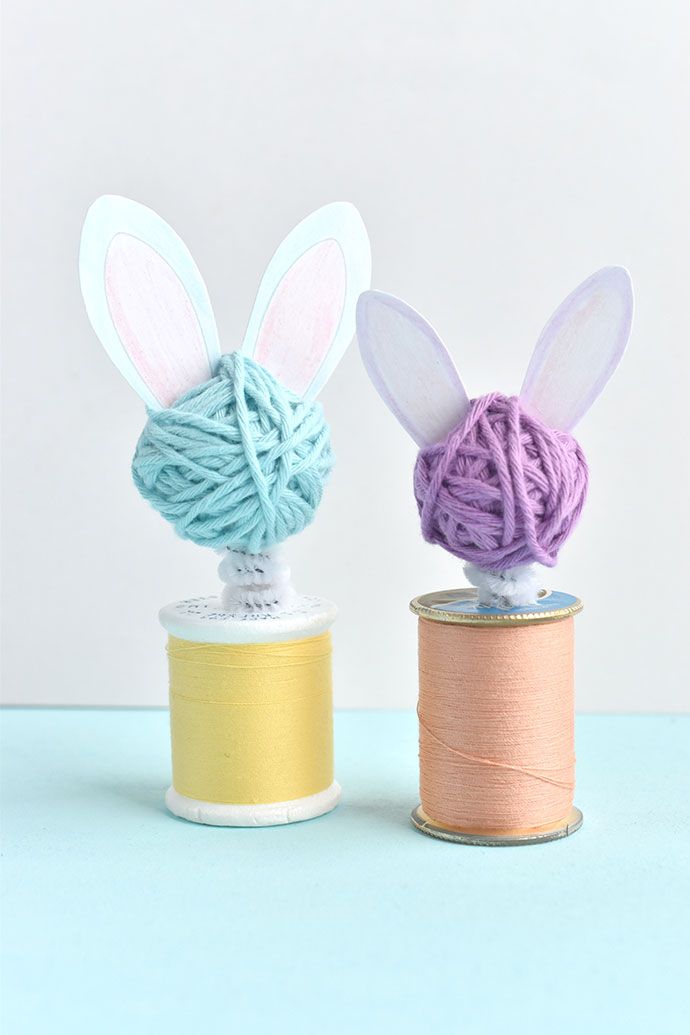
Materials:
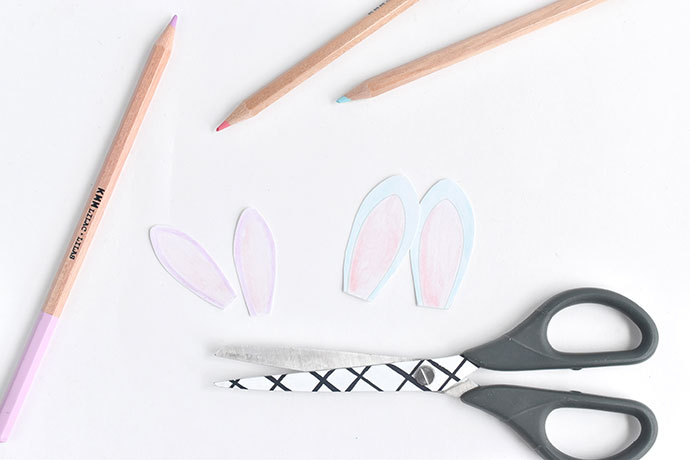
- Card Stock
- Colored Pencils or Other Coloring Tools
- Scissors
- 1 to 1-1/4″ Foam Ball
- Craft Knife
- Craft Glue
- Yarn
- Spool
- Pipe Cleaner
- Printable bunny ears
Steps:
Step 1
Print the PDF ears template on card stock. If you’re using a smaller foam ball for the head, you can cut the ears on the inside line.
Color the ears. For the smaller version, draw your own line for the inside and outside of the ears.
Step 2
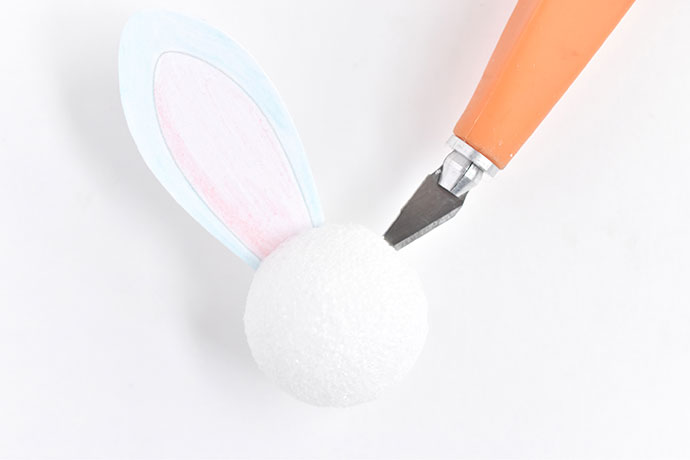
Use a craft knife to make two small slits in the top of the foam ball. Slide the ears in the slits, leaving a small gap between the ears.
If you don’t have a foam ball, you can also use a ping pong ball. It’s a little larger than the foam balls shown here, but that just makes it a little more comical! A tiny ball of yarn works too, but it’s harder to attach the ears.
Step 3
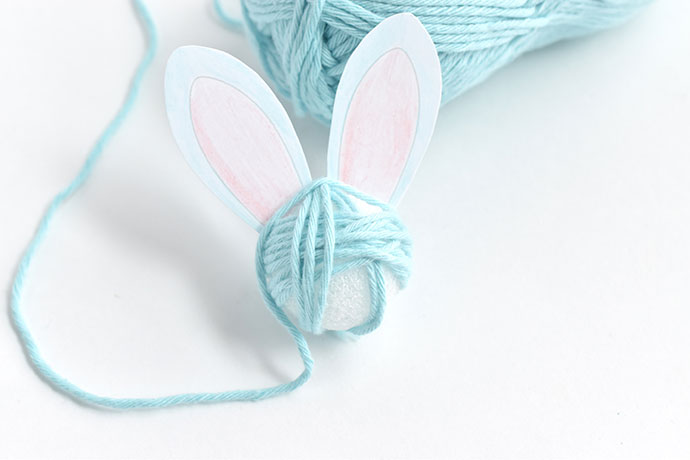
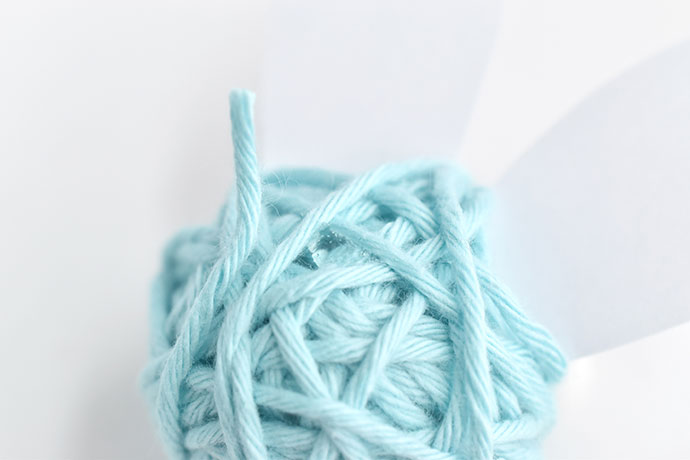
Start wrapping the yarn around the foam ball. Wrap in different directions, including around and between the ears. Try to cover as much of the ball as you can, but it doesn’t have to be solid.
If you don’t have yarn or you’d like to decorate your bunny bobblehead differently, you can also paint the foam ball instead of wrapping it! Use acrylic paint in whatever spring bunny color you like!
Step 4
Trim the yarn and use a bit of glue on the back to secure the end. You can also tuck the end under a few wraps of the yarn.
Step 5
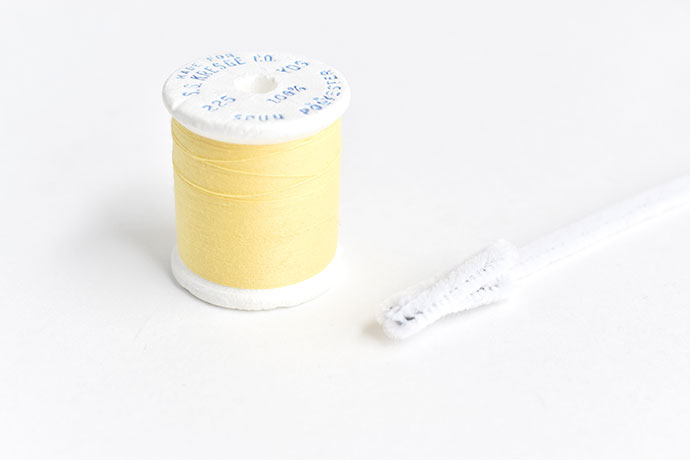
Fold the end of a pipe cleaner so it’s the height of your spool. Then fold it a few more times so it’s thick enough to stay secure in the middle of the spool.
If you don’t have a thread spool, you can also use a cork. For this, use a skewer to make a hole in the cork, then stick the end of the pipe cleaner securely in the cork.
Step 6
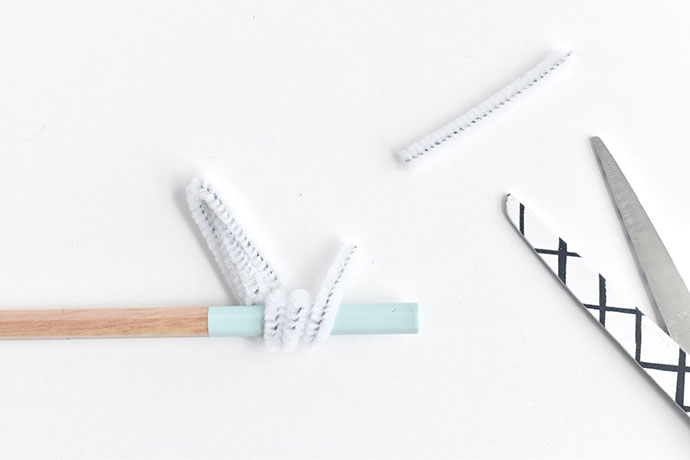
Wrap the pipe cleaner around a pencil 2 or 3 times to make a small spring. The spring part should be right above the folded end (or the top of the cork if you’re using that).
Trim the other end of the pipe cleaner so there’s about 1/2″ extending past the spring.
Step 7
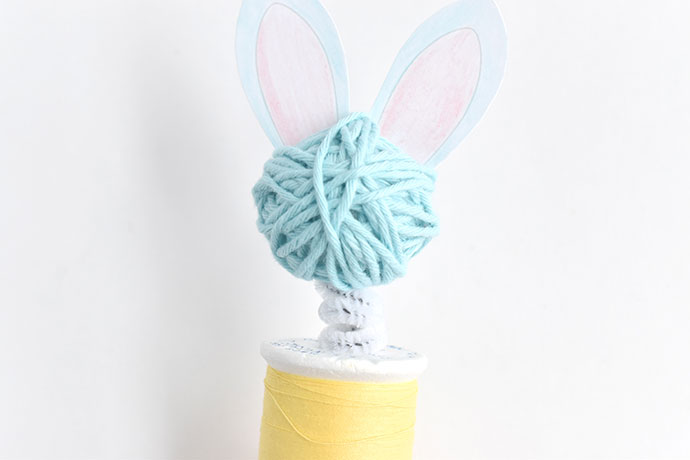
Bend the ends so you can insert the folded part in the spool and the other end in the bottom of the foam ball head. You may need to push some of the yarn aside a little, but you should be able to easily slide the pipe cleaner in place.
If you used a ping pong ball, you’ll need to make a small hole in the bottom with a pin.
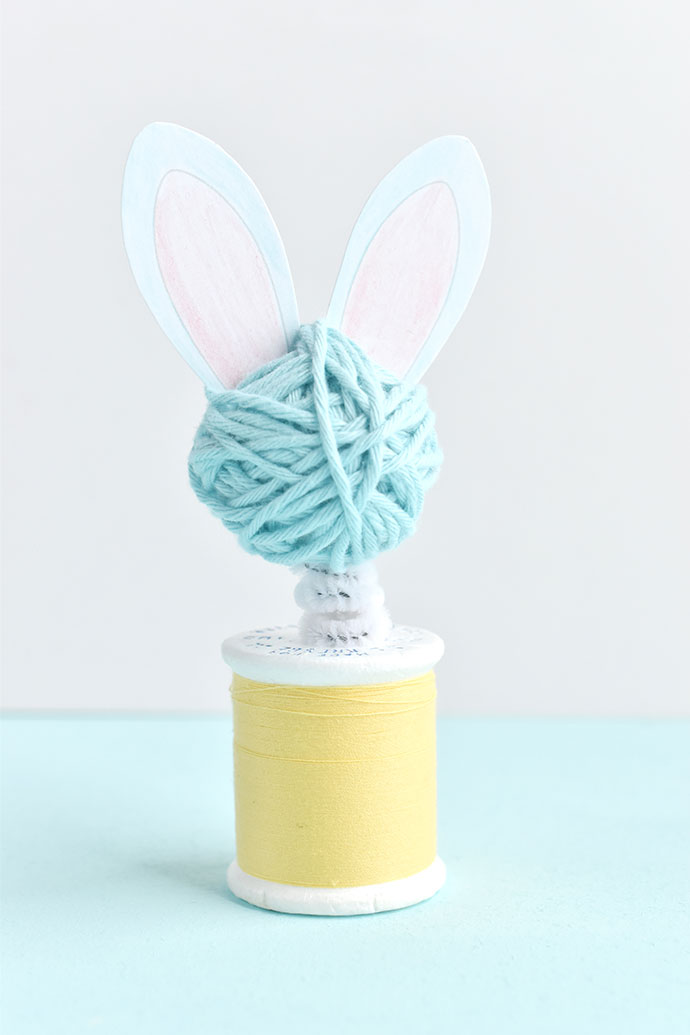
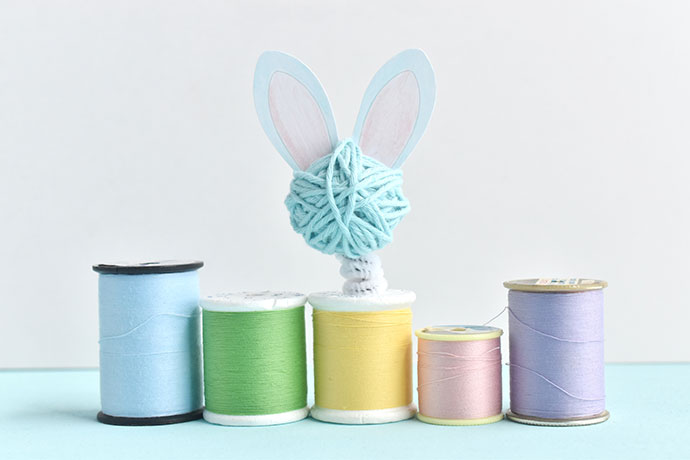
Now your bunny bobblehead is all finished and ready for you to try out! Give its head a little wobble and watch it bobble!
Grab a few more spools and foam balls and make some more bunny buddies!