DIY Flamingo Egg: Easy Step-by-Step Guide for Cute Easter Decorations
Create a charming DIY flamingo egg with just a few simple craft supplies. This quick project is perfect for Easter baskets, party decorations, or a fun afternoon craft with kids. Use plastic eggs or dye real eggs pink, then add pipe-cleaner legs, feathers for wings, and a tiny bead for an eye to bring your flamingo to life.
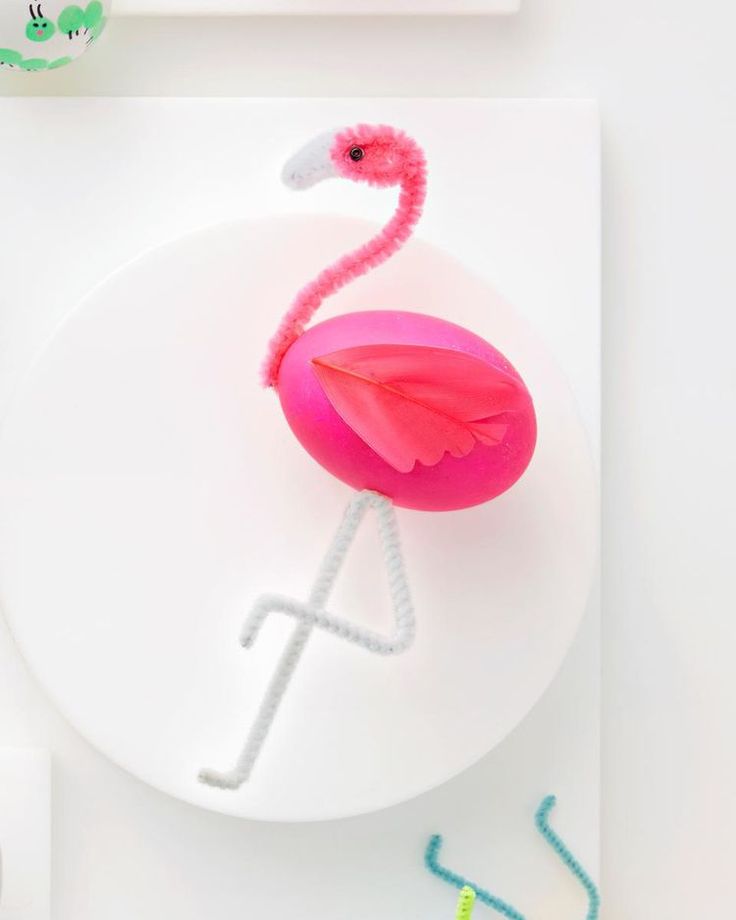
Materials
- Plastic eggs or real eggs dyed pink (food coloring)
- White craft glue or hot glue (use adult supervision for hot glue)
- Pipe cleaners (for neck and legs)
- Feathers for wings
- Small black bead or googly eye
- Beads, pom-poms or other small embellishments (optional)
Steps
- If using real eggs, dye them pink with food coloring and let them dry completely. Plastic eggs in pink are a quick alternative and last longer as decorations.
- Shape a pipe cleaner into a long curved neck and a small loop or head shape at the top. Use another pipe cleaner cut into two pieces for the legs and bend the ends slightly to suggest feet.
- Apply a small amount of glue where the neck and legs will attach and press them onto the egg. Hold briefly until secure. For plastic eggs, a stronger craft glue or hot glue works well (use caution).
- Glue feathers to each side of the egg to form wings. Trim feathers if needed so they sit neatly against the egg.
- Glue a small black bead or a googly eye onto the head area for the flamingo’s eye. Add any extra beads or pom-poms for decoration.
Finishing tips
- For a sturdier display, use plastic or blown-out eggs rather than raw eggs.
- Try variations: different feather colors, glitter accents, or tiny bows to personalize each flamingo.
- Supervise children when using small beads or when hot glue is involved.
Have fun crafting—these little flamingo eggs make a whimsical addition to seasonal décor or a handmade gift for friends and family.
No comments
Write a comment