Bright DIY Easter Wreath from Sticky Notes — Easy Step-by-Step
Make a vibrant, budget-friendly Easter wreath using nothing more than colorful sticky notes and a cardboard backing. This quick craft creates a full, petal-like wreath that looks great on a door or wall and is easy enough for kids to help with. Below you'll find a clear materials list, tools, and step-by-step instructions with photos for each stage.
Materials
- Sticky notes (assorted colors)
- Cardboard (for the wreath backing)
- Twine (for hanging)
- Bird ornament or other small decoration (optional)
Tools
- Scissors
- Scalpel or precision knife (recommended for cutting the inner circle)
- Hot glue and glue gun
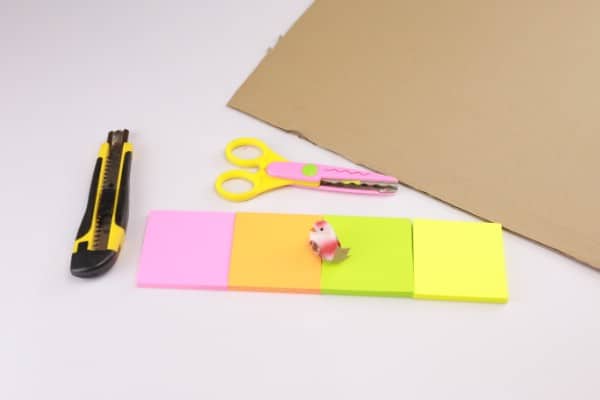
Colorful sticky notes and cardboard ready for your wreath project.
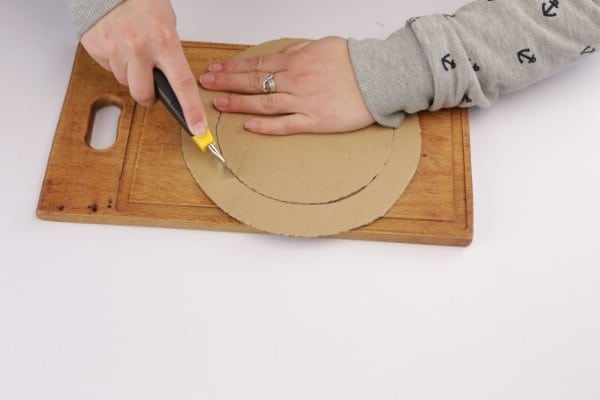
You will begin by cutting the wreath shape from cardboard. Choose the overall diameter you want and cut out a ring shape with a hole in the center. A larger hole will give a more open wreath; a smaller hole will make it look fuller.
Even though you can use scissors for the outer edge, cutting the inner circle cleanly is easier with a scalpel or precision knife. Take care and work on a cutting mat if possible.
Cut a cardboard ring to serve as the wreath backing. A precision knife helps for the inner cut.
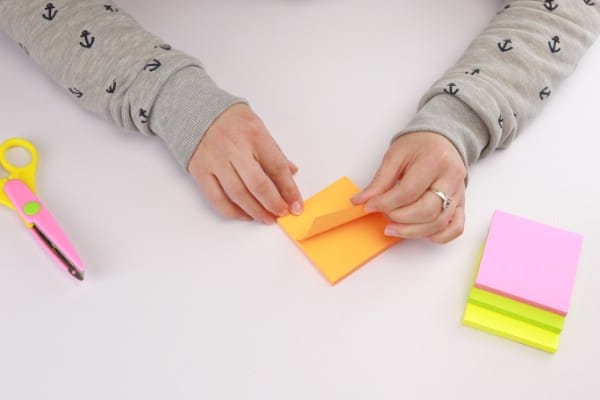
Fold each sticky note into a small cone — the corner becomes the petal point.
Your next step is to fold a bunch of sticky notes into cone shapes. Roll each note so one corner becomes the point of the cone and the opposite corner protrudes slightly to form a petal-like tip.
One advantage of sticky notes is that the adhesive edge can hold each cone together without extra glue. If you prefer extra security, add a dab of hot glue to keep cones closed.
For a decorative touch, you can scallop the outer edge of each sticky note before or after folding to create petal texture.
Scalloped edges give each cone a petal-like texture for a more decorative wreath.
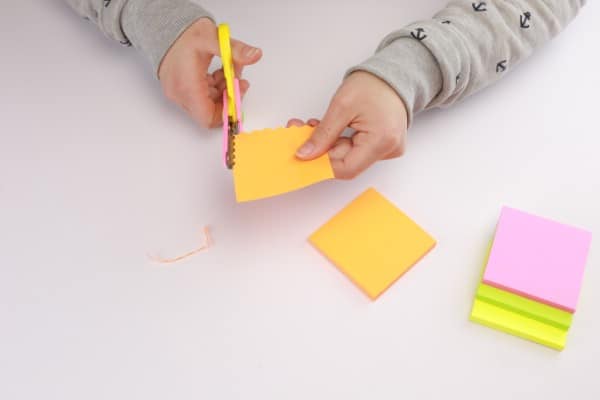
Make many cones in different colors — you'll need enough to cover the cardboard ring in layers.
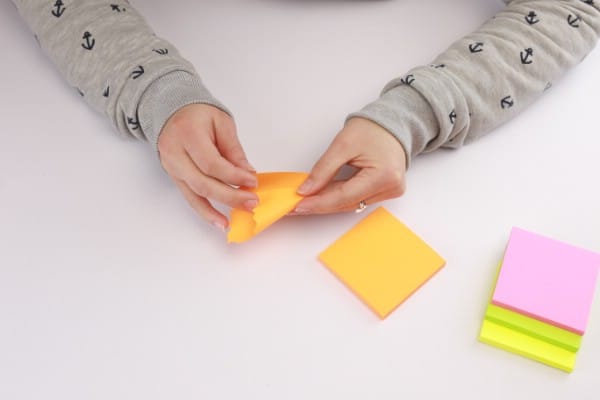
Arrange cones around the ring to plan color placement before gluing.
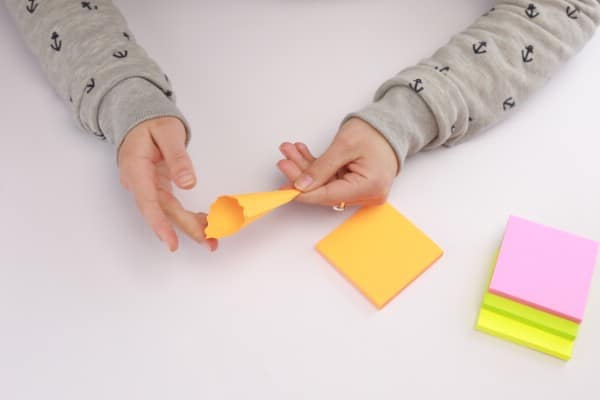
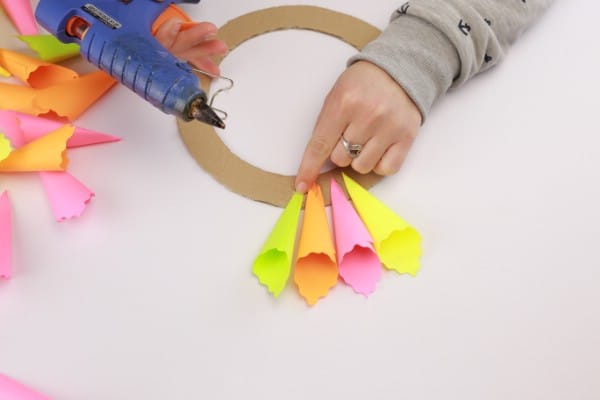
Use hot glue to attach the first layer of cones to the cardboard backing.

Glue a full ring of cones as the base layer around the cardboard.
The next step is to glue a ring of sticky note cones all the way around the cardboard wreath backing you created earlier.
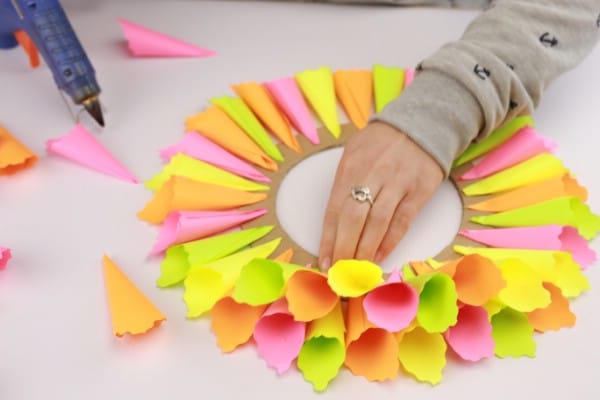
After you have created that first layer, glue on a second layer on top of it. Position each cone in the second layer between two cones below it. This overlapping placement fills gaps and creates a fuller, dimensional effect.
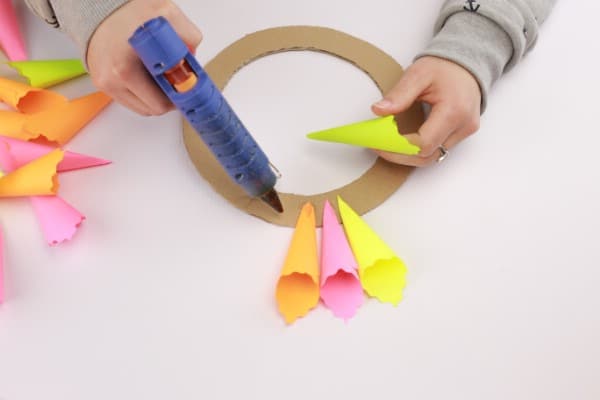
Add a second layer, tucking each cone between two below it to eliminate gaps.
Layering gives the wreath a lush, petal-filled look.
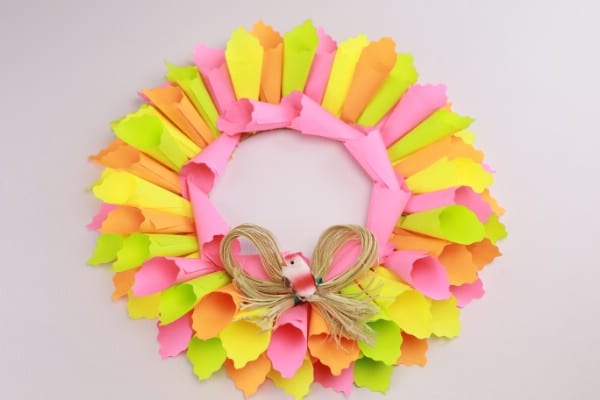
Attach twine to the back for hanging; embellish with a bird ornament or ribbon if desired.
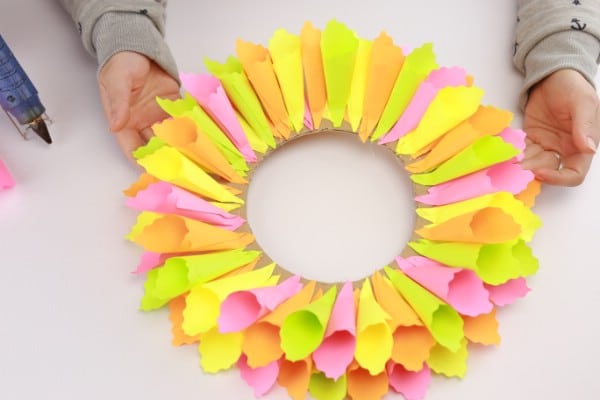
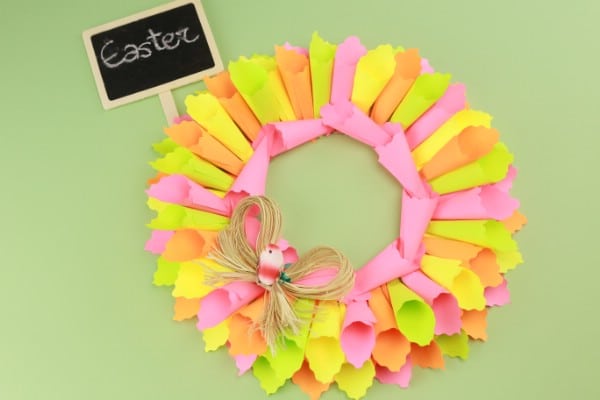
The completed wreath — bright, lightweight, and festive for Easter.
Close-up view of the colorful sticky note petals and scalloped edges.
Here is what your completed wreath should look like. As you can see, it is simply stunning.
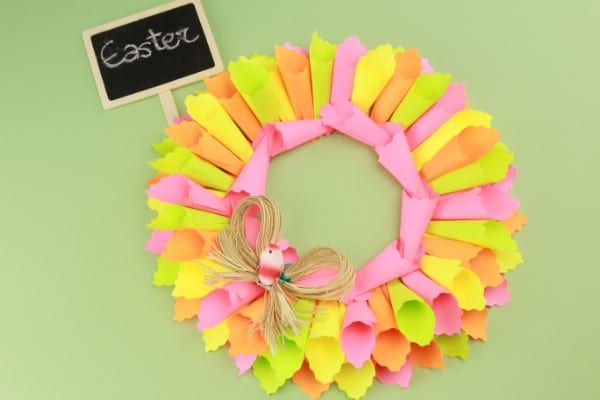
A bright Easter wreath made entirely from sticky notes — perfect for seasonal decor.
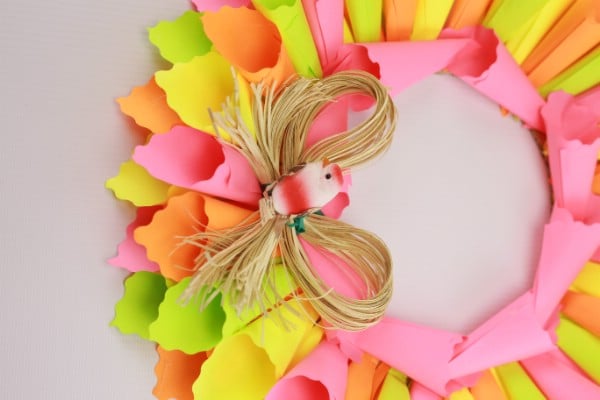
Add a small ornament such as a bird or bow to personalize the wreath.