DIY Fabergé-Style Egg Gift Boxes: Gold Paper & Ribbon Step-by-Step Tutorial
Give your gifts an unforgettable presentation with these DIY Fabergé-style egg gift boxes. This project transforms simple 3-inch oval paper mâché boxes into elegant, jewel-like containers using metallic paper, ribbons, beads and rhinestones. The steps are straightforward and ideal for crafters with basic glue-and-cutting experience.
Difficulty – Medium • Makes one 3-inch oval box
Materials
- 3 inch oval paper mache box (paper mache boxes can be found at your local craft store)
- Gold metallic scrapbooking or craft paper
- 1/2 inch wide black and gold patterned ribbon
- 1/8 inch wide gold ribbon
- 10 flat gold beads
- 8 clear rhinestones
- 2 black rhinestones
- Scissors (for cutting paper and ribbon)
- Glue Stick (for attaching scrapbooking paper)
- Craft Glue (for gluing ribbon, rhinestones and beads)
How to Make Fabergé Eggs Gold Gift Box
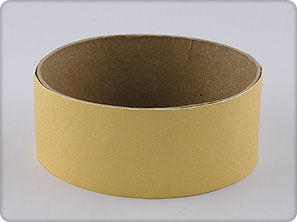
- Measure and cut: Cut a piece of the gold metallic craft paper the entire length plus 1/4 inch and the exact height of the side of the oval box lid. Cut another piece the entire length plus 1/4 inch and the exact height of the bottom side of the oval box.
- Attach side paper: Apply glue to the wrong side of the craft paper, especially around the edges. Attach the paper to the side of the box, lining up the top and bottom edges and overlapping the edges on the narrow part of the oval. Repeat for the bottom part of the box.
- Top and bottom ovals: Use the lid of the box to trace the oval shape onto the wrong side of the gold craft paper. Cut out the shape. Trace the oval shape of the bottom part of the box onto the wrong side of the gold craft paper and cut out.
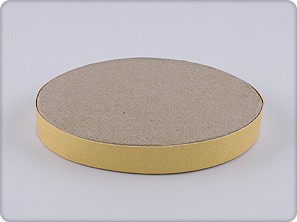
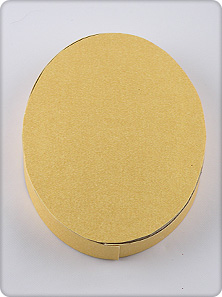
- Glue ovals in place: Apply glue to the wrong side of the craft paper oval traced from the lid. Attach the paper to the top of the box, lining up all of the edges. Repeat with the bottom part of the box.
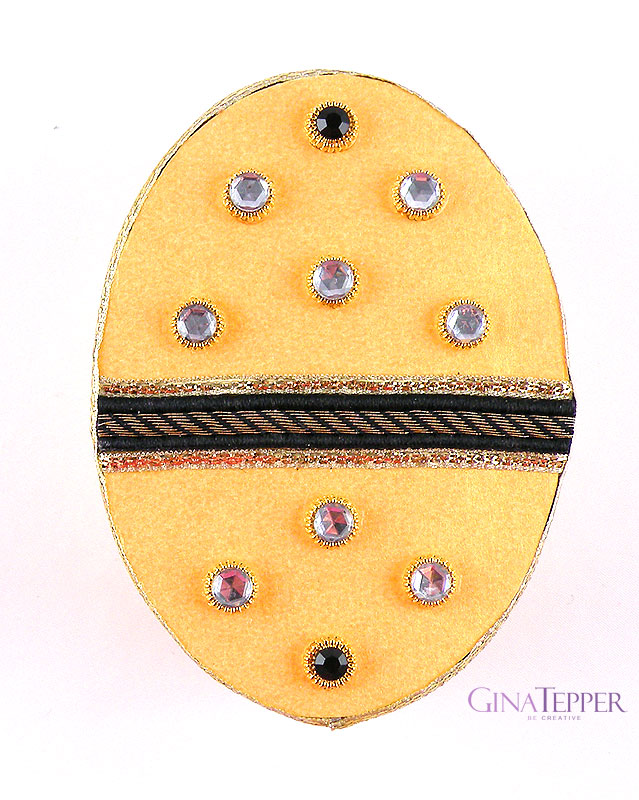
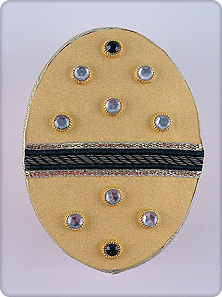
- Add ribbon detail on lid: Cut one piece of the black ribbon and two pieces of the gold ribbon the entire width of the center top of the oval box lid. Using craft glue, attach the black ribbon centered on the top of the oval lid and glue the two pieces of gold ribbon on the top and bottom edges of the black ribbon. Small amounts of glue can be added to the cut edges of each side of the ribbon to prevent fraying.
- Wrap lid sides: Cut two pieces of the gold ribbon long enough to wrap around the sides of the box lid. Apply glue to the gold ribbon and attach it to the top and bottom sides of the box starting where the craft paper overlaps on the end of the box. Cut a piece of gold ribbon the height of the box lid and glue it over the seam where the craft paper and ribbon ends meet to hide the seam.
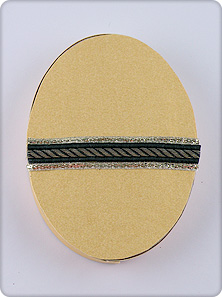
- Wrap base: Cut one piece of the gold ribbon long enough to wrap around the sides of the bottom part of the box. Apply glue to the gold ribbon and attach it to the bottom edge of the box starting where the craft paper overlaps on the end of the box. Cut a piece of gold ribbon the height of the bottom of the box and glue it over the seam where the craft paper and ribbon ends meet.
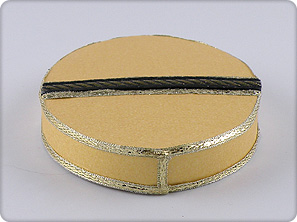
- Prepare bead accents: Using craft glue, attach one clear rhinestone on top of the hole of each of the flat gold beads. Repeat with the two black rhinestones. Let dry.
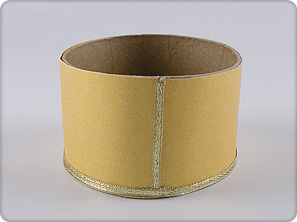
- Attach decorations: Using craft glue, attach the rhinestone-studded beads to the top of the box lid in your preferred arrangement. Allow everything to dry completely before handling.
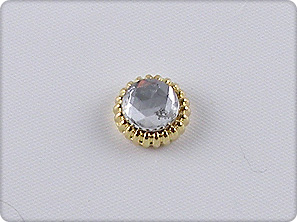
Troubleshooting tips: use a glue stick for the paper coverings to avoid wrinkles, and a stronger craft glue for ribbon and jewels. If ribbon edges fray, seal them with a small dab of clear-drying glue or a fray-preventing product. Customize colors and embellishments to match the occasion.
No comments
Write a comment