DIY Easter Bunny Napkin Place Settings — Easy Step-by-Step Fold & Basket Tutorial
Make your spring table extra charming with these simple Easter Bunny napkin place settings. This quick DIY transforms cloth napkins into cute bunny figures that sit in a folded napkin "basket"—perfect for holding small treats and greeting guests with a whimsical touch.
You'll need: cloth napkins, tape, glue (or fabric glue), and small craft eyes and a nose (or draw them on). Follow the step-by-step photos below to fold the bunny and create the napkin basket.
1. Start out with a rectangle. Fold it in half so it becomes a square. Then, unfold it. Fold it over itself the other way so that it forms a narrower rectangle.
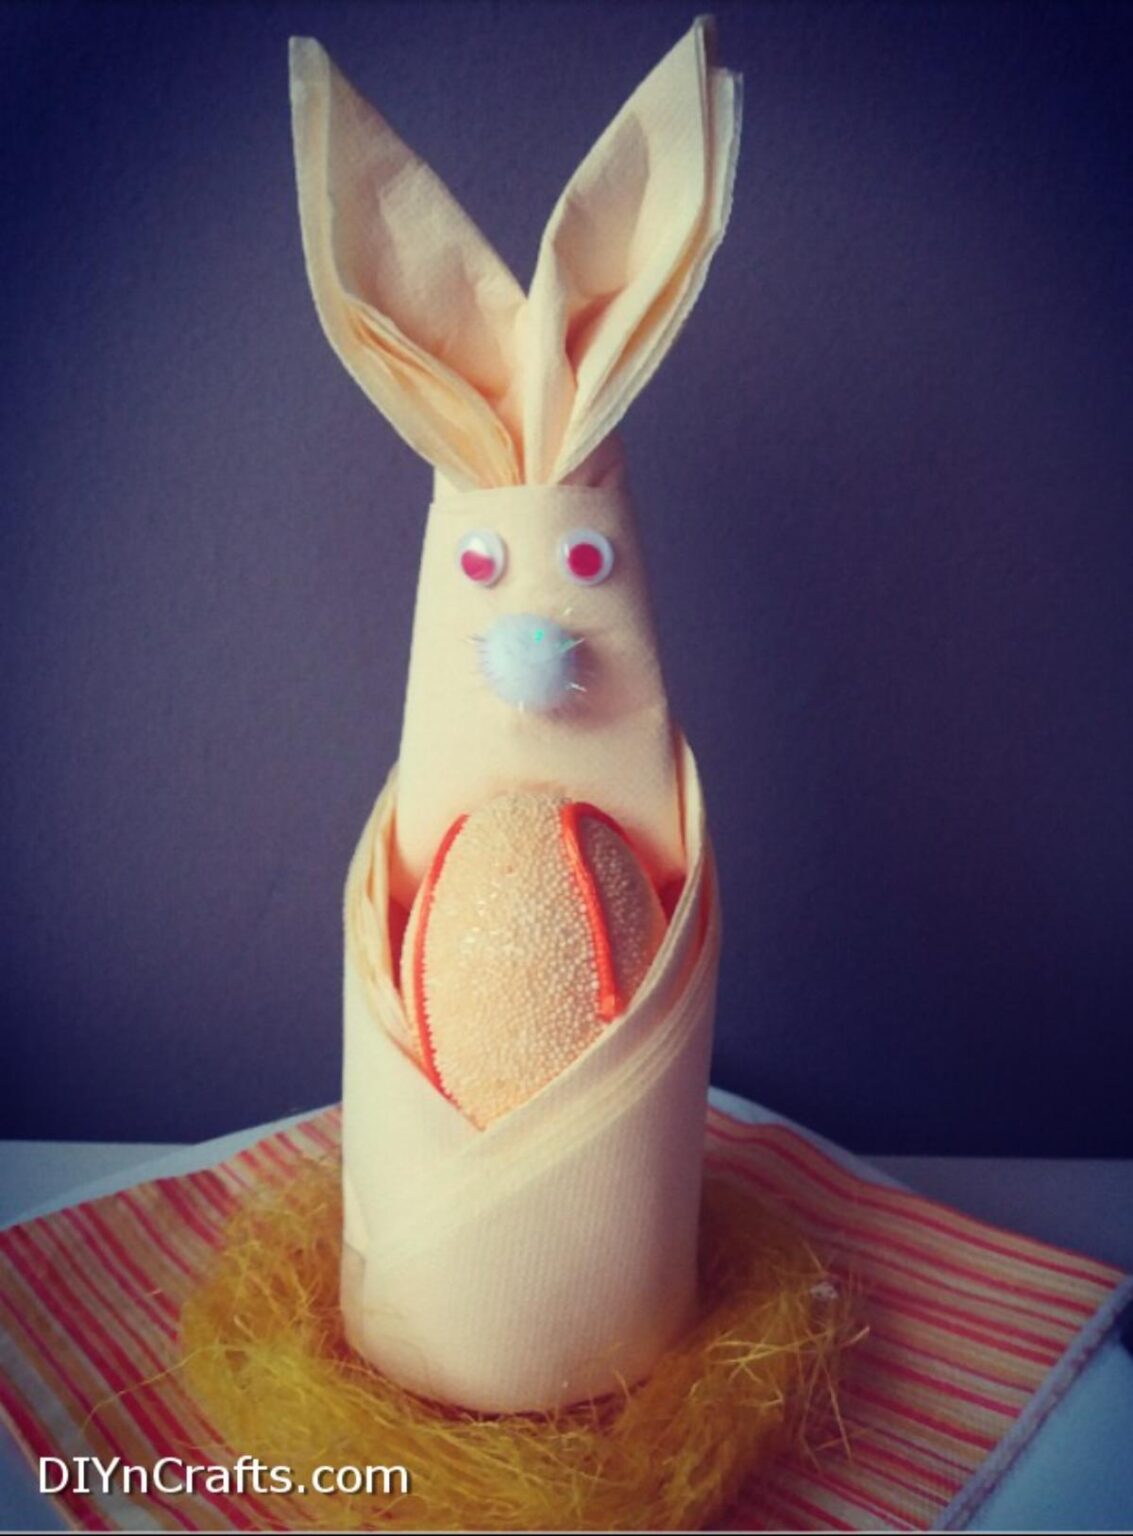
Caption: Finished Easter Bunny place setting ready on a plate.
2. Fold up both sides along the centerline and press down to flatten it.
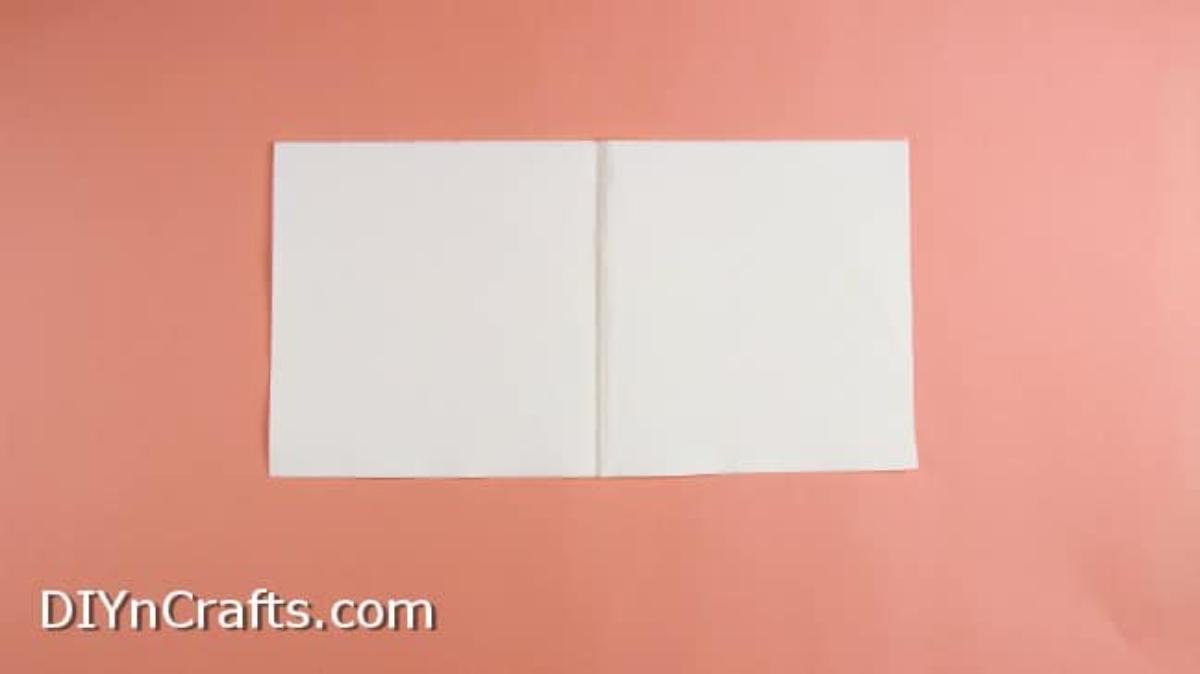
Caption: Step 1 — fold the rectangle into a square, then into a narrow rectangle.
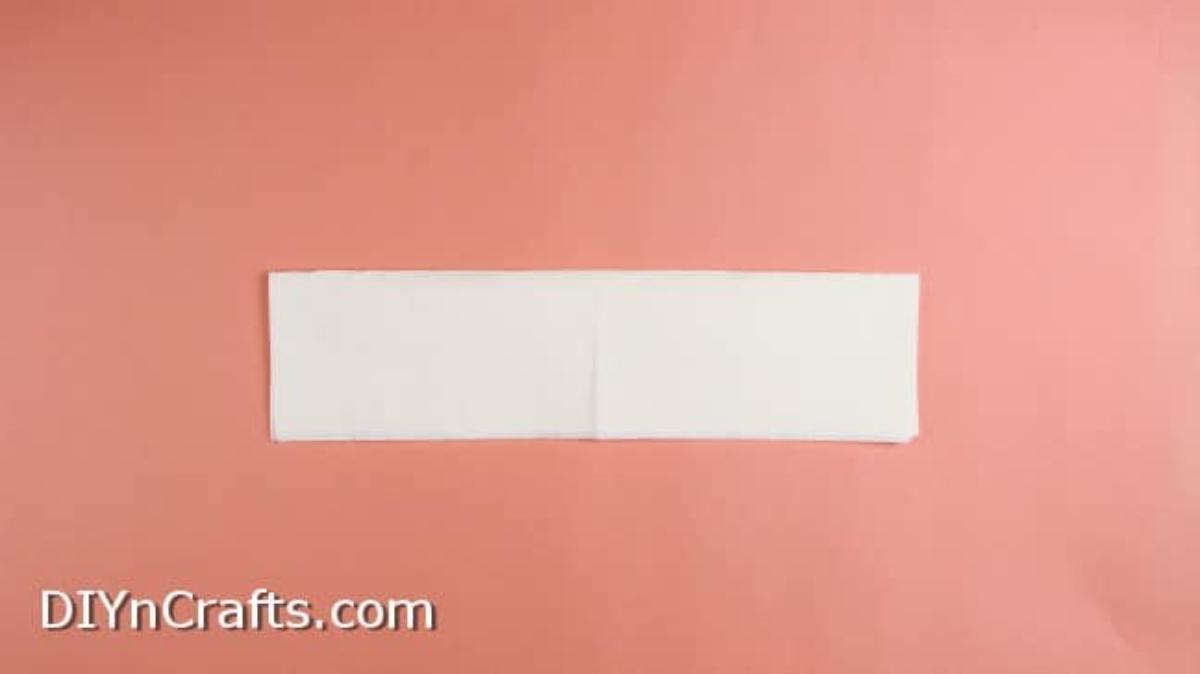
Caption: Step 1 continued — narrow rectangle formed.
3. Now, fold the top corners down so that you have a diamond shape like this:
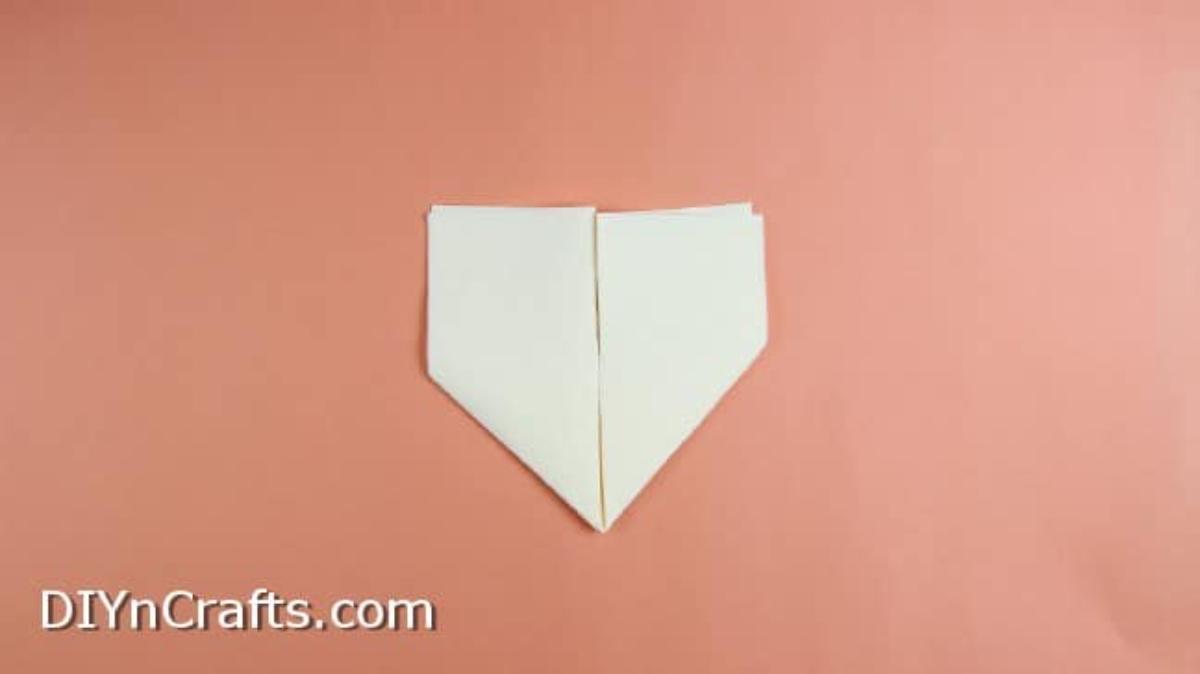
Caption: Step 3 — top corners folded down to form a diamond.
4. Fold the sides down so that you get a kite shape:
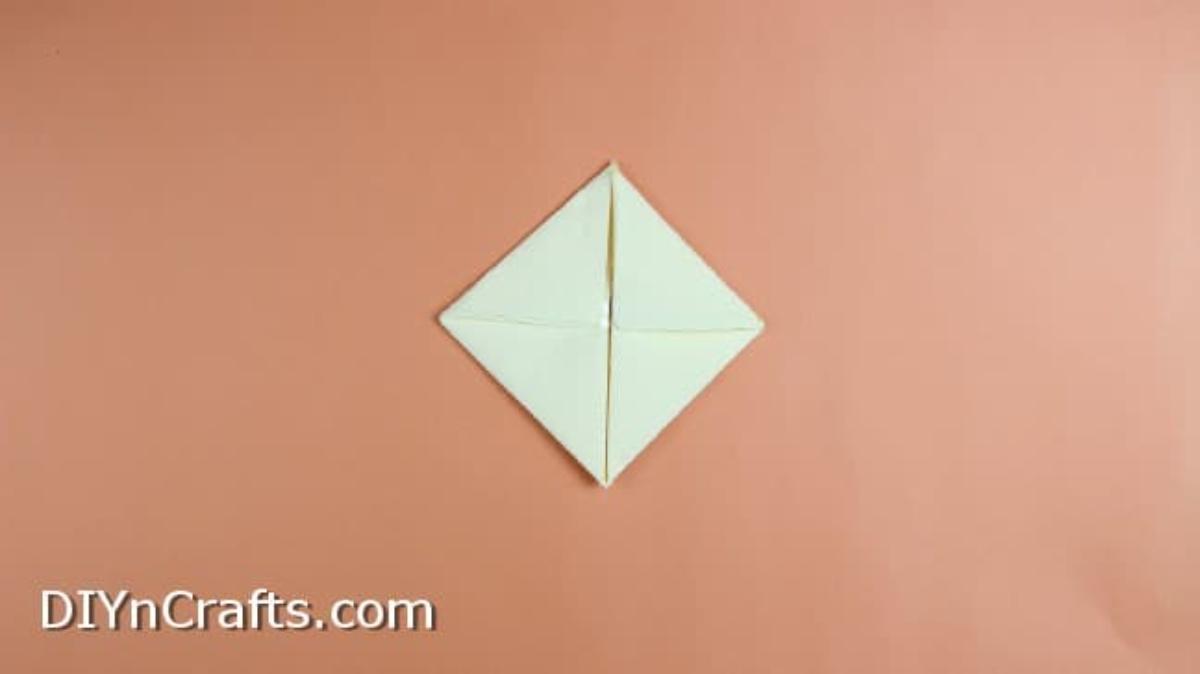
Caption: Step 4 — sides folded down into a kite shape.
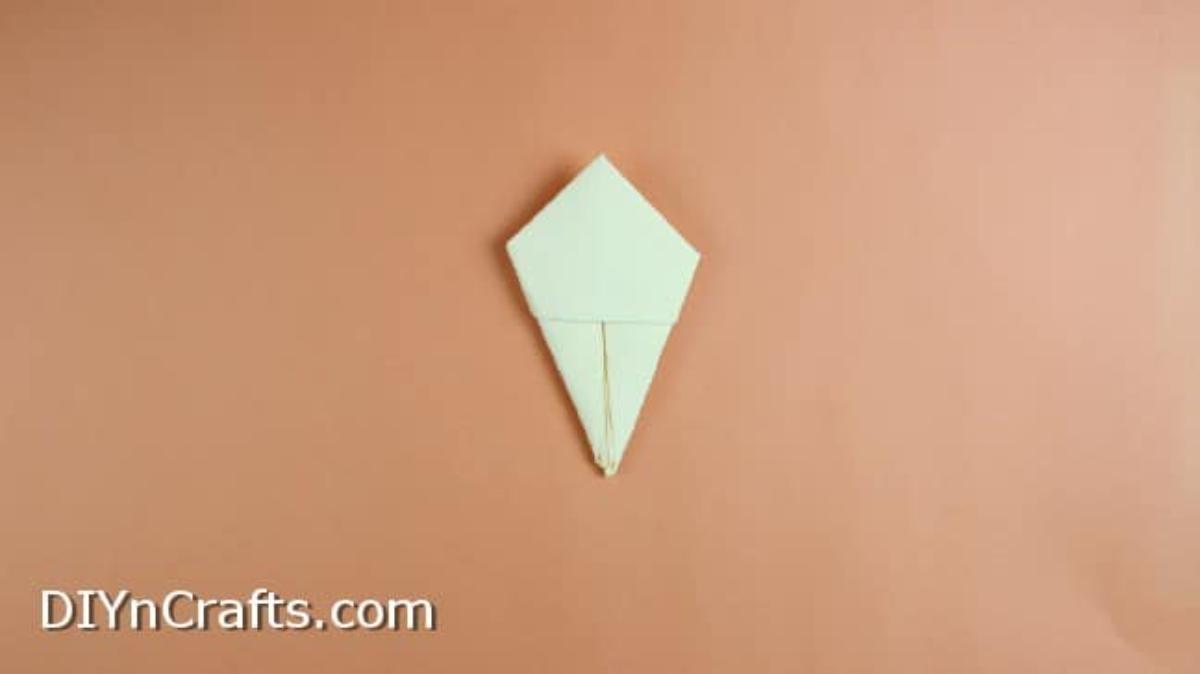
5. Turn it over, and you should see a shape a bit like this:
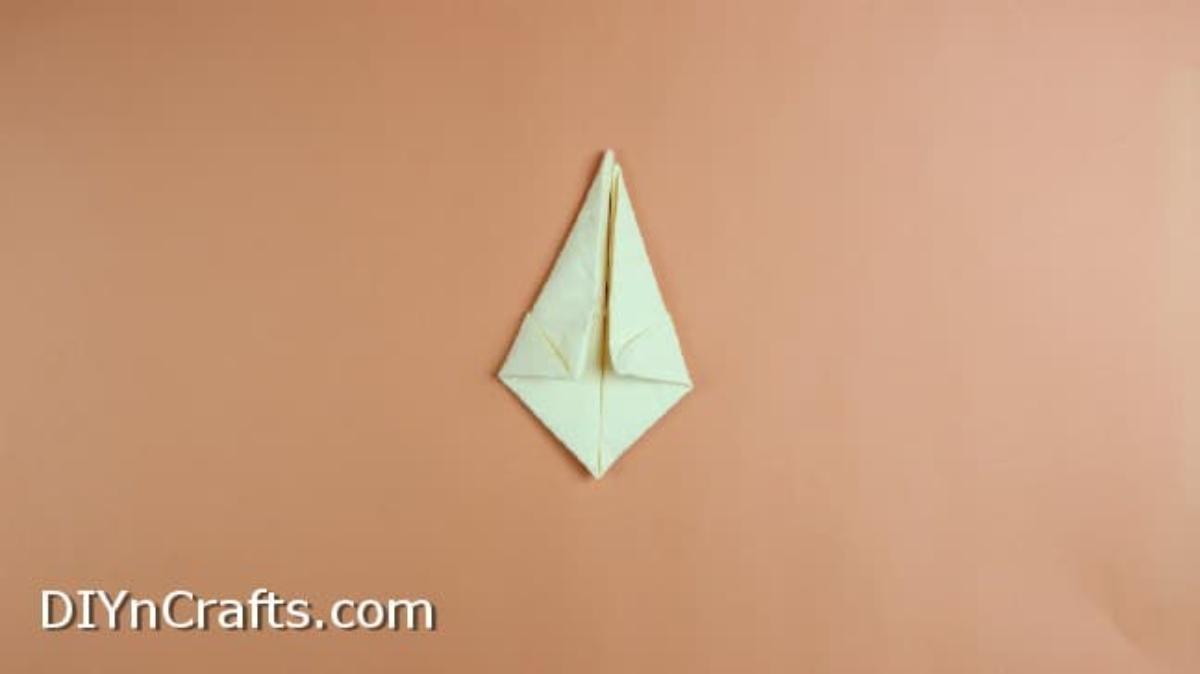
Caption: Step 5 — flipped over before forming the ears.
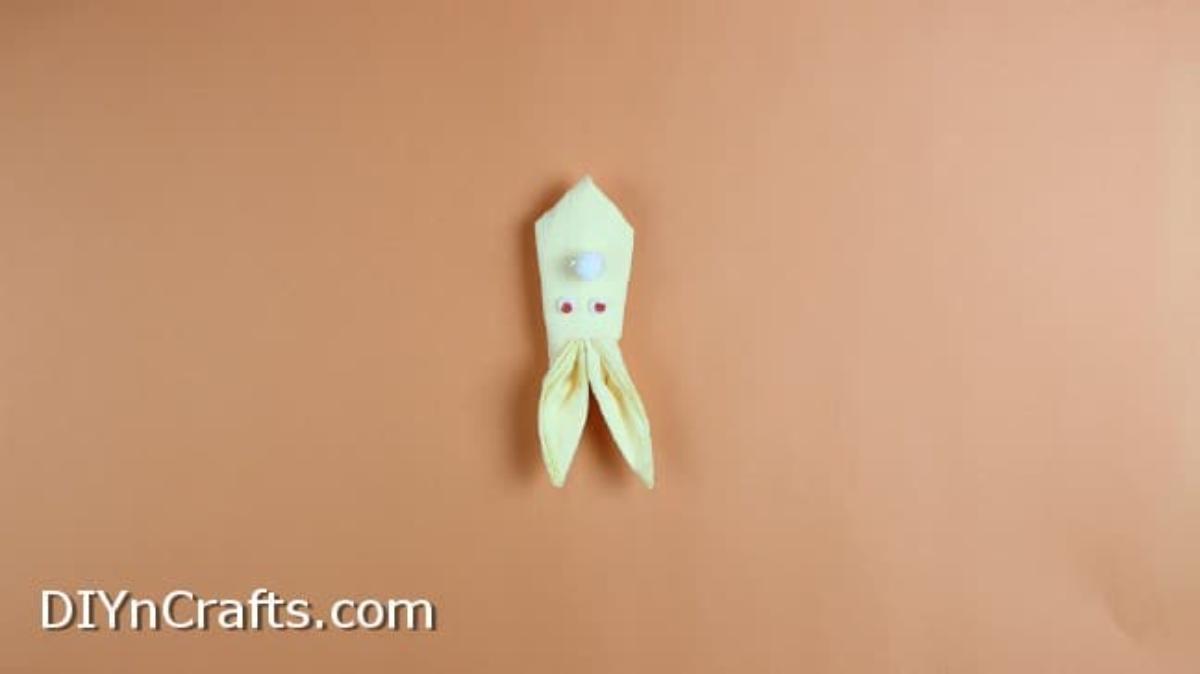
6. Fold it together down the middle loosely, and pull the “ears” out to either side a bit, opening them up a little so they look more like actual bunny ears. Put some tape on the other side to hold it all together.
7. Next, glue on the eyes and the nose.
Caption: Step 6–7 — bunny ears shaped and facial features attached.
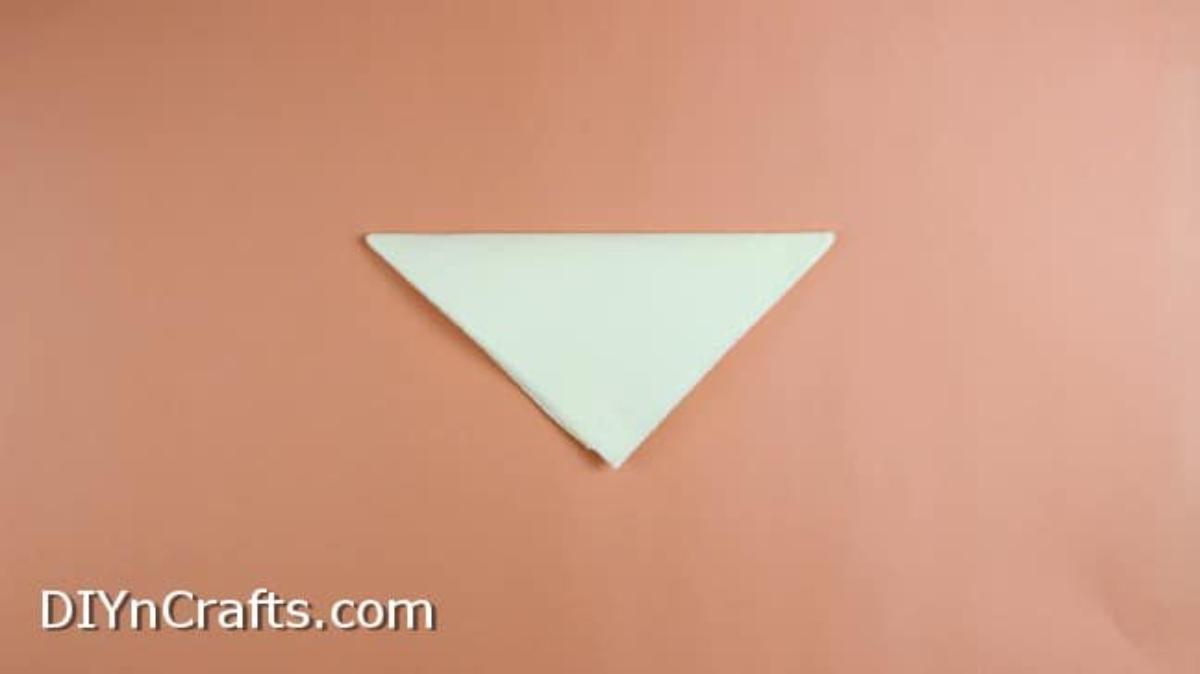
8. Set the bunny aside and grab a square napkin. Fold it in half diagonally so that you get a triangle.
Caption: Step 8 — fold a square napkin into a triangle to start the basket.
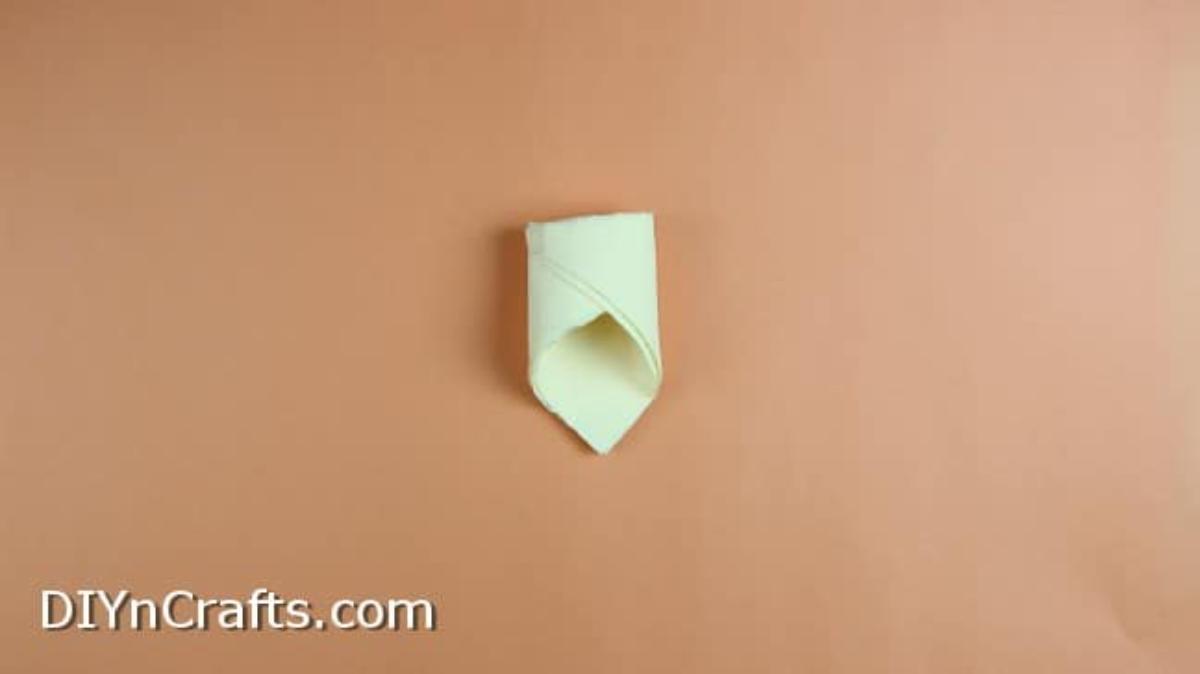
9. Pull the corners in on either side and tape them together so that you get an object like this:
Caption: Step 9 — corners pulled in and secured to form the napkin basket.
This is your basket.
10. Set the bunny inside the basket and prop them up on top of a plate. You can now put treats inside for your guests.
Caption: Place the bunny into the napkin basket, ready to sit on a plate.
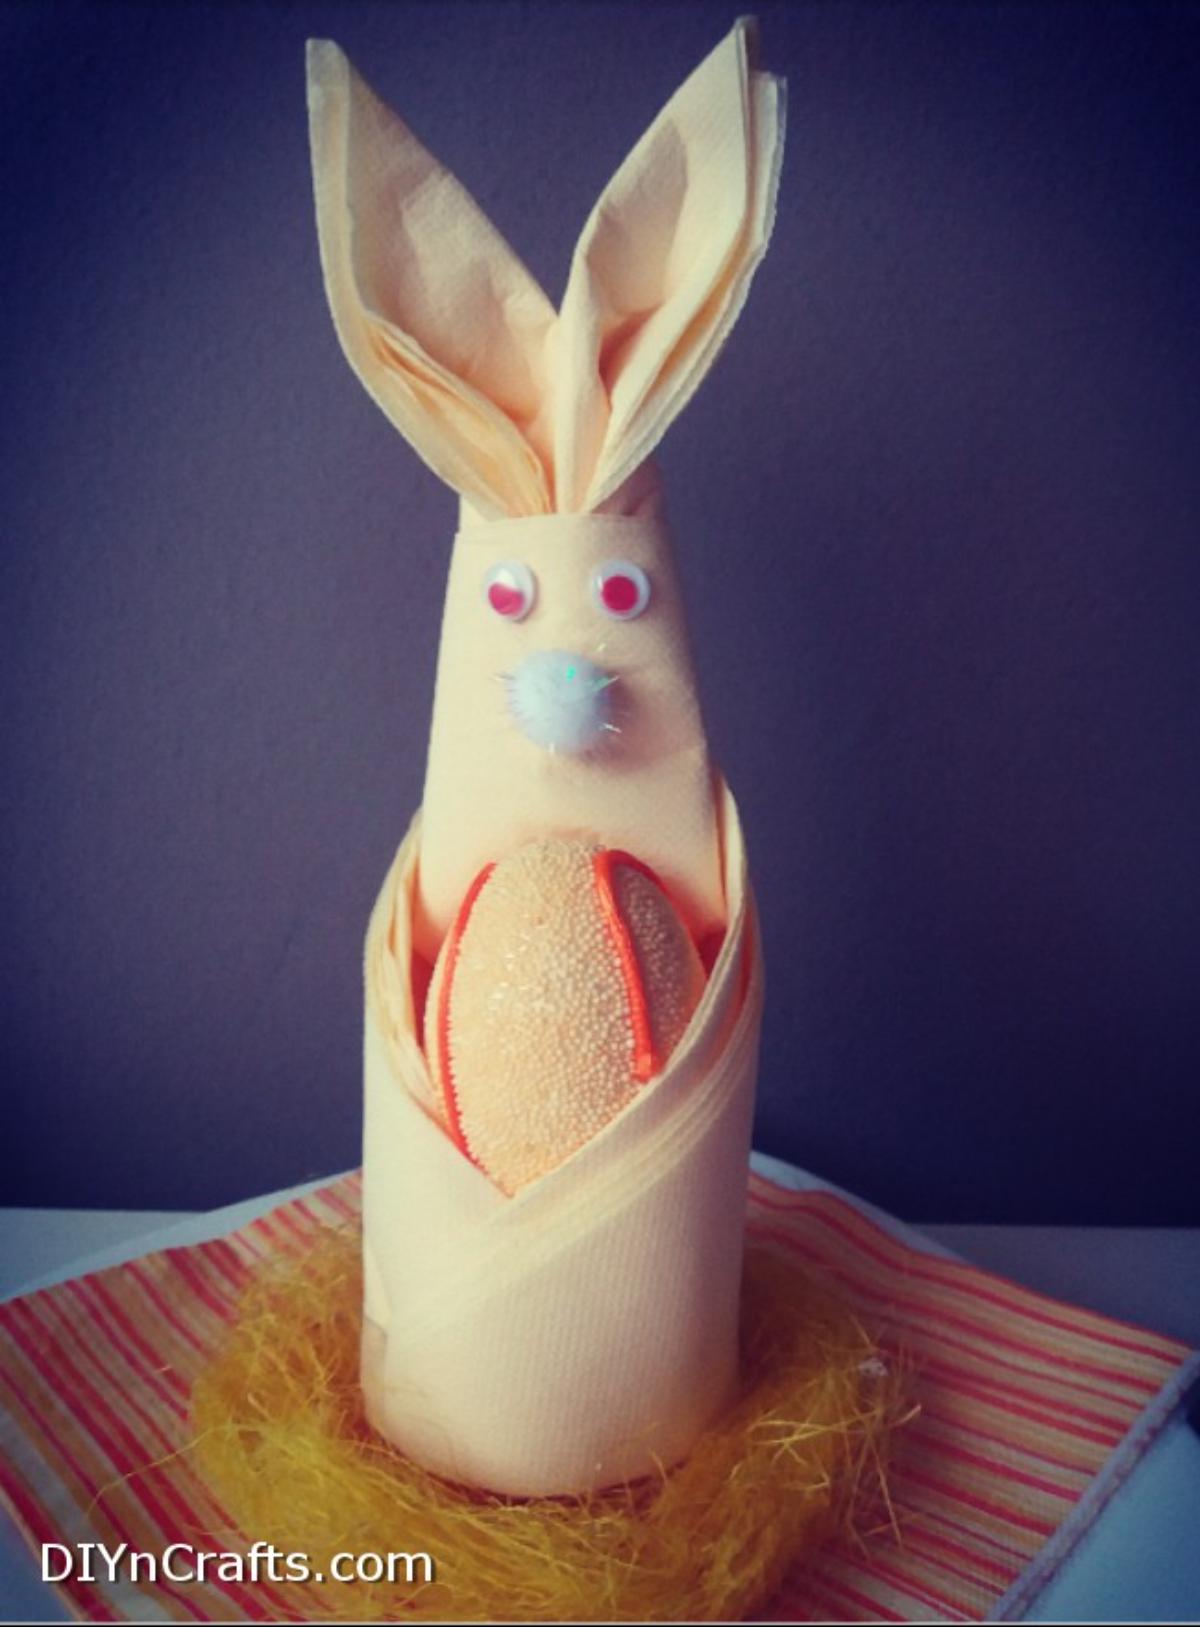
Caption: Final view — finished Easter Bunny napkin place setting with basket and treats.