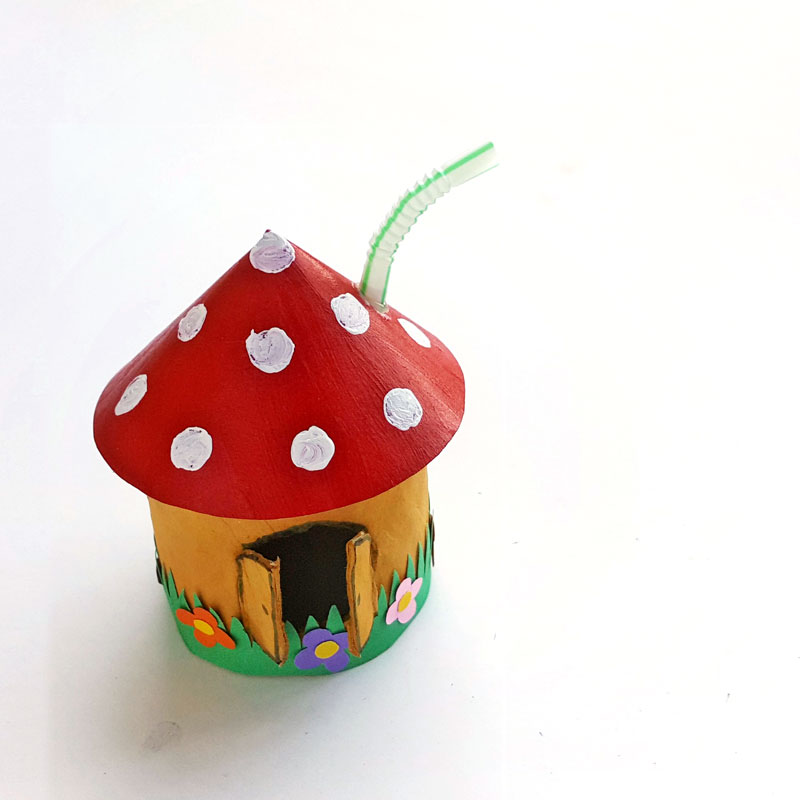
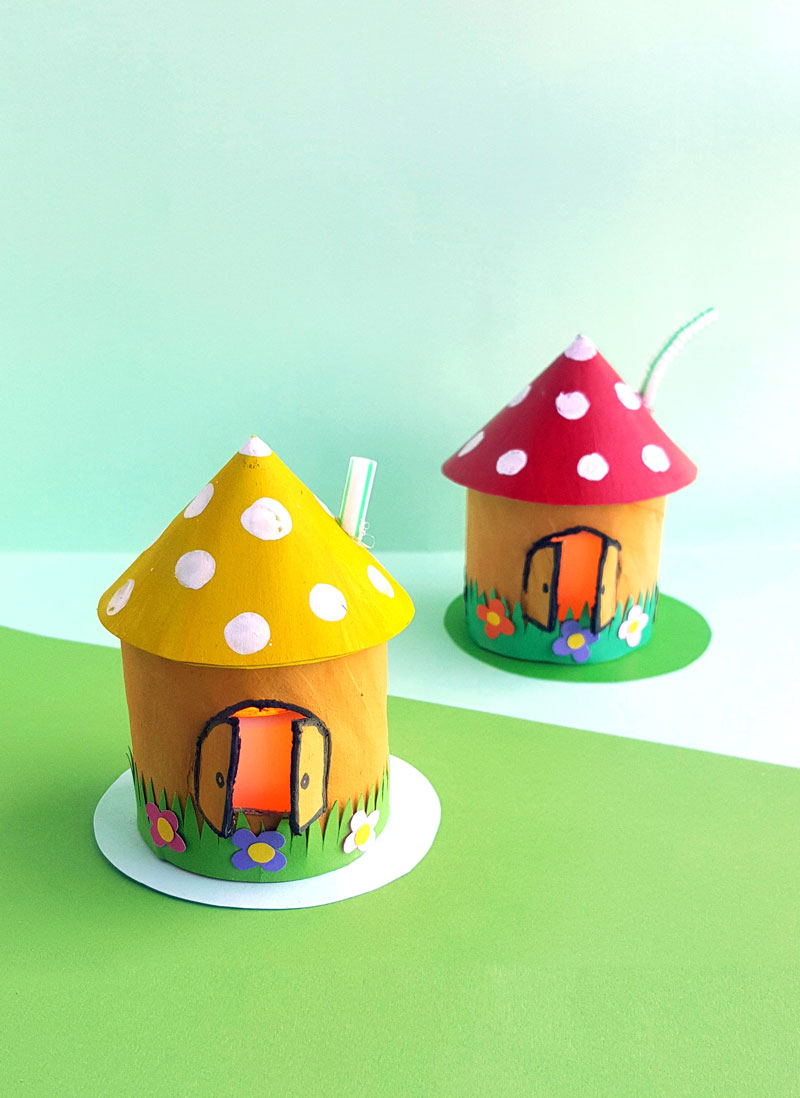
DIY Toadstool House Lantern — Easy Step-by-Step Craft for a Magical Garden Light
Add a whimsical touch to your garden or patio with this easy DIY Toadstool House Lantern. Made from simple craft supplies and a toilet paper roll, it creates a cozy, fairy-tale glow using an LED tea light. Follow the step-by-step photos below to build your own charming lantern — perfect for outdoor decor, tabletop centerpieces, or kid-friendly craft time.
What you need to make a toadstool house lantern:
Colored craft papers
Optional: small flower-shaped paper punch
Toilet paper roll
Pencil
Black marker
Scissors
Craft glue
Acrylic Paint
Paint brush
LED candle
How to make a toadstool house lantern:
1. Take a toilet paper roll and cut into half. If you want to keep the house taller you can use the whole roll, or cut it to any height you want.
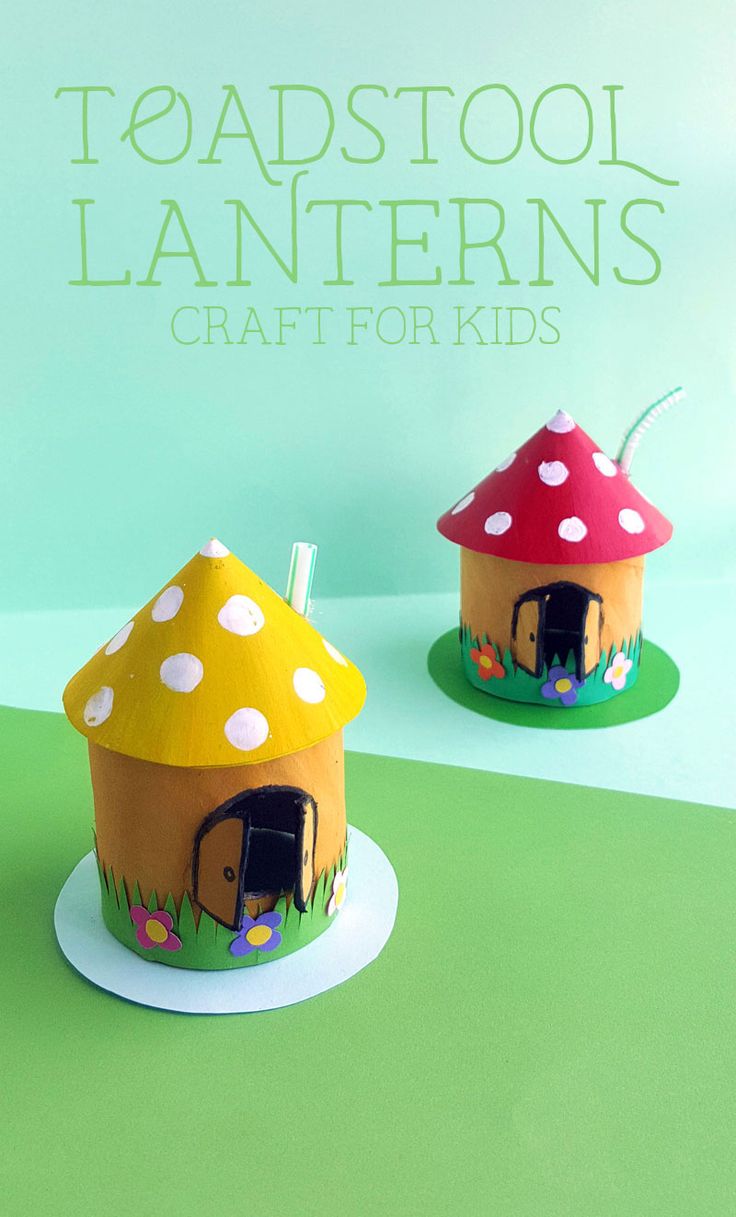
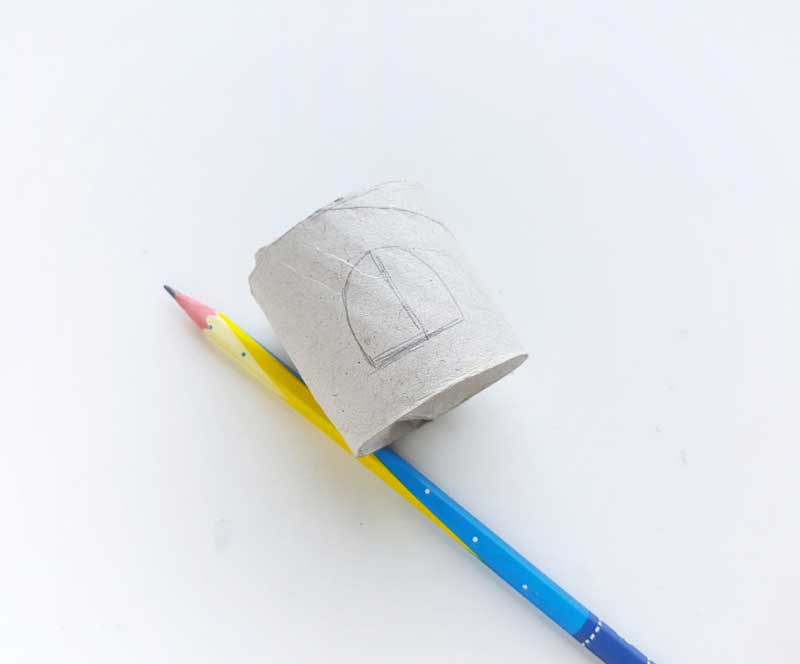
2. Use pencil to draw a simple window on the paper roll.
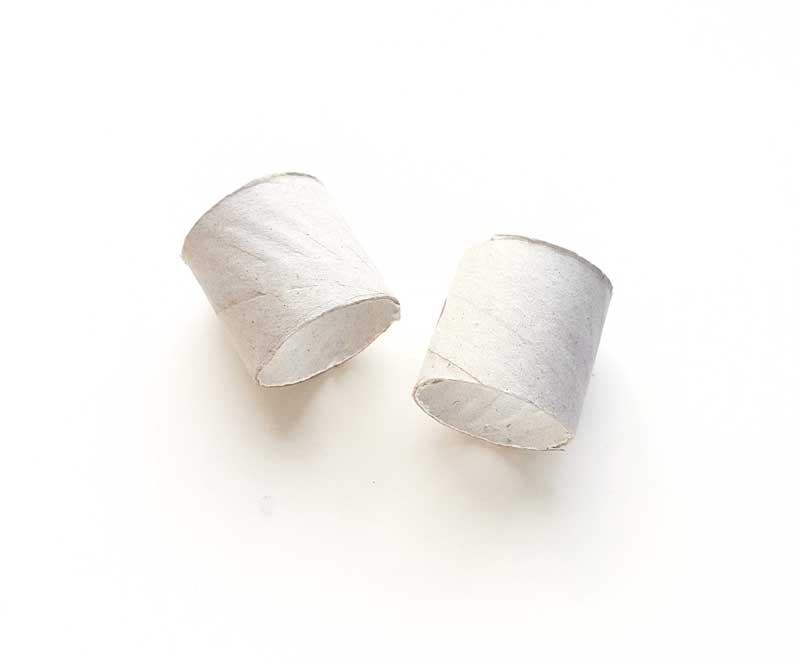
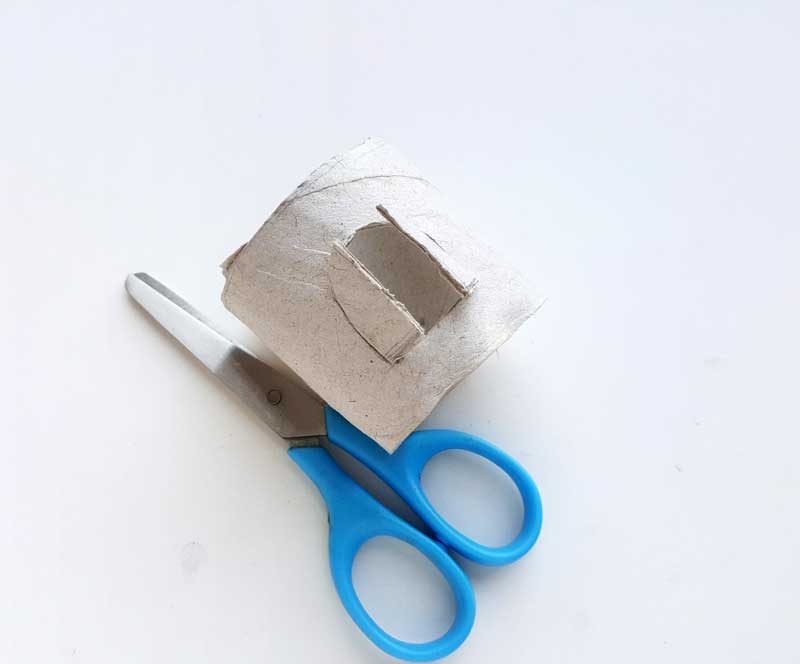
3. Use a craft knife and/or scissors to cut the center, top and bottom sides of the window. Keep the outer edges of the window intact.
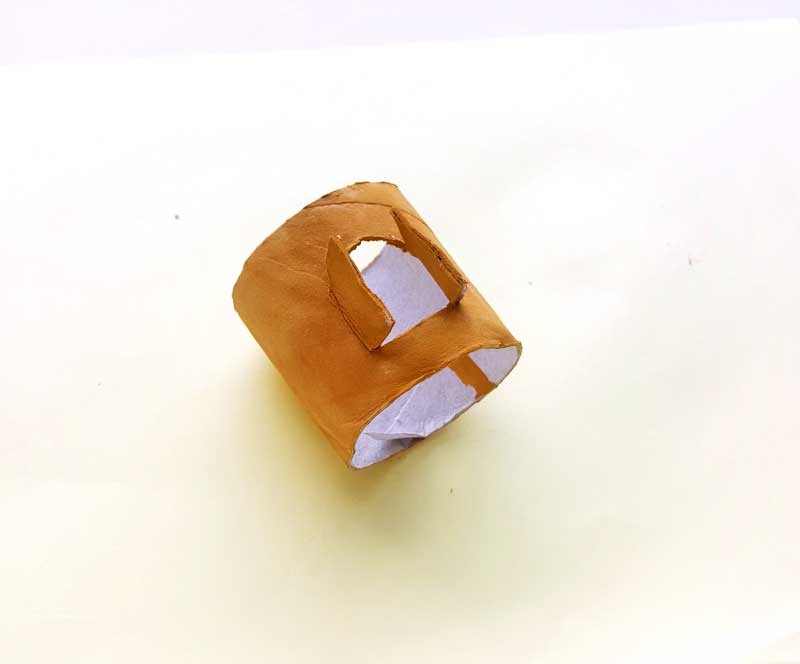
4. Paint and allow it to dry completely.
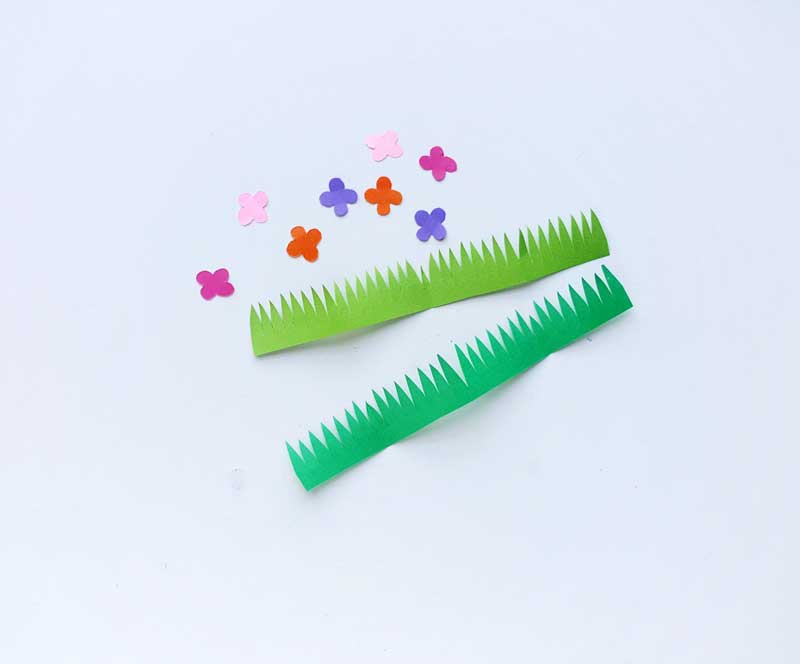
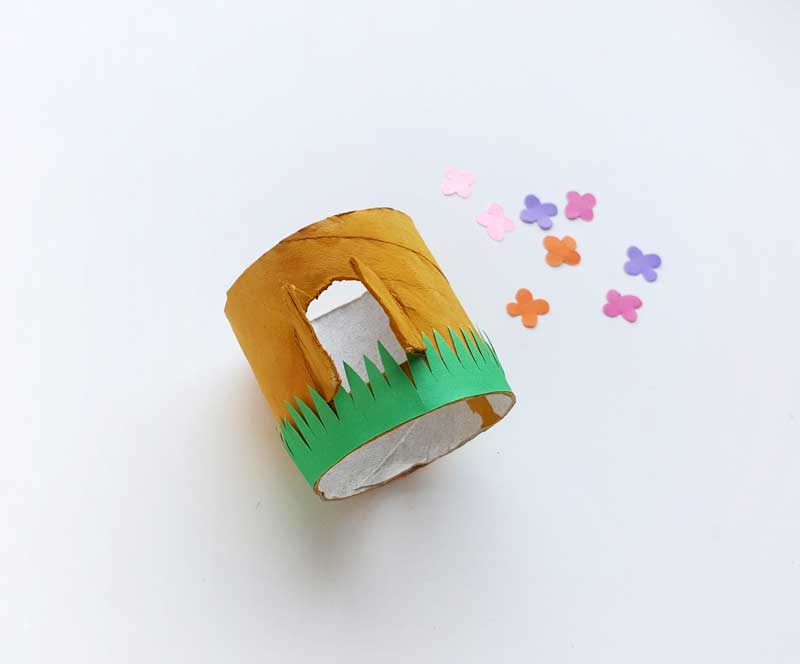
5. Cut out the grass and flowers from colored craft papers.
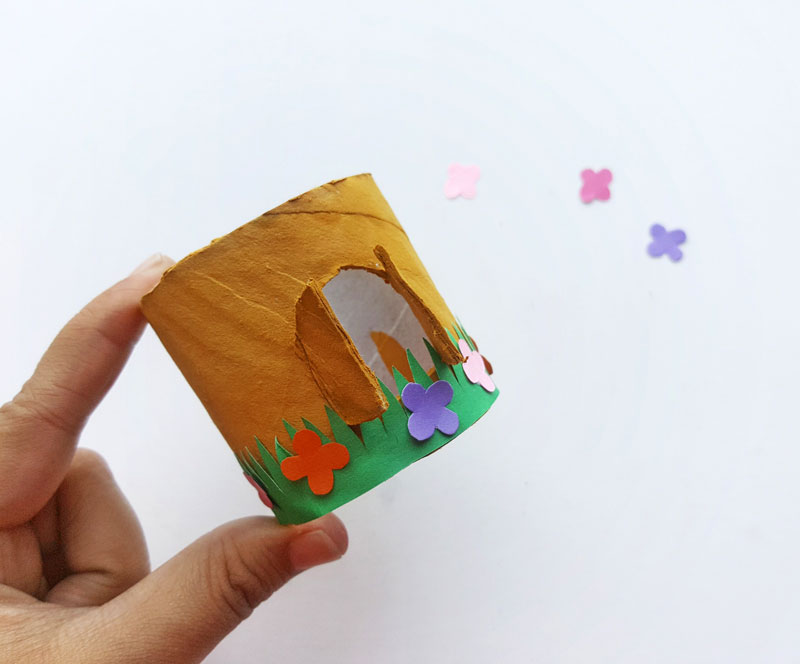
6. Apply glue along the bottom straight end of the grass cut out. Attach the glued part of the grass around the bottom edge of the toilet paper roll house, under the cut out window.
7. Glue the flowers onto the grass.
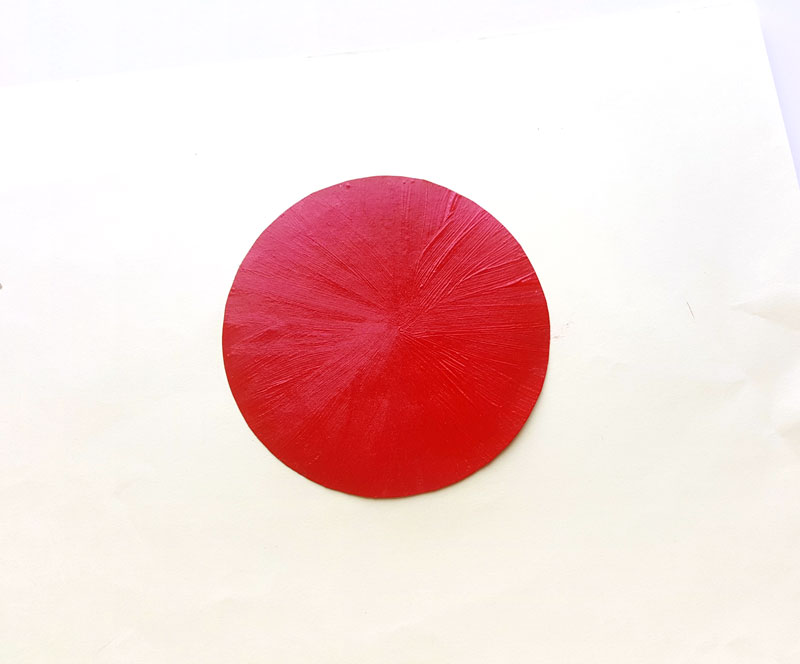
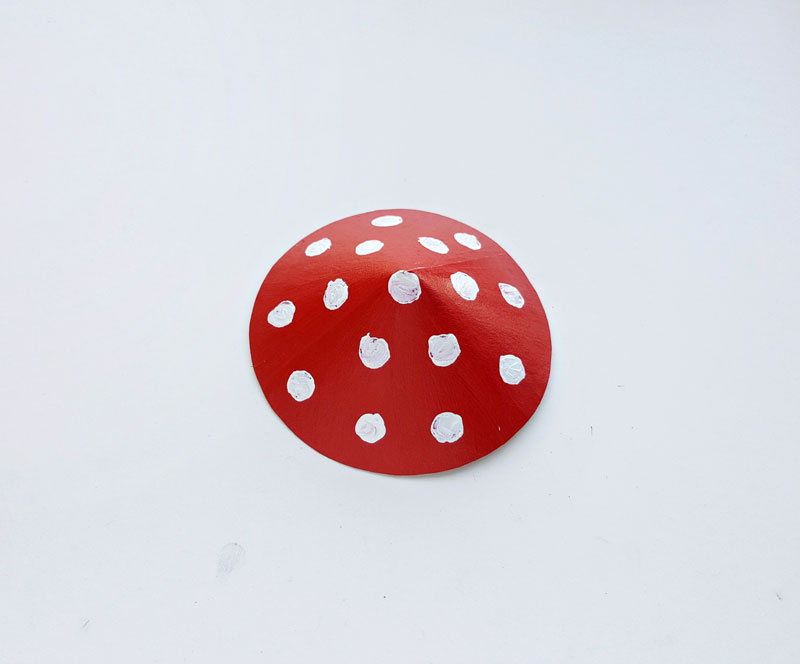
8. Cut out a circle out of colored craft paper. The diameter of the circle should be about 2 times the size of the diameter of the toilet paper roll. Paint it with red paint. Allow the paint to dry.
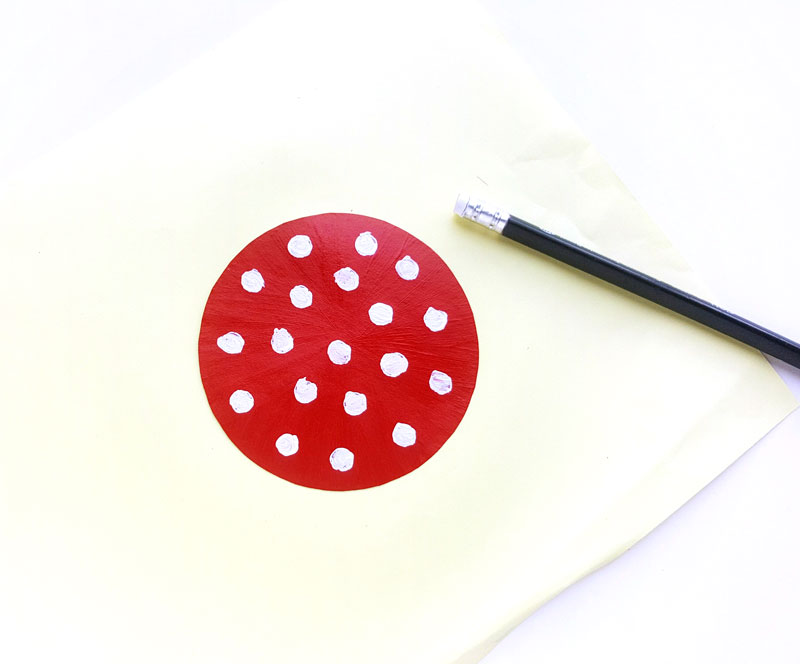
9. Use the tip of a pencil eraser to stamp white dots on the red circle.
10. Cut a slit from the outer edge towards the center of the circle. Overlap the two sides of the slit and glue them to create a slight cone shape. This will be the roof of the toadstool house.
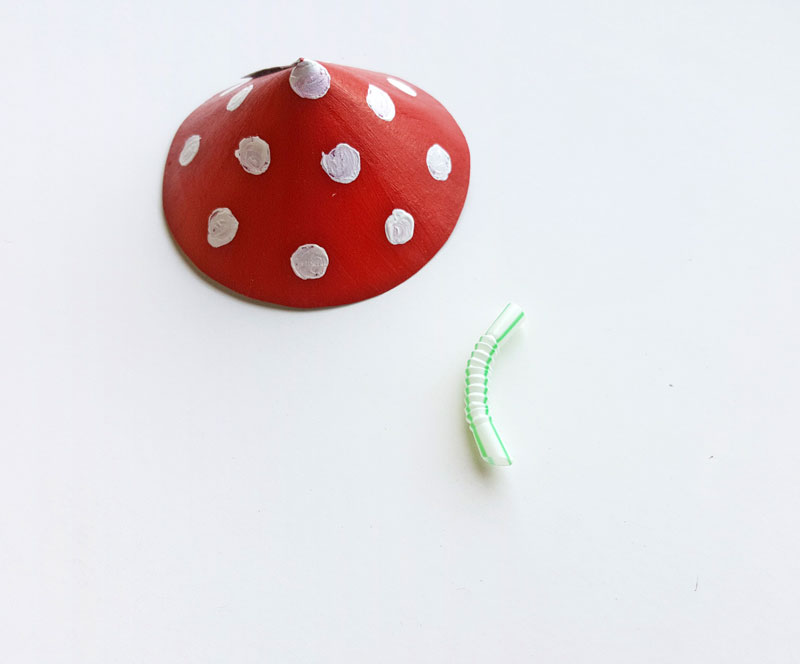
11. Cut out a small piece from the flexible part of a drinking straw. This will be the chimney of the house.
12. Attach the straw to the cone roof.
13. Attach the cone roof on the top of the tissue paper roll house. Allow the glue to dry.
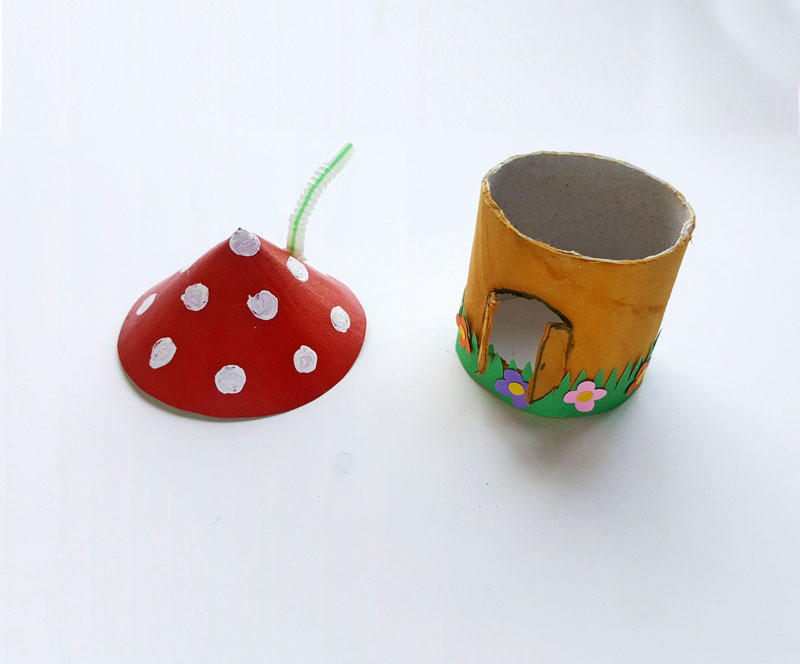
14. Switch on an LED tea light, and place the toadstool house over it. Enjoy the warm glow — place outdoors on a table, hang from a branch, or line a pathway for a magical look.